
Continuing from last week's post to answer the questions about "what's in your workshop", this week we'll get into the smaller power tools, jigs and accessories, and then the shop itself including ventilation and lighting.
Small Power Tools
I have the regular complement of hand held drills, screw guns, sawzalls, etc., but I'll touch on just a few that are particularly relevant for the small home decor and custom furniture work.
Biscuit Joiner
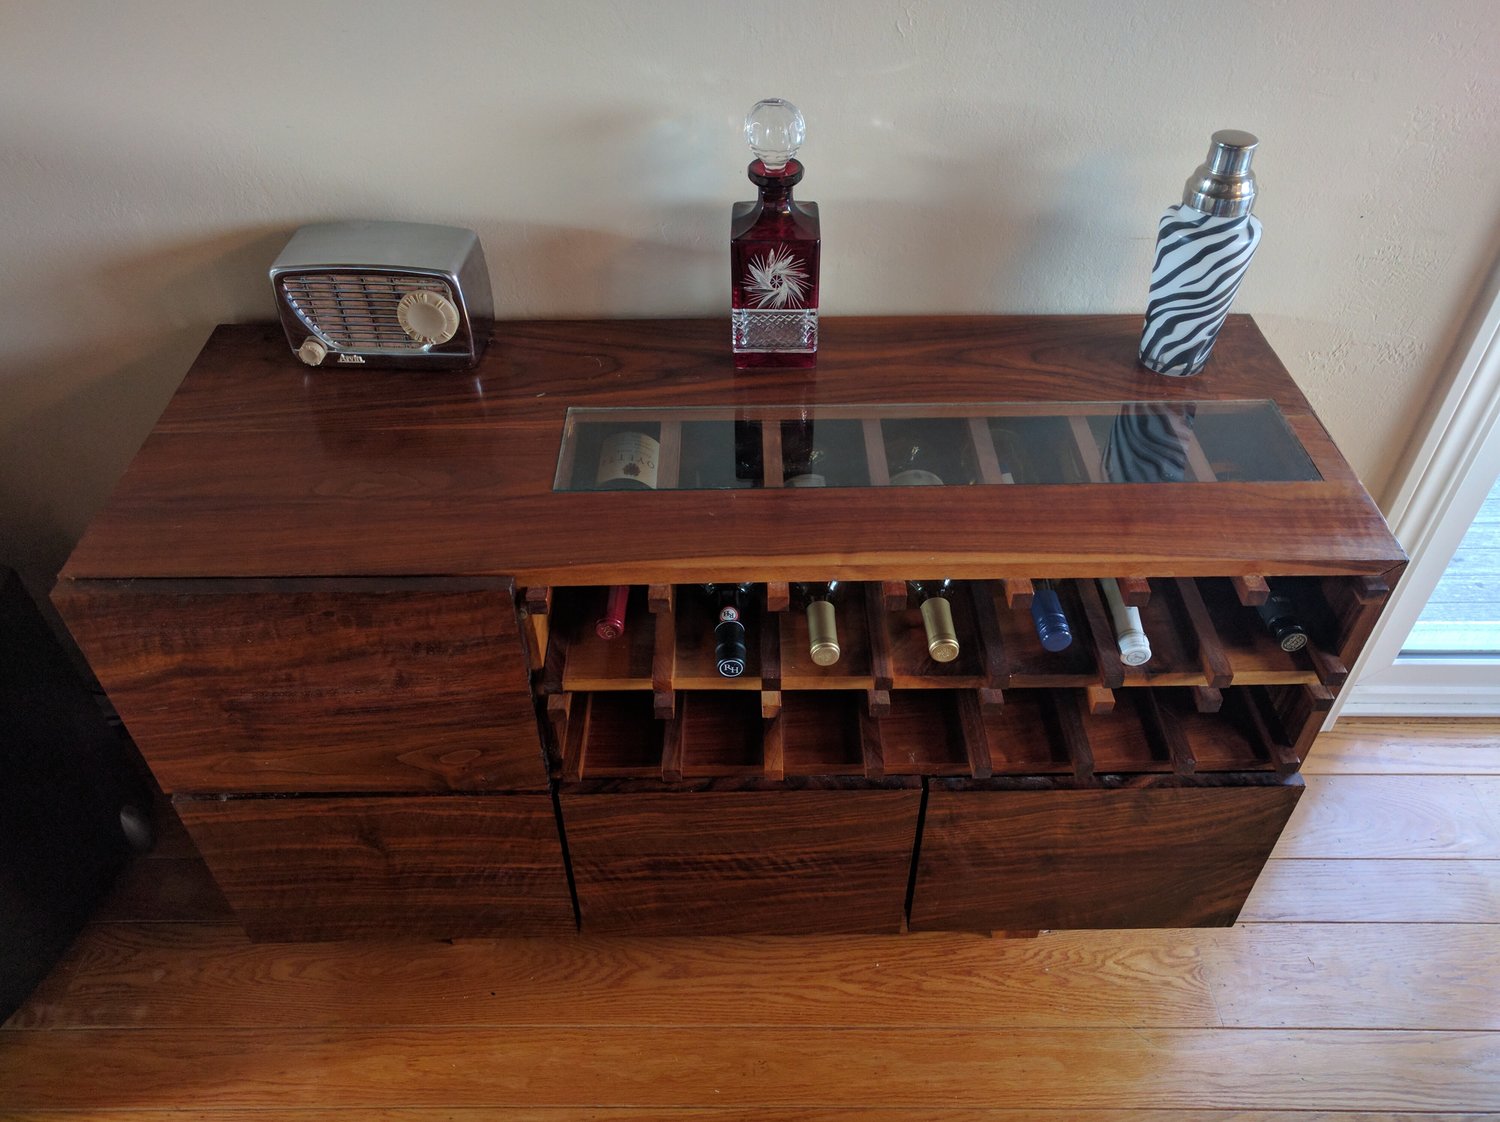
Though its rare that the smaller lamps and other pieces I make use the biscuit joiner, most of my larger pieces take advantage of this tool to "edge join" two boards to make a wider board. I might need to do this because a piece of furniture calls for a wider-width board than is available, such as this bench top which joined a narrower board with the edge detail to a longer board of maple plywood, or this wine rack with wider-than-available solid walnut top and bottom.

The bench top in this bench has lots of biscuit joints, both edge joining the routed piece of pine and the flat piece of maple, and then joining the two sides to the back piece.
There are also lots of biscuit joints here, both to create larger planks, but also to create clean corner joints.

The tool itself has a retractable 4" blade that pushes just partially into a board, creating half of an oval slot; you use it on both edges to be joined to create
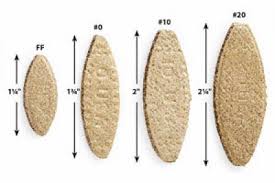
That oval slot on two opposing pieces of wood is then filled with a biscuit; they come in a number of standardized sizes

Putting it all together, you can use this technique to do both edge and end joints
Circular Saw
A circular saw ain't too unique, and it certainly earns its keep in a number of the home remodeling / construction projects I do. But its also useful for furniture making or even for prepping boards for the smaller pieces. In particular, when working with a long and thick (or at least heavy) board that i might want to "rip" (i.e.: cut into two narrower but just-as-long strips), it may be physically difficult to run that heavy board over my table saw.
In the absence of supporting "in feed" and "out feed" tables, an easier approach is to use a straight edge clamped to that long board, and then run my circular saw along that straight edge.

Oh it would be nice to have the space for something like this! The wood table allows much larger and heavier boards to be more easily maneuvered on the table saw.

This may be something I can build in the coming months and would fit on my equipment and in my shop: a retractable or folding table extension for the table saw.
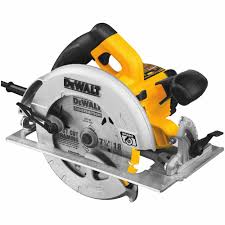
This is the one picture in this section of something I actually do have!
Accessories
Not power tools, nor even really considered hand tools, but still critical to the smooth operation of a shop, are a few other "accessories".
Clamps
There are a lot of non-power tools I use as well that most folks are familiar with. But one area that is often overlooked is clamps - there are never enough of those! You can see a few in use in this earlier blog entry, where I described the process of laminating different planks together for an Edison lamp.

They come in bar form, and the heavier and stronger pipe form. And they come in forms that allow you to clamp corners for right angles.
Featherboards & Pushsticks

Those knobs raise and lower rare earth magnets near to the polished steel table tops, locking the featherboard in place without leaving a scratch on the surface or requiring awkward clamping
In order to make clean cuts, you need to be pushing the wood up against the "fence" or holding it down tight against the tool surface, all while slowly pushing it forward into the blade. You can imagine that some of that pushing might occur with your hand very very close to the blade itself, which is why we woodworkers use featherboards and pushsticks to make sure the fingers stay far away from the blade.
Featherboards are wood (or plastic) devices with lots of slots cut to give a springy feel to what is left, providing pressure to hold a piece tightly. I have a few of these magnetic featherboards, which are perfect for ripping a plank or resawing a board.
And pushsticks are exactly what they sound like - they are "sticks" of wood or plastic that allow you to push the board into the blade, but if they get nicked by the blade, no harm!
Jigs
There are "jigs" - some homemade, a few purchased - that make building lamps in a repeatable fashion possible, or that allow holding and positioning tools in certain ways much easier and faster. I have a few Kreg jigs to drill "pocket holes" for near-hidden fasteners for mid-range cabinetry, to drill holes for adjustable shelving pins, and to drill holes in just the right spot for drawer slides.
And I've built a few jigs to make some of the more complicated lamps, such as this jig which holds three pieces of the hexagon lamp in place during the gluing phase.


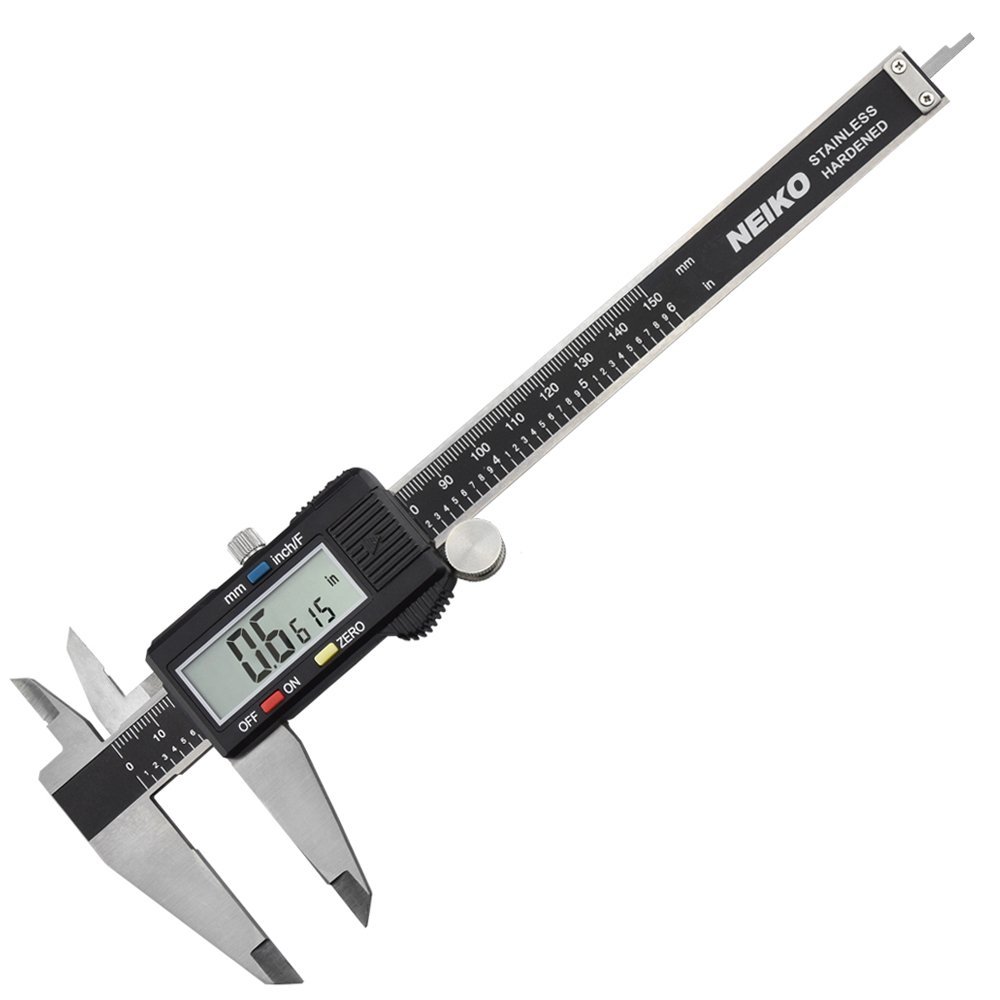
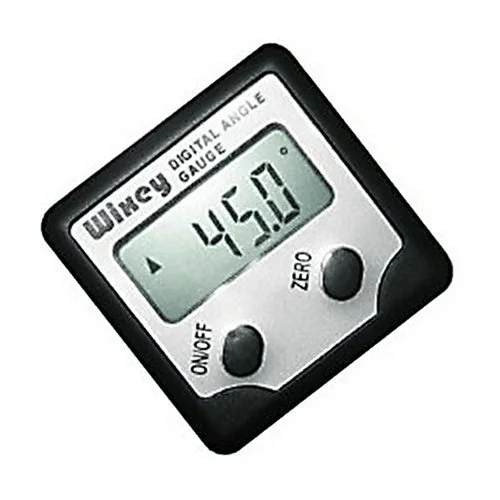
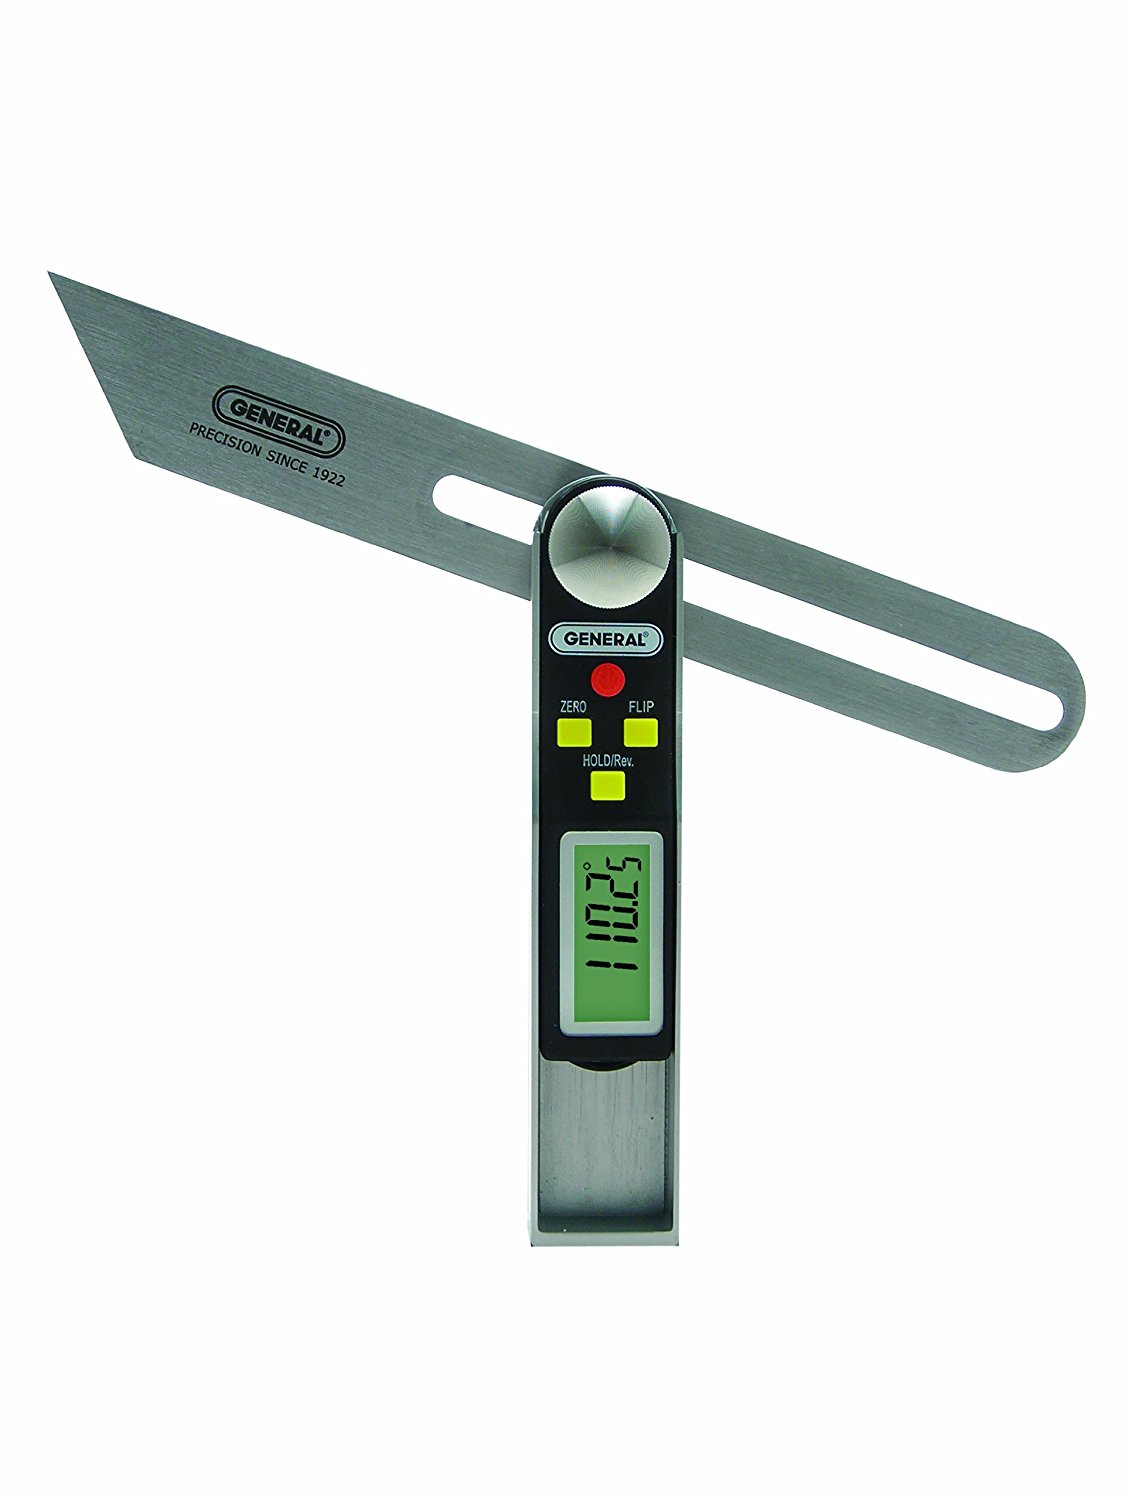
Measurements
Of course, there's the standard tape measure, square, and carpenter's square. But - especially for setting tools and angles, I thought it worthwhile to invest in a few more specialized devices to help.

Storage
You already saw much of the storage of the longer and heavier hardwoods on the floor in this earlier post, and the baking racks of finished and in-process pieces here. But I also have a few hundred board feet* of 4/4** walnut and other species hanging from the ceiling here:
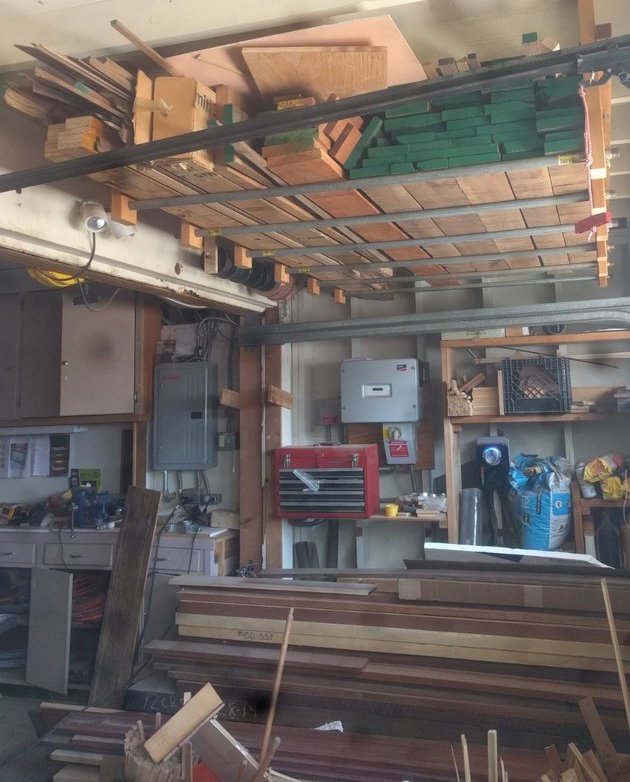
Why so much sitting in the shop? A few reasons: deals I couldn't pass up such as for the 18" wide 8/4 walnut; minimum orders for delivery; and convenience of not having to go shopping for more. Somehow, however, I always need a species I don't have laying around!
* What's a board foot? It's the standard unit of measure for purchasing lumber. It's one square foot of lumber one inch thick, or 144 cubic inches of wood. A 1-inch thick piece of walnut 8 feet long by 6 inches wide is 4 board feet. A 3-inch thick piece of walnut 8 feet long by 8 inches wide inches wide and 8 feet long is 16 board feet. Lumber is priced by the board foot, though with some differences by width or thickness. For instance, for a given grade of walnut, 1" boards may cost about $12/board foot for 1" thick, $16/board foot for 2" thick, and $18/board foot for 1" thick if it's wider than, say, 10".
** What's this 4/4? Wood thicknesses of raw lumber are usually described by how many quarters of an inch thick they are. There's a more detailed article here about why, but essentially, these are rough measurements rather than exact thicknesses as sawmills try to maximize their yield from an organic and varying material, so a 5/4 board may be a little more than 1.25" in some spots, and a little less in other spots, all in the same board. Hence the value of a surface planer!
Ventilation
Spending all this time in an enclosed space can be horrible on the lungs. Even if I could leave the space open to the fresh air all day, that would still probably be about as bad (or worse) as being a regular smoker - if you are up for an academic paper on the topic, check out this CDC article. Or just trust me on this, having worked too many days without protection (or from my days working in a dusty home improvement warehouse).
So any time I'm in the shop using a tool for more than just a few minutes, I use multiple levels of protection to keep me breathing.
Dust Collection

This is for all the bulk sawdust that comes off the planer or the table saw, keeping those tools clean and clear. Actually, it's attached to all the large floor-standing power tools except the drill press. It's just a giant 2HP vacuum cleaner with a 50 gallon collection bag; that bag also acts as a filter.
But that built-in filter-in-the-bag isn't actually that great a filter - it blocks much of the dust, but lets the fine particulates that are really bad for you go free...
Air Filter
So I also use a two-stage electrostatic air filter hanging from the ceiling. This captures all the much finer dust in the air, and at 1000CFM, in theory it goes through all the air in my shop every three minutes.
Dust Mask
But that still ain't enough - even if the shop air is turned over every three minutes, if I'm standing close to a tool, it will put a lot of dust in the air to be filtered by my nose before that air filter picks it up. So you'll usually find me in this as well to provide that final layer of protection.

Lighting
And finally, something not to be overlooked, we have a lot of high efficiency LED shop lighting to keep everything illuminated - about 12 fixtures altogether for both ambient lighting or focused lighting on specific tool work areas. I want to be able to see any surface defects in the finished product before you do!
Wrapping Up
Wow! I thought this would be a few paragraphs, maybe a few pictures, but the post quickly grew out of control! Obviously, you can get started with a lot fewer tools - I certainly did! - but also obviously, I enjoy adding to the workshop nearly as much as I enjoy working on new pieces!
And I hope you enjoyed this tour as well. Of course, I welcome any questions, comments, or suggestions on the next tool or jig to add! Or if anyone needs to get rid of their larger planer, or some scrap lumber, I'm happy to help out!