
I’ve been fortunate to get a number of commissions, both large and small, in the past few months, which has kept me from making a more recent post up, but it has also given me a bit more to write about.
Today, I’ll drill into one of those commissions in detail, share the construction considerations, and show some of the steps along the way.
Interested in discussing a piece? Send me an email or give me a call!
Entryway Shelf & Mirror
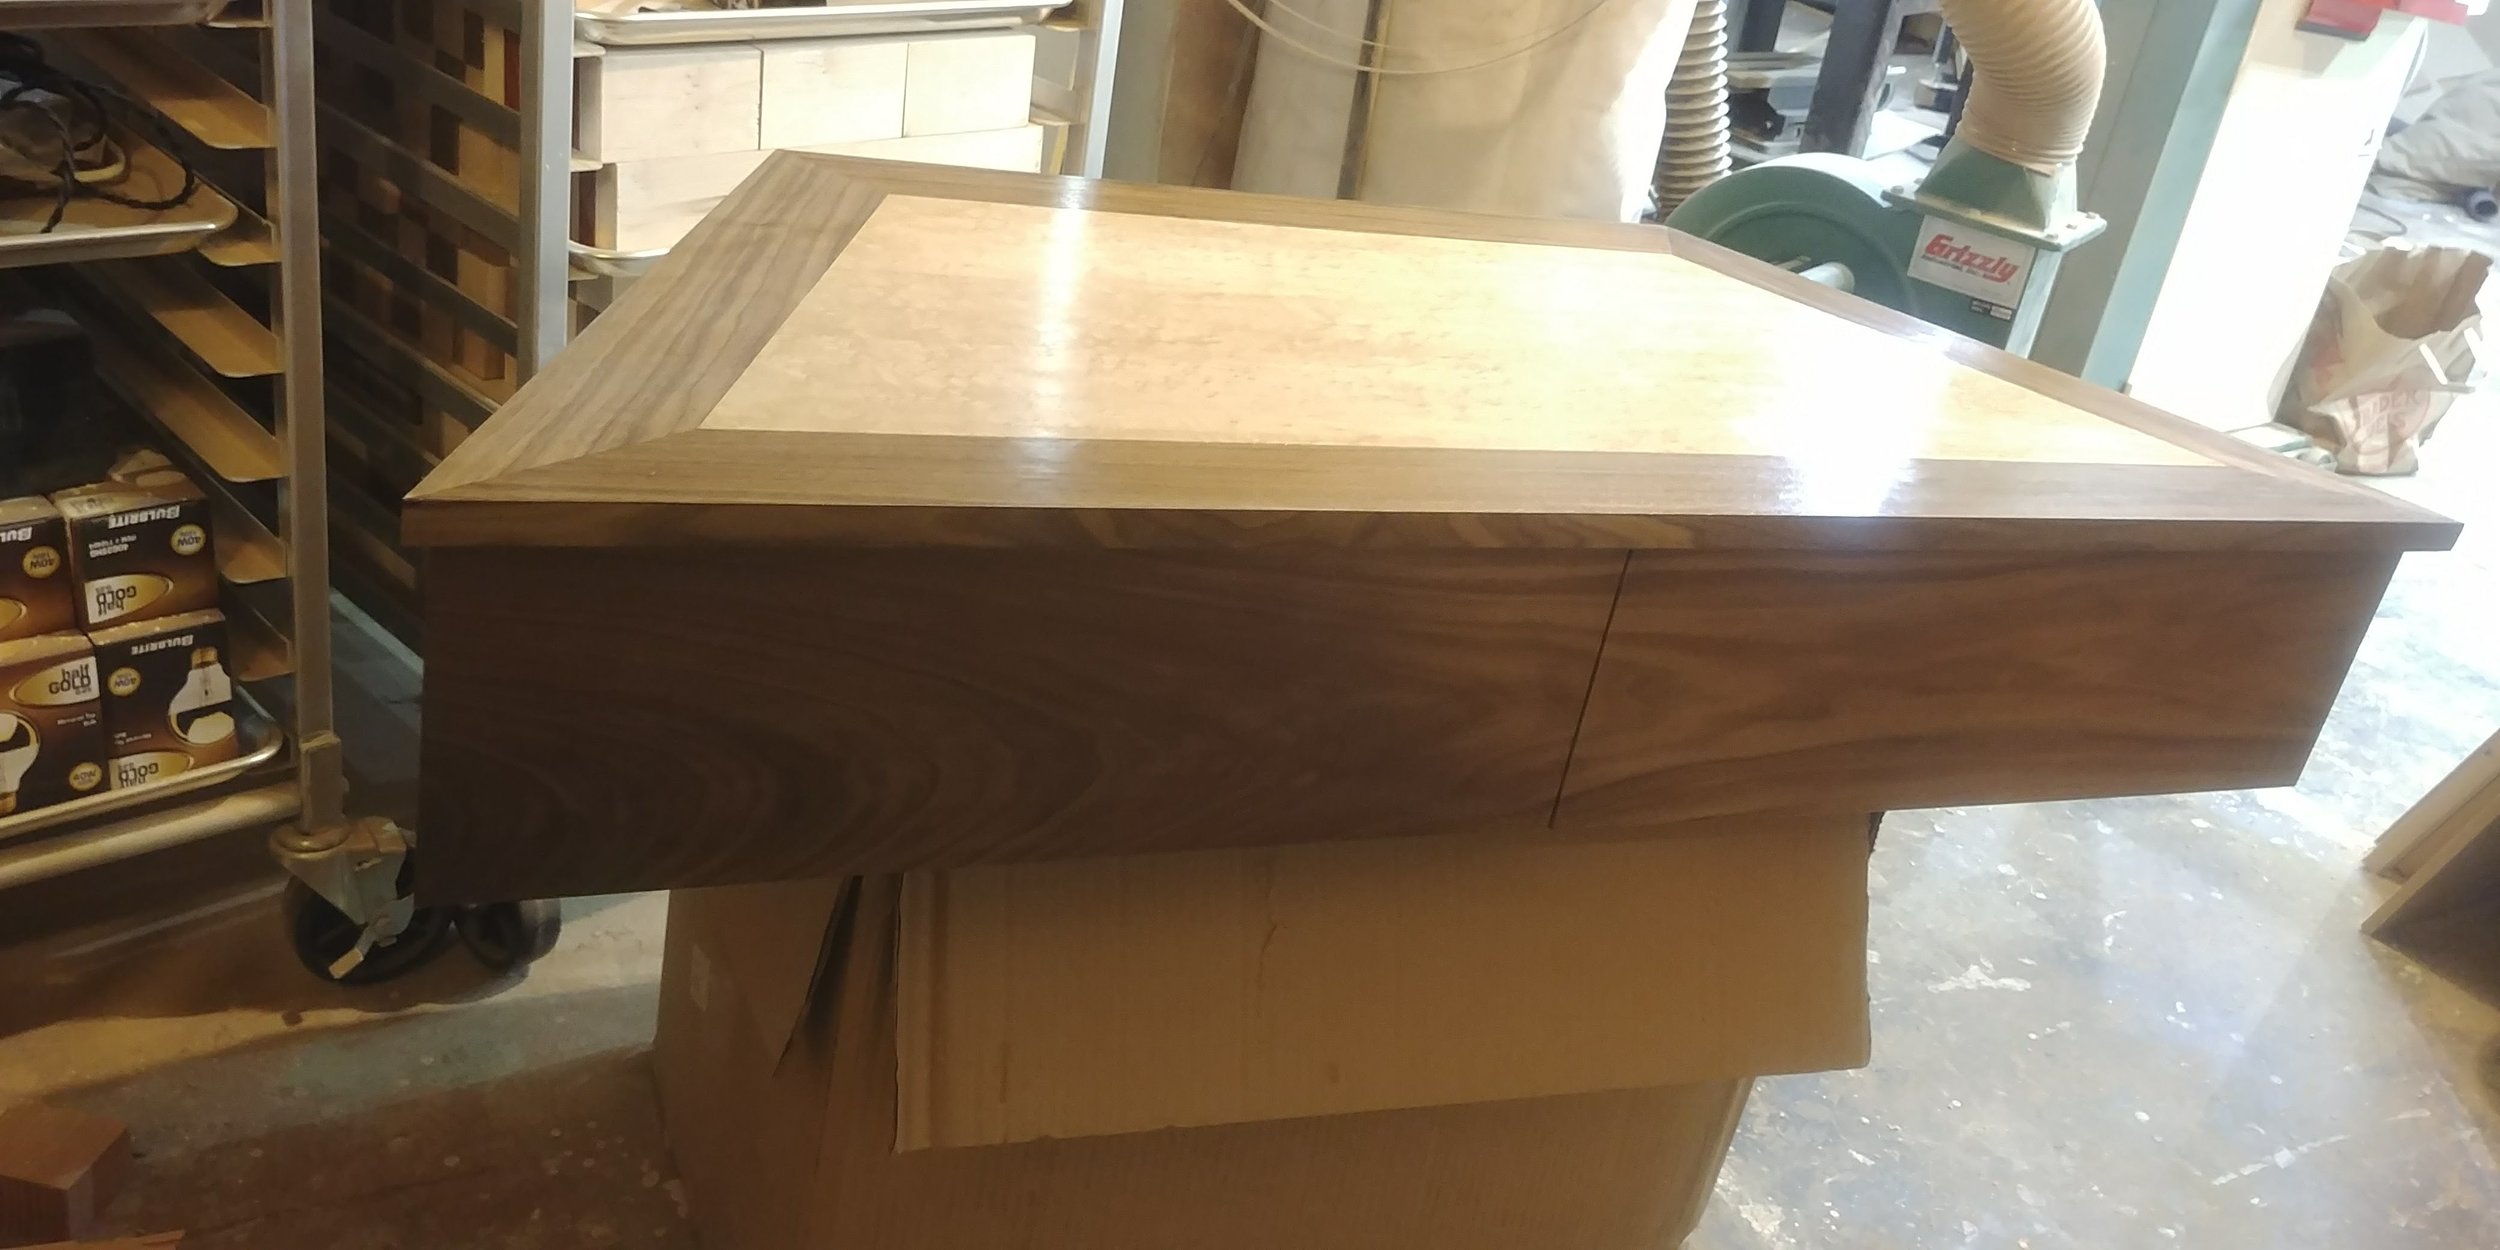
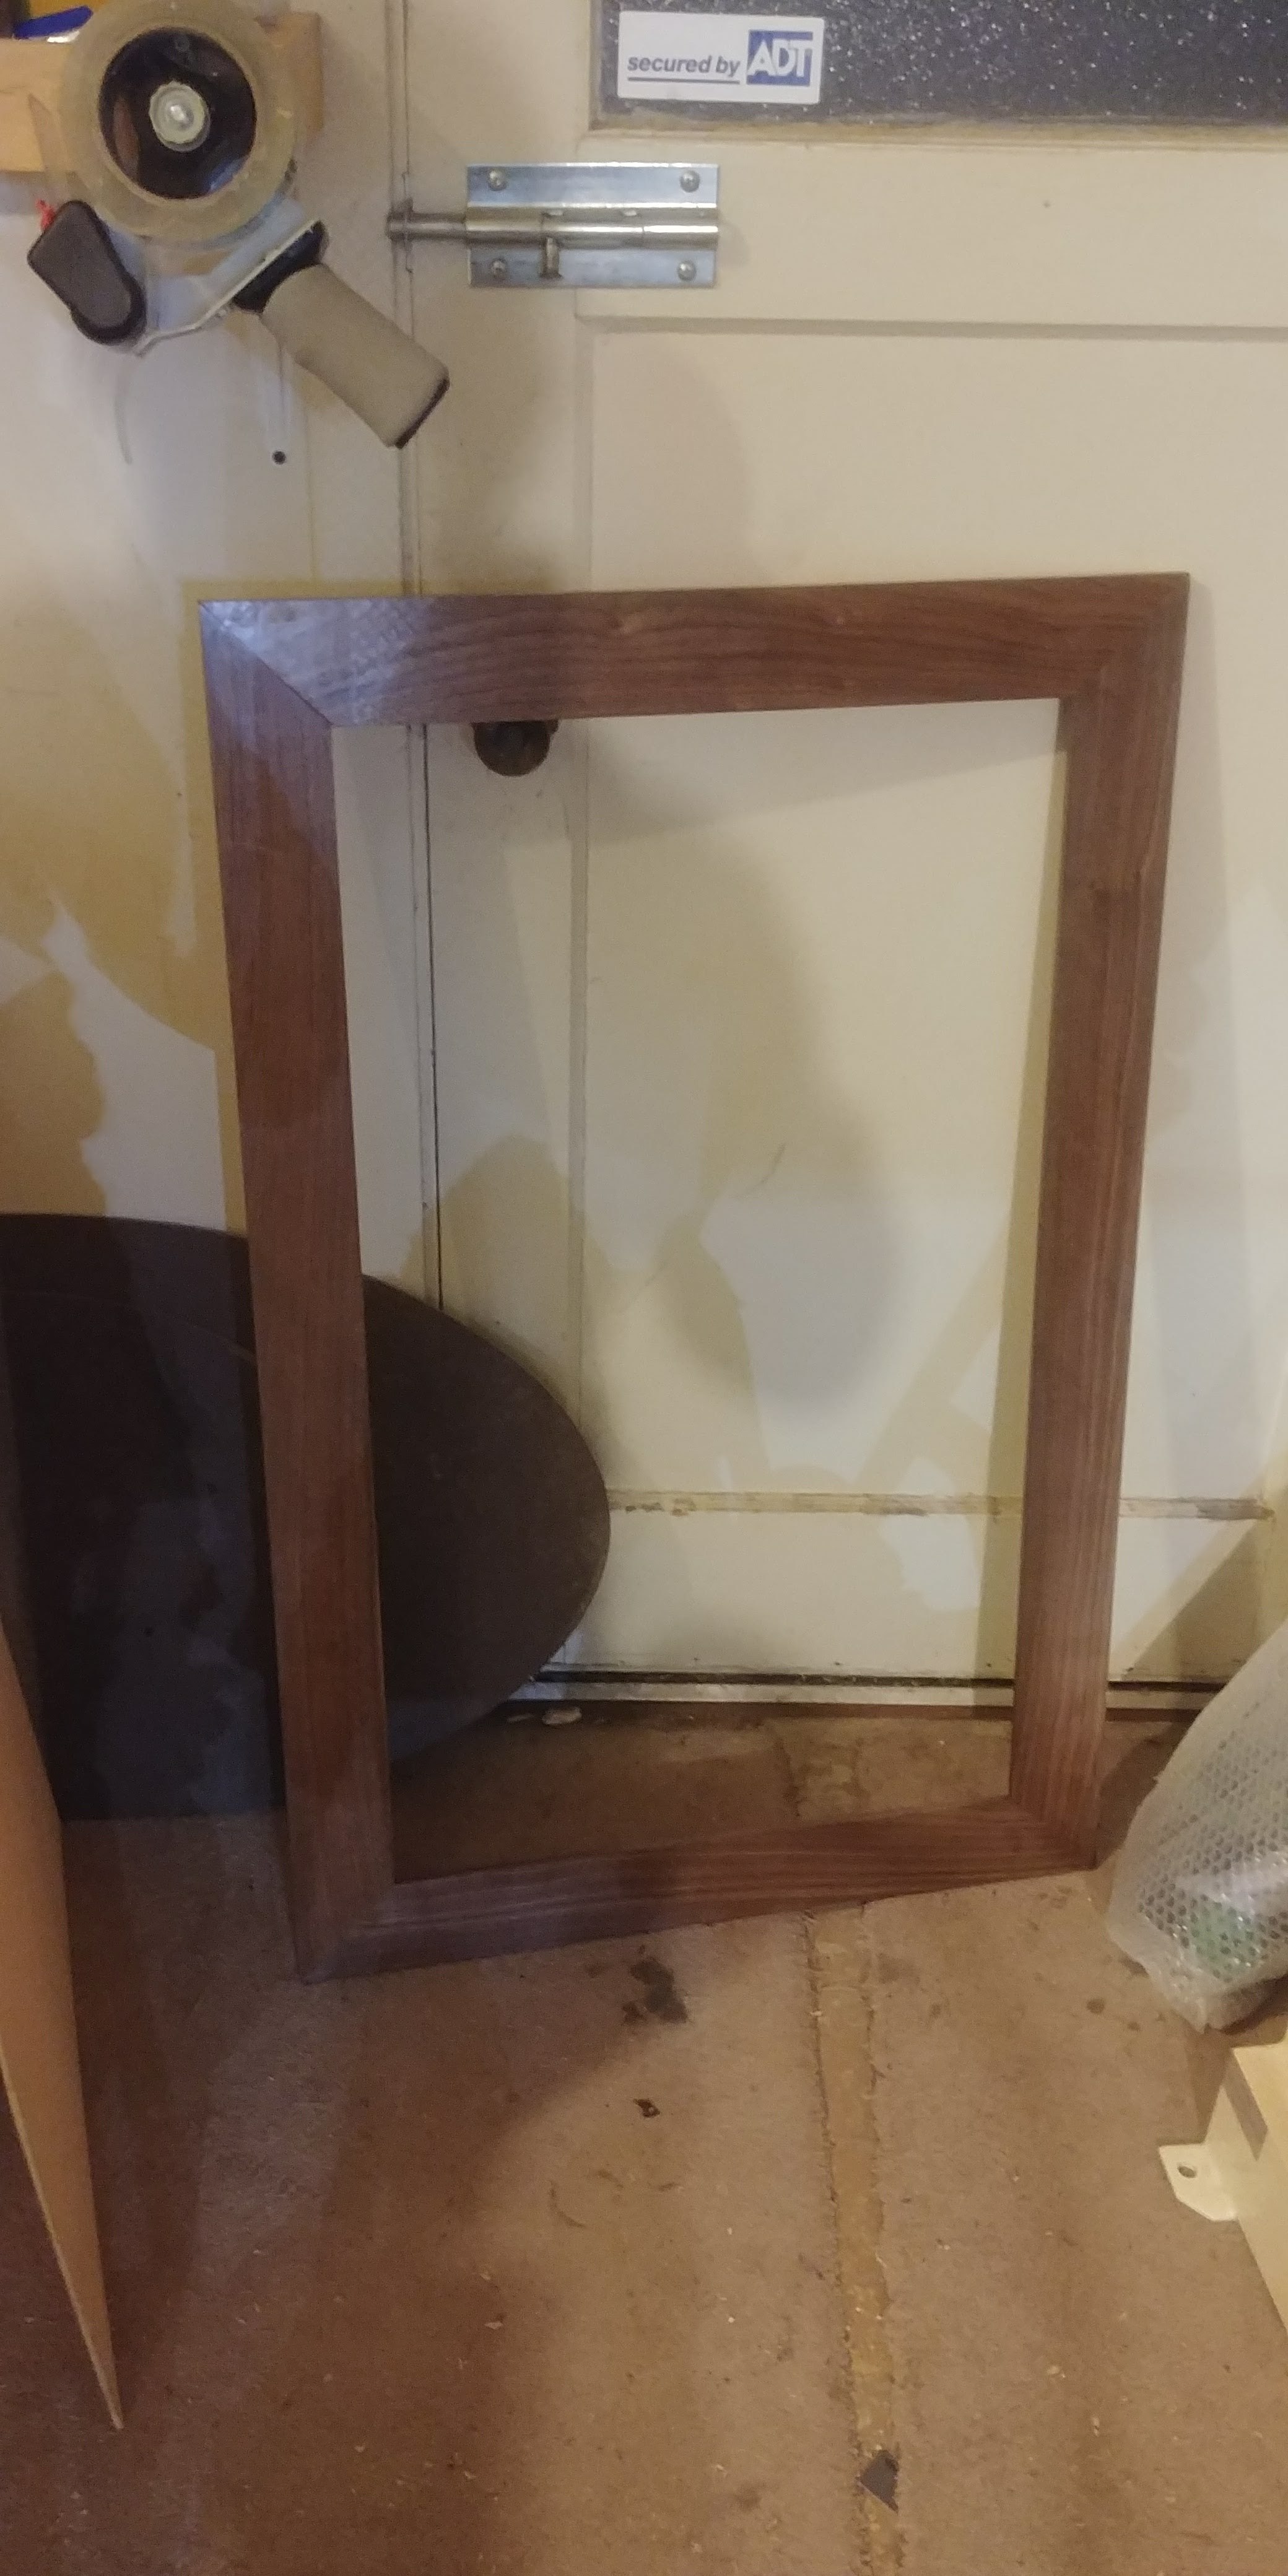
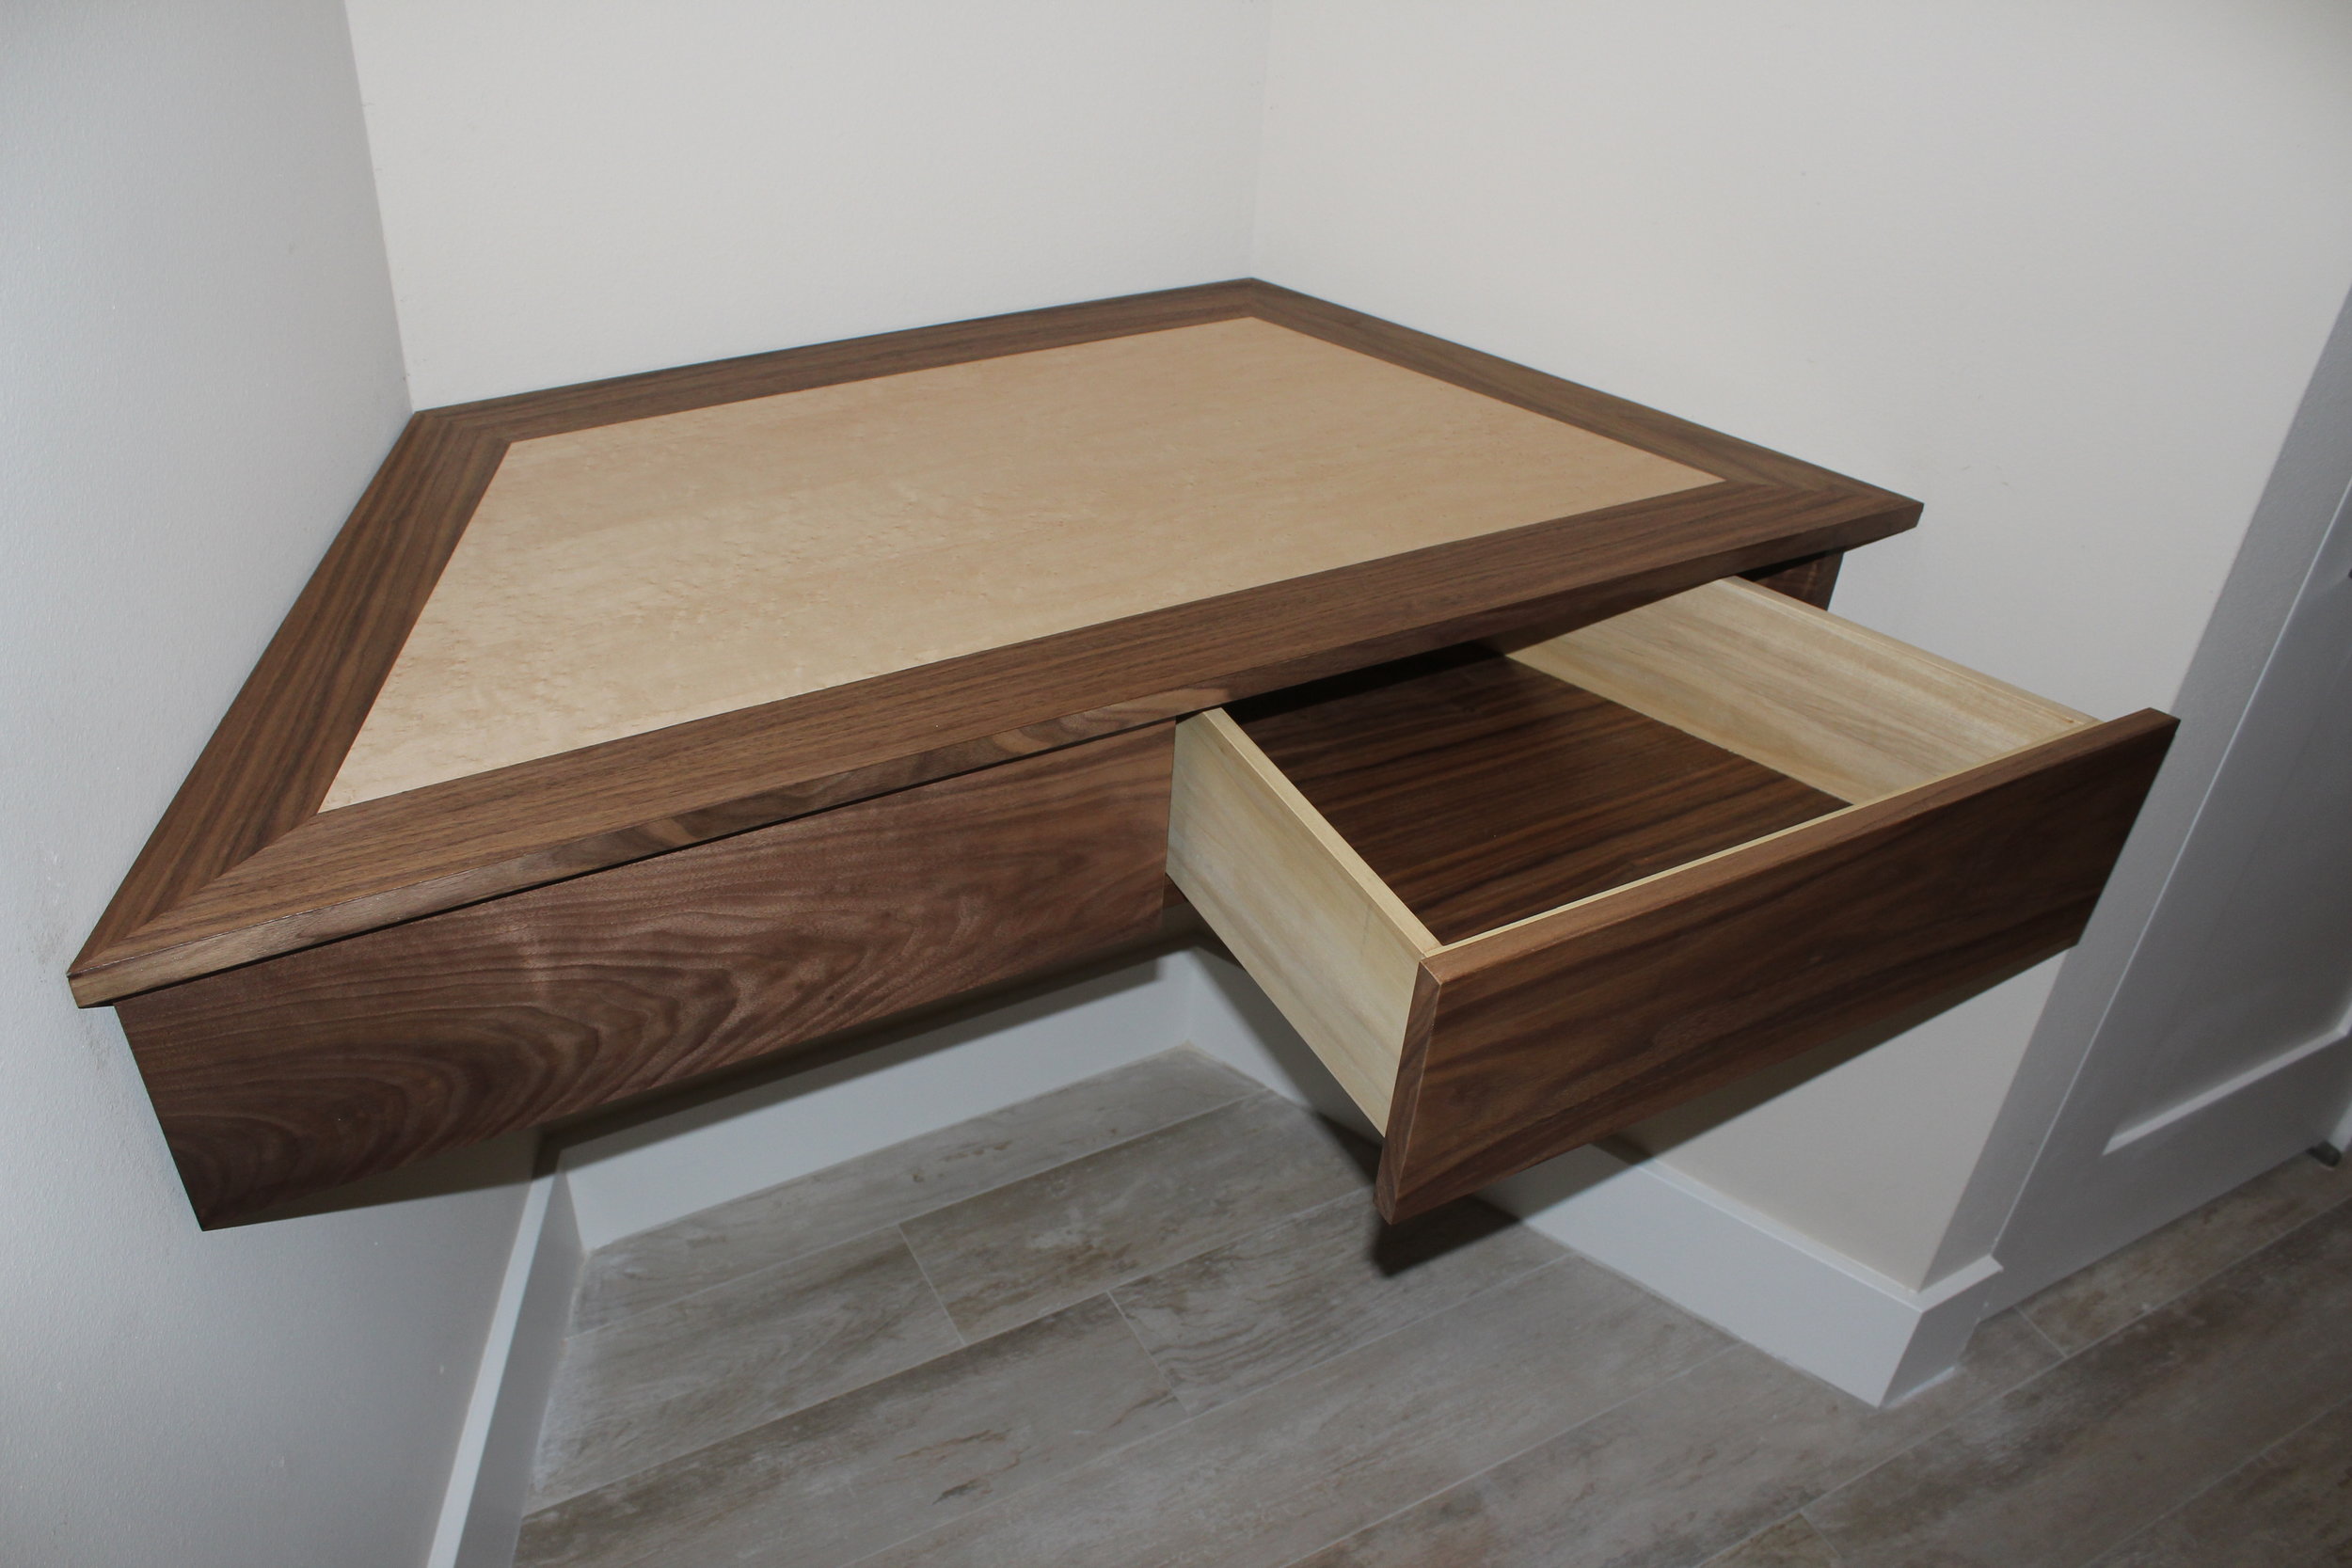
The request from the client was for hanging entryway shelf for their recently completed remodel, to fit between the angled walls. After a little more discussion about what woods might look nice together and complement their decor, they decided on walnut and birdseye maple, and for a wall-mounted mirror frame above.

The client provided a template for the top and the desired width. We had to go the template route - rather than me personally taking detailed measurements - as the piece would be installed in a condominium in Florida. After going through a few more detailed questions about design - top surface overhang, depth, etc. - I was able to produce this rendering that the client signed off on.

Veneer or Solids?
There are two main construction techniques that were possible here: solid wood, or veneer. As touched on in an earlier post, though solid wood has some advantages, for something of this size - especially as it will be installed in a home in Florida - would deteriorate over time if made of solid wood with glued joints. Not to mention finding or joining together boards of that size would be either a lot of money, or time, or both. So that steered me towards a predominantly veneered MDF (medium density fiberboard, an incredibly smooth and stable engineered wood product made of wood fibers glued together under considerable heat and pressure) construction technique for the large top and bottom.
However, the front edges would not be great as veneered: as they would get a bit more abuse from bumps, I decided to use a thin strip, approximately ⅛” thick, of solid walnut as the “edge band”, and for the veneer to cover the top and bottom of that as well so that it would be indistinguishable as an edge band. Much thinner than ⅛” , and it might as well be veneer; much thicker, and you run the risk of “telegraphing”, where that edge band of solid walnut “moves” (expands and shrinks) with the changing temperature and humidity, but with the more stable veneer and MDF glued on the top and bottom, gets stretched.
I also decided to make the three vertical uprights of solid wood, for a few reasons. As they were much smaller, I had neither the challenges of cost of availability, or weather stability, of the top and bottom. And I decided to remove about half of the material on the outer edges of the two sides to make fitting to drywall that might be bowed slightly, much easier. This removal of material would pose problems for veneered MDF, such as significantly reduced strength in comparison to solid walnut, and the fact that you typically need to veneer both sides of a board to prevent stresses from the veneer from warping the board over time but yet veneering such a shaped piece would be a lot more challenging.
The drawer fronts and drawer boxes would also be of solid wood, walnut and poplar, for appearance and durability, and similarly, because as much smaller pieces, they would not have the same cost or stability problems as the top.
Drawer Boxes
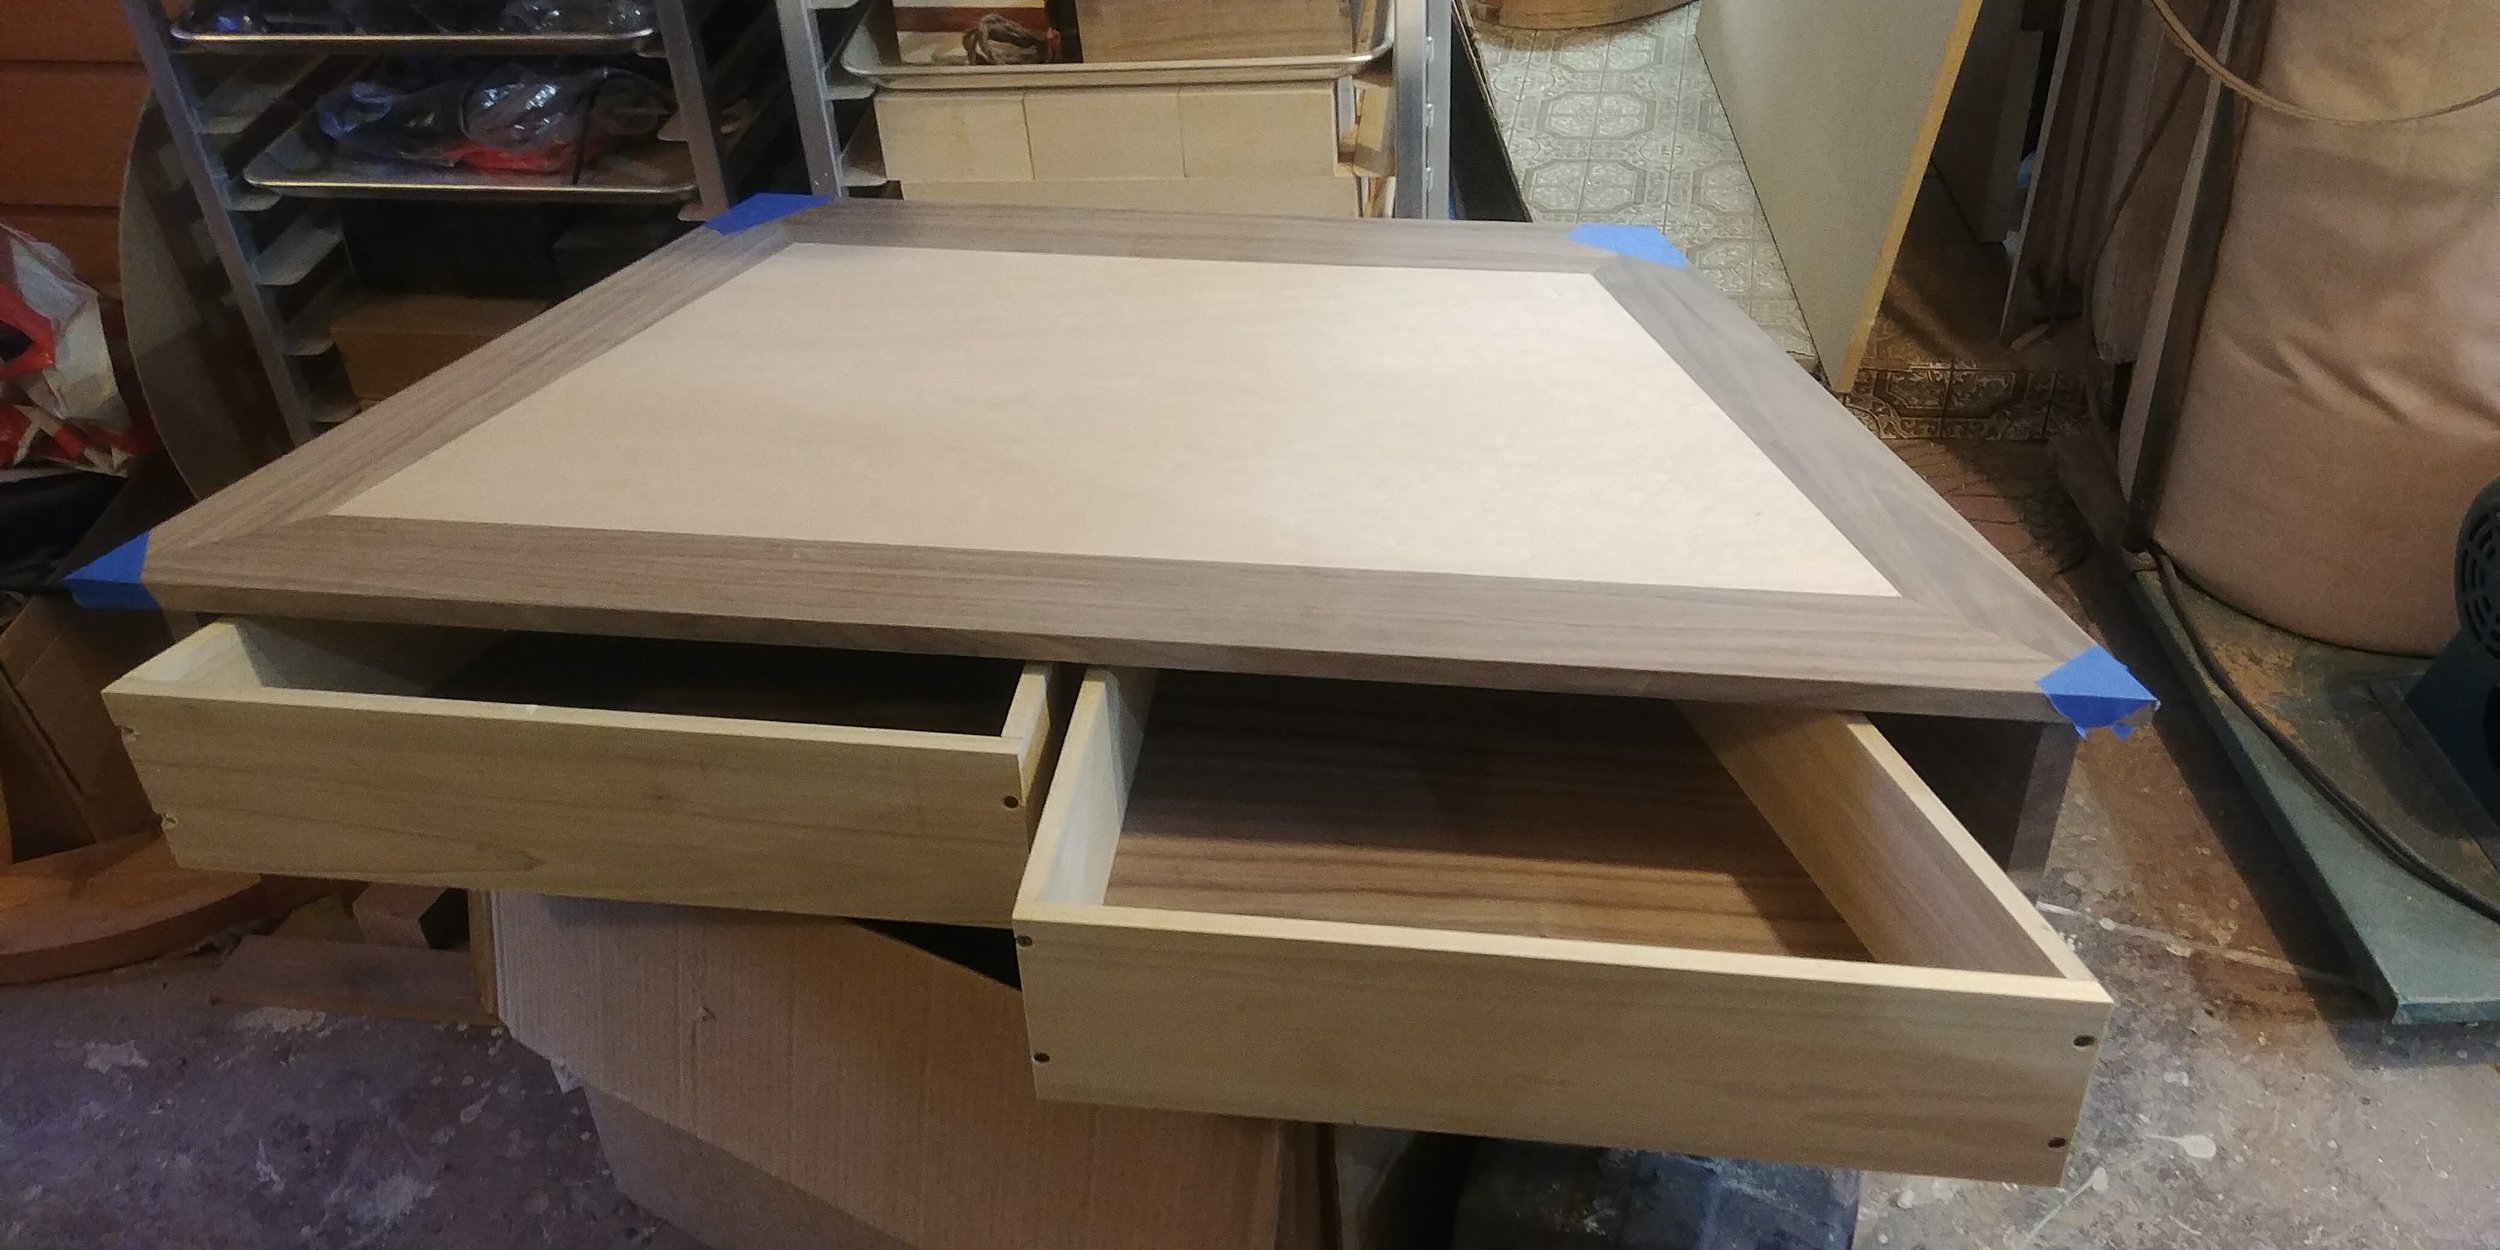
Finally, the drawer boxes and slides posed a little bit of a challenge: given the shape of the drawer fronts and overall cabinet, I could do either rectangle drawer boxes with conventional drawer slides and overhanging drawer fronts that would significantly reduce the size of the drawers, or trapezoid drawer boxes that would have to use simpler undermount slides. The conventional side-mounted slides would allow for very high quality soft-close slides, and “push to open” slides, that a lot of clients like, but the client here opted for the trapezoidal larger drawer boxes with these wooden drawer slides.
So there we have the logic and thought process in the construction and material choices. Now let’s get to work!
Construction Steps
The rough step-by-step is below, with a few steps where I learned a bit more via trial and error, or to explain more nuance, covered below. But first, some pictures along the way!

Cut the the ⅛” walnut strips, and glue them to the long edges of an MDF panel; sand to make sure the top and bottom of the MDF-and-walnut piece is still perfectly flat
Measure & cut the trapezoidal MDF panels for the top and bottom
Cut the veneer pieces for the top and bottom
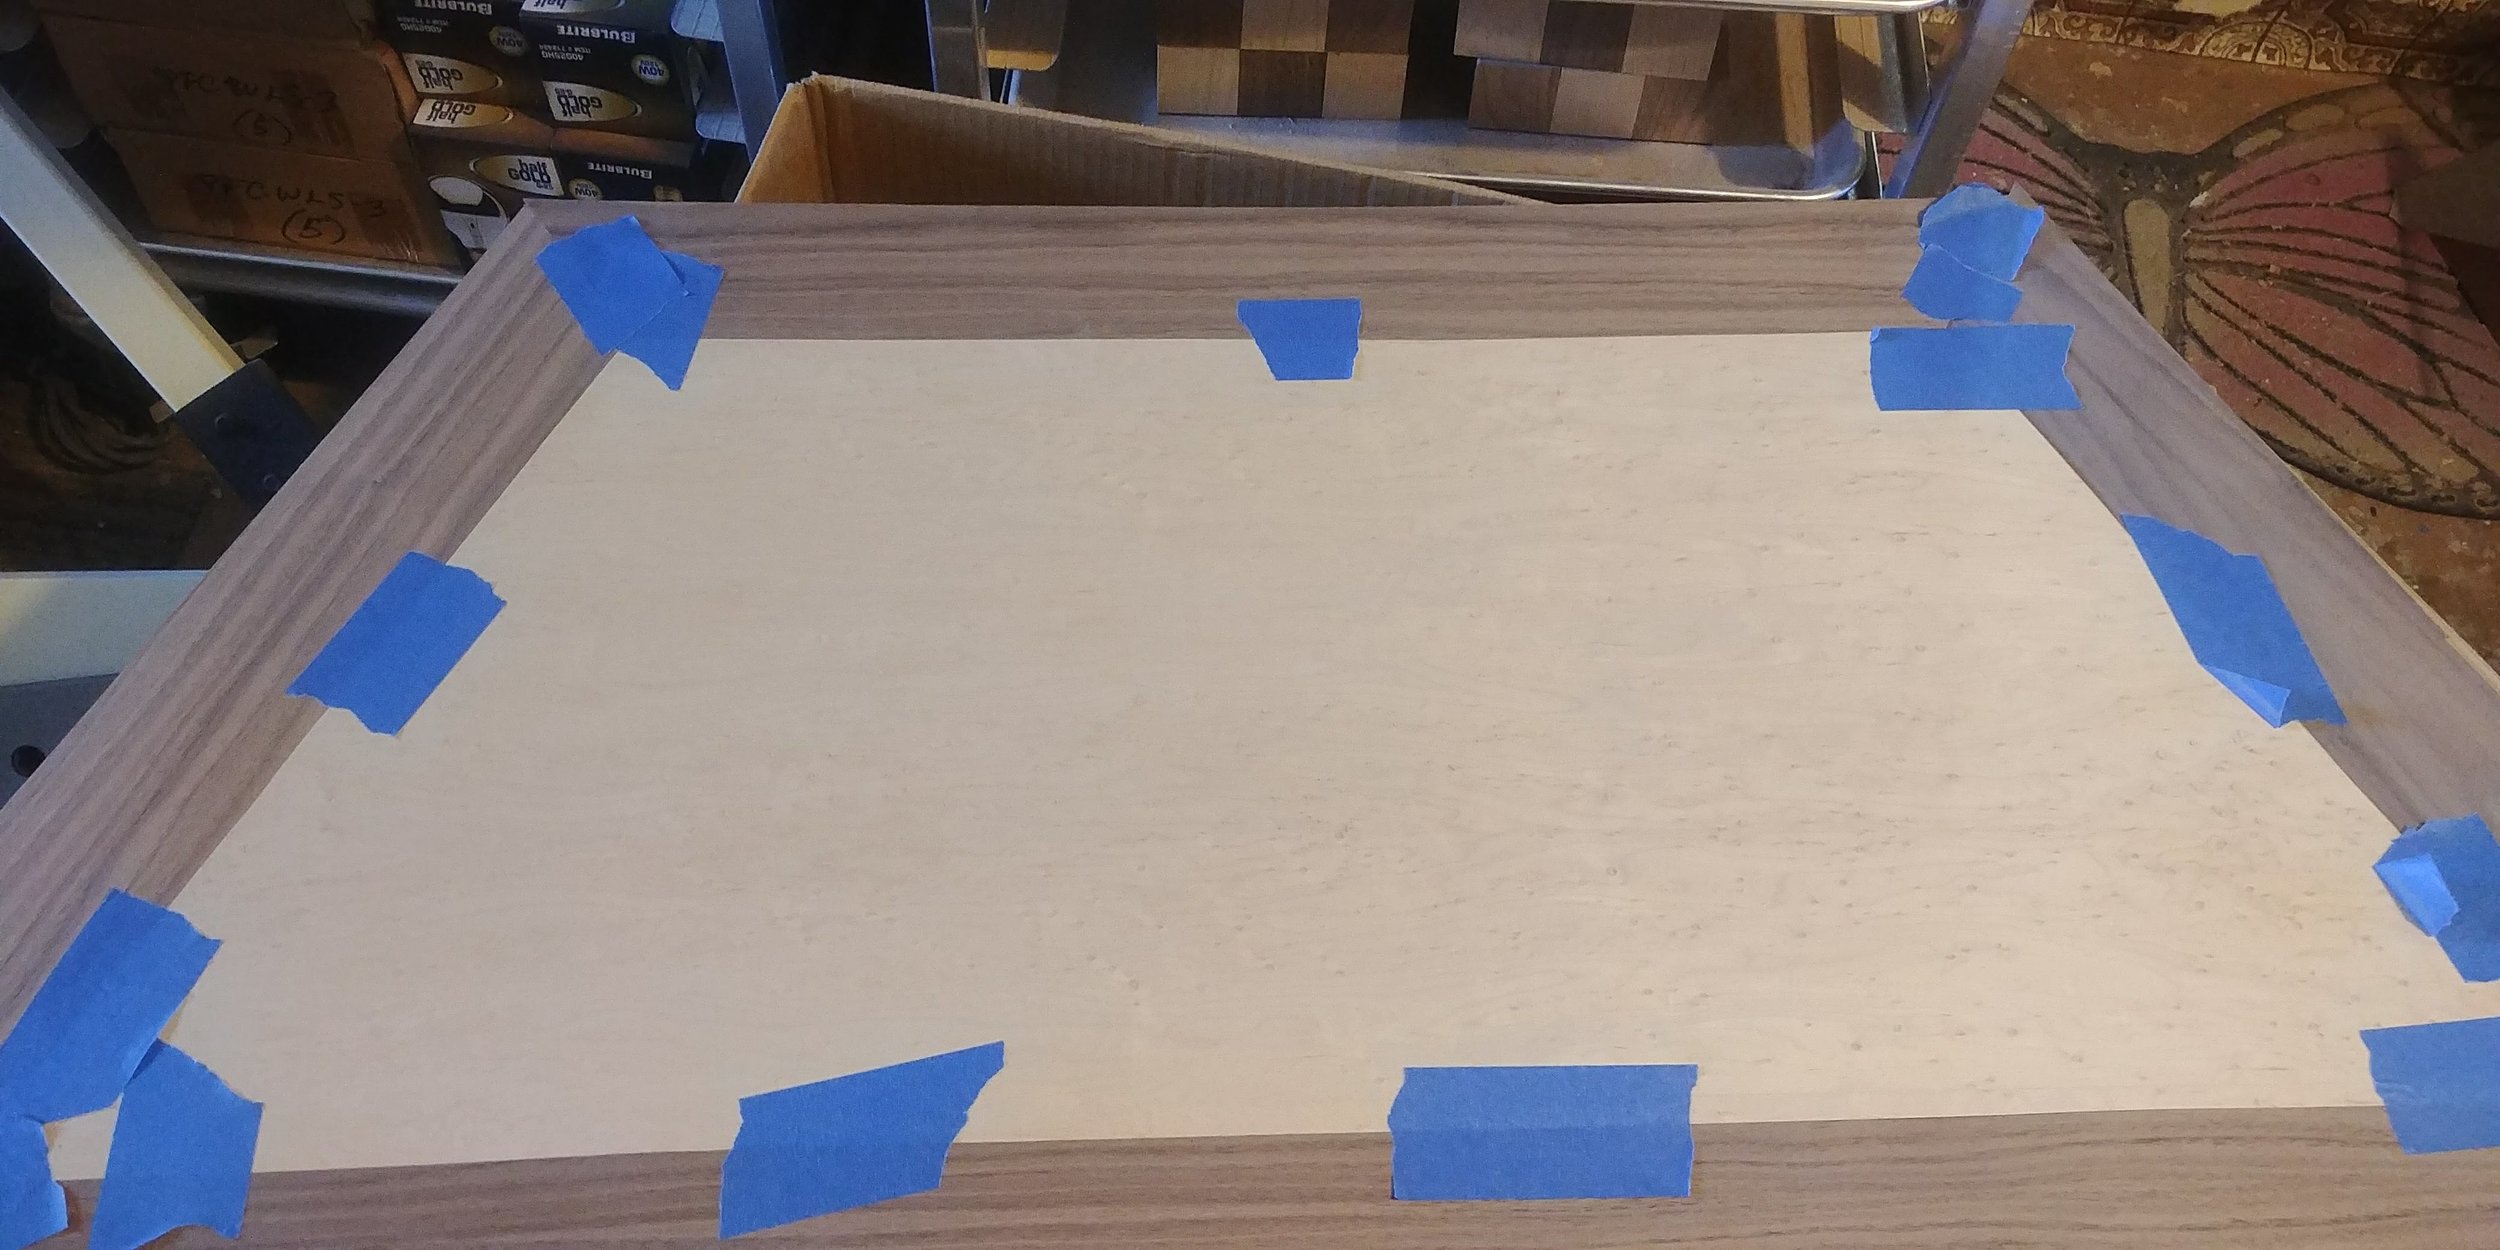
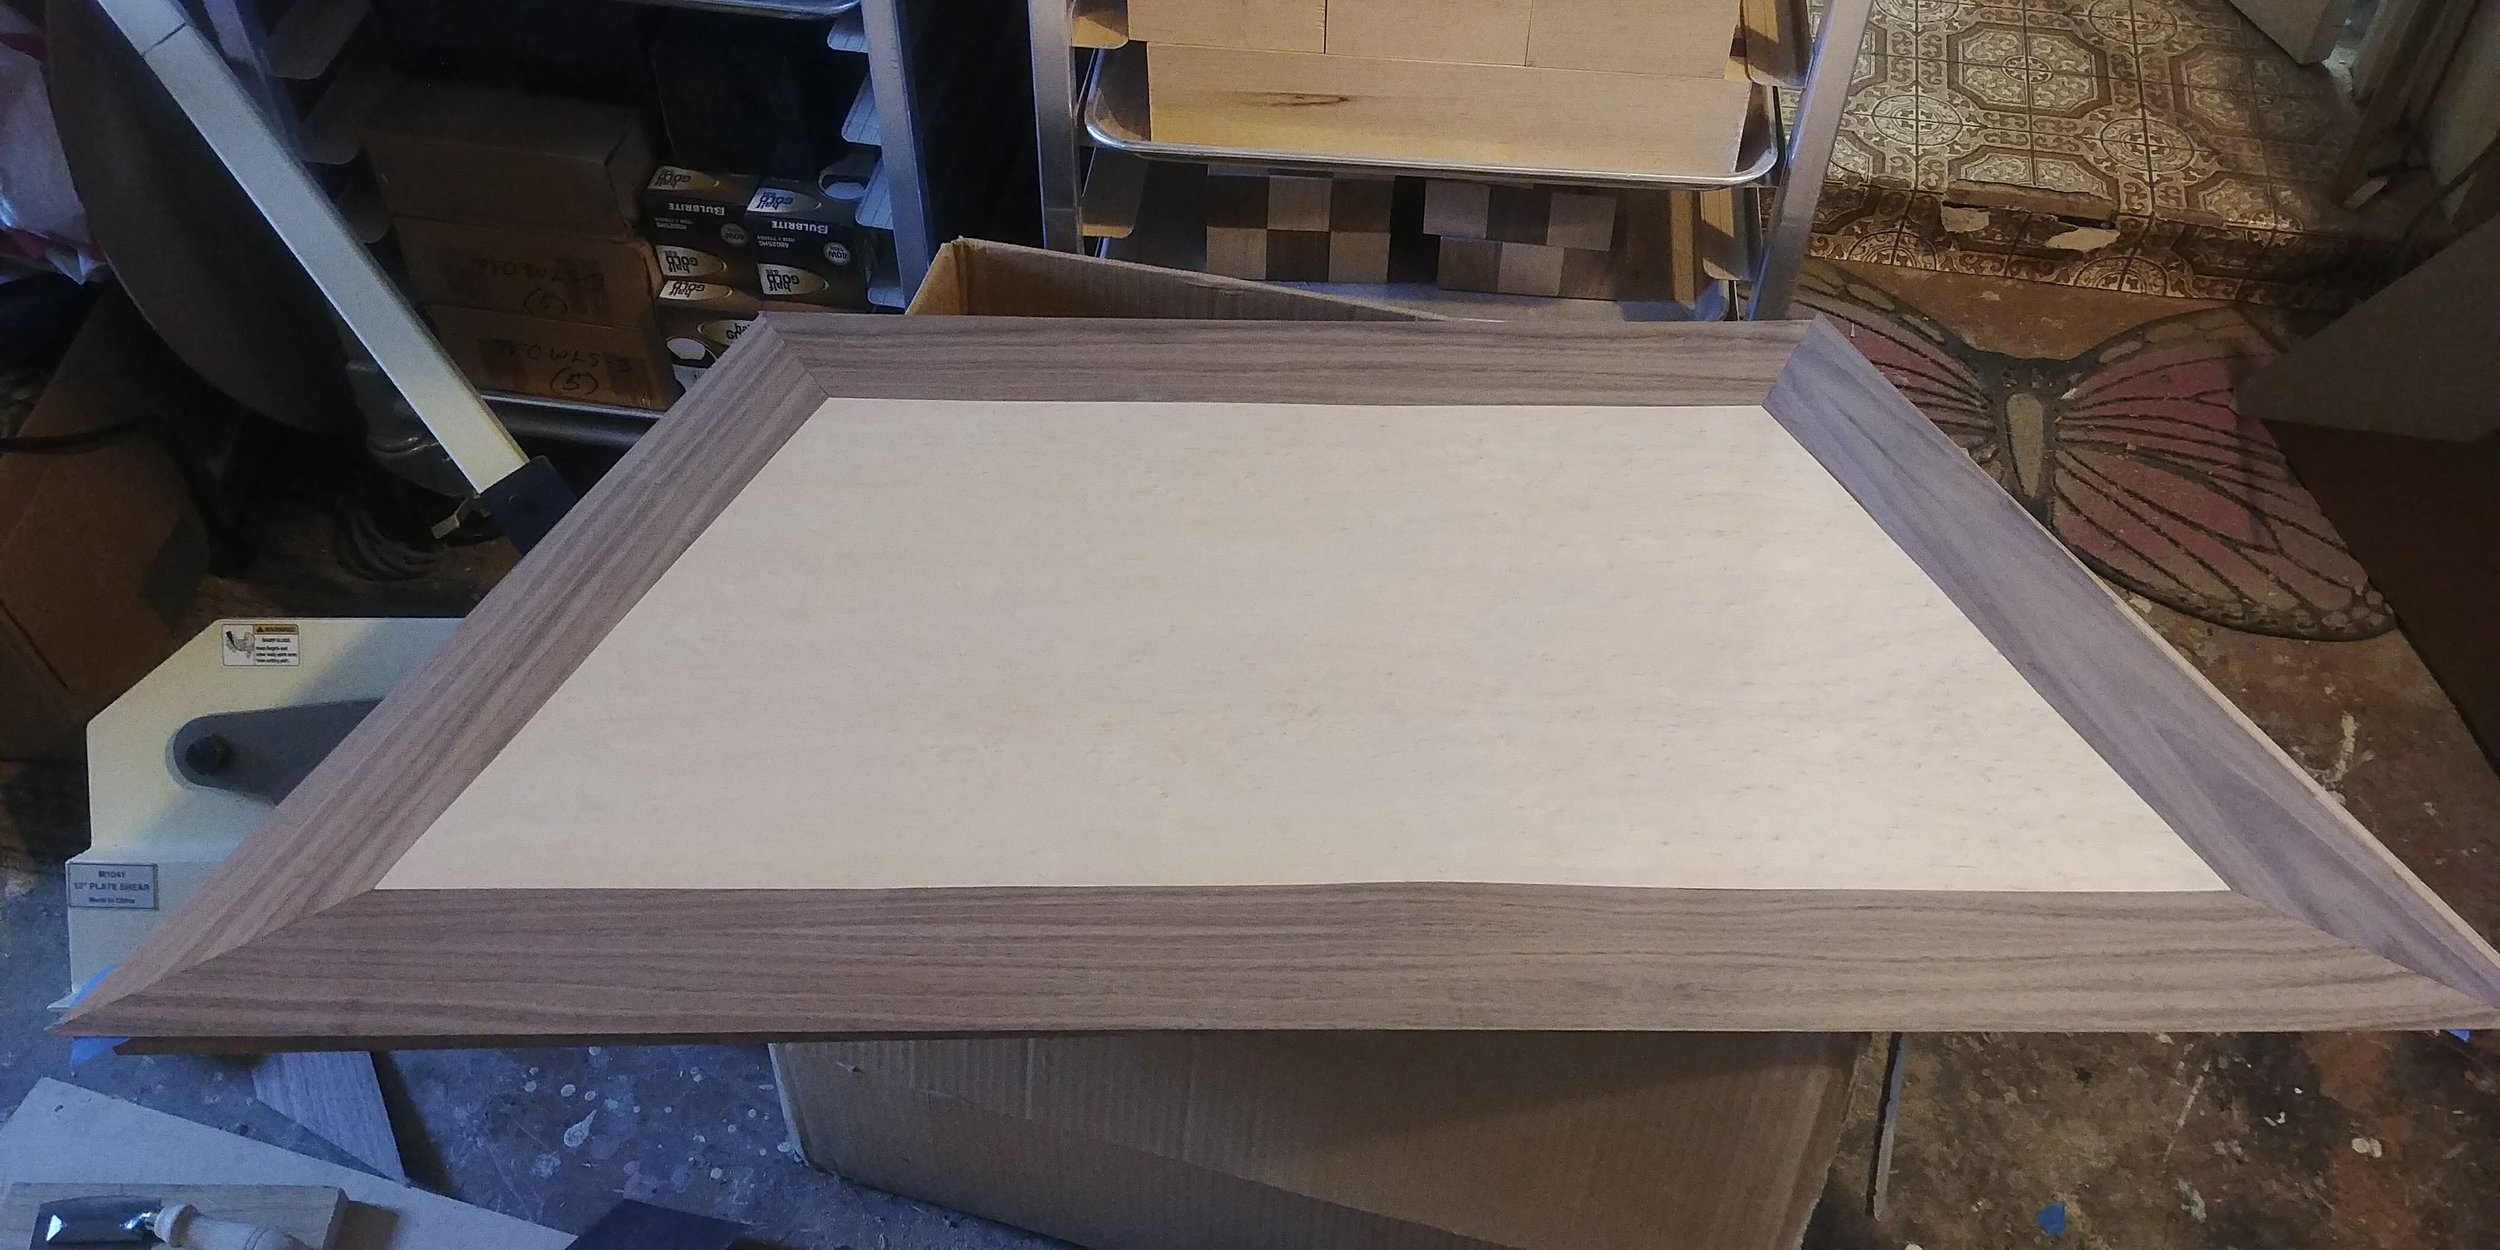
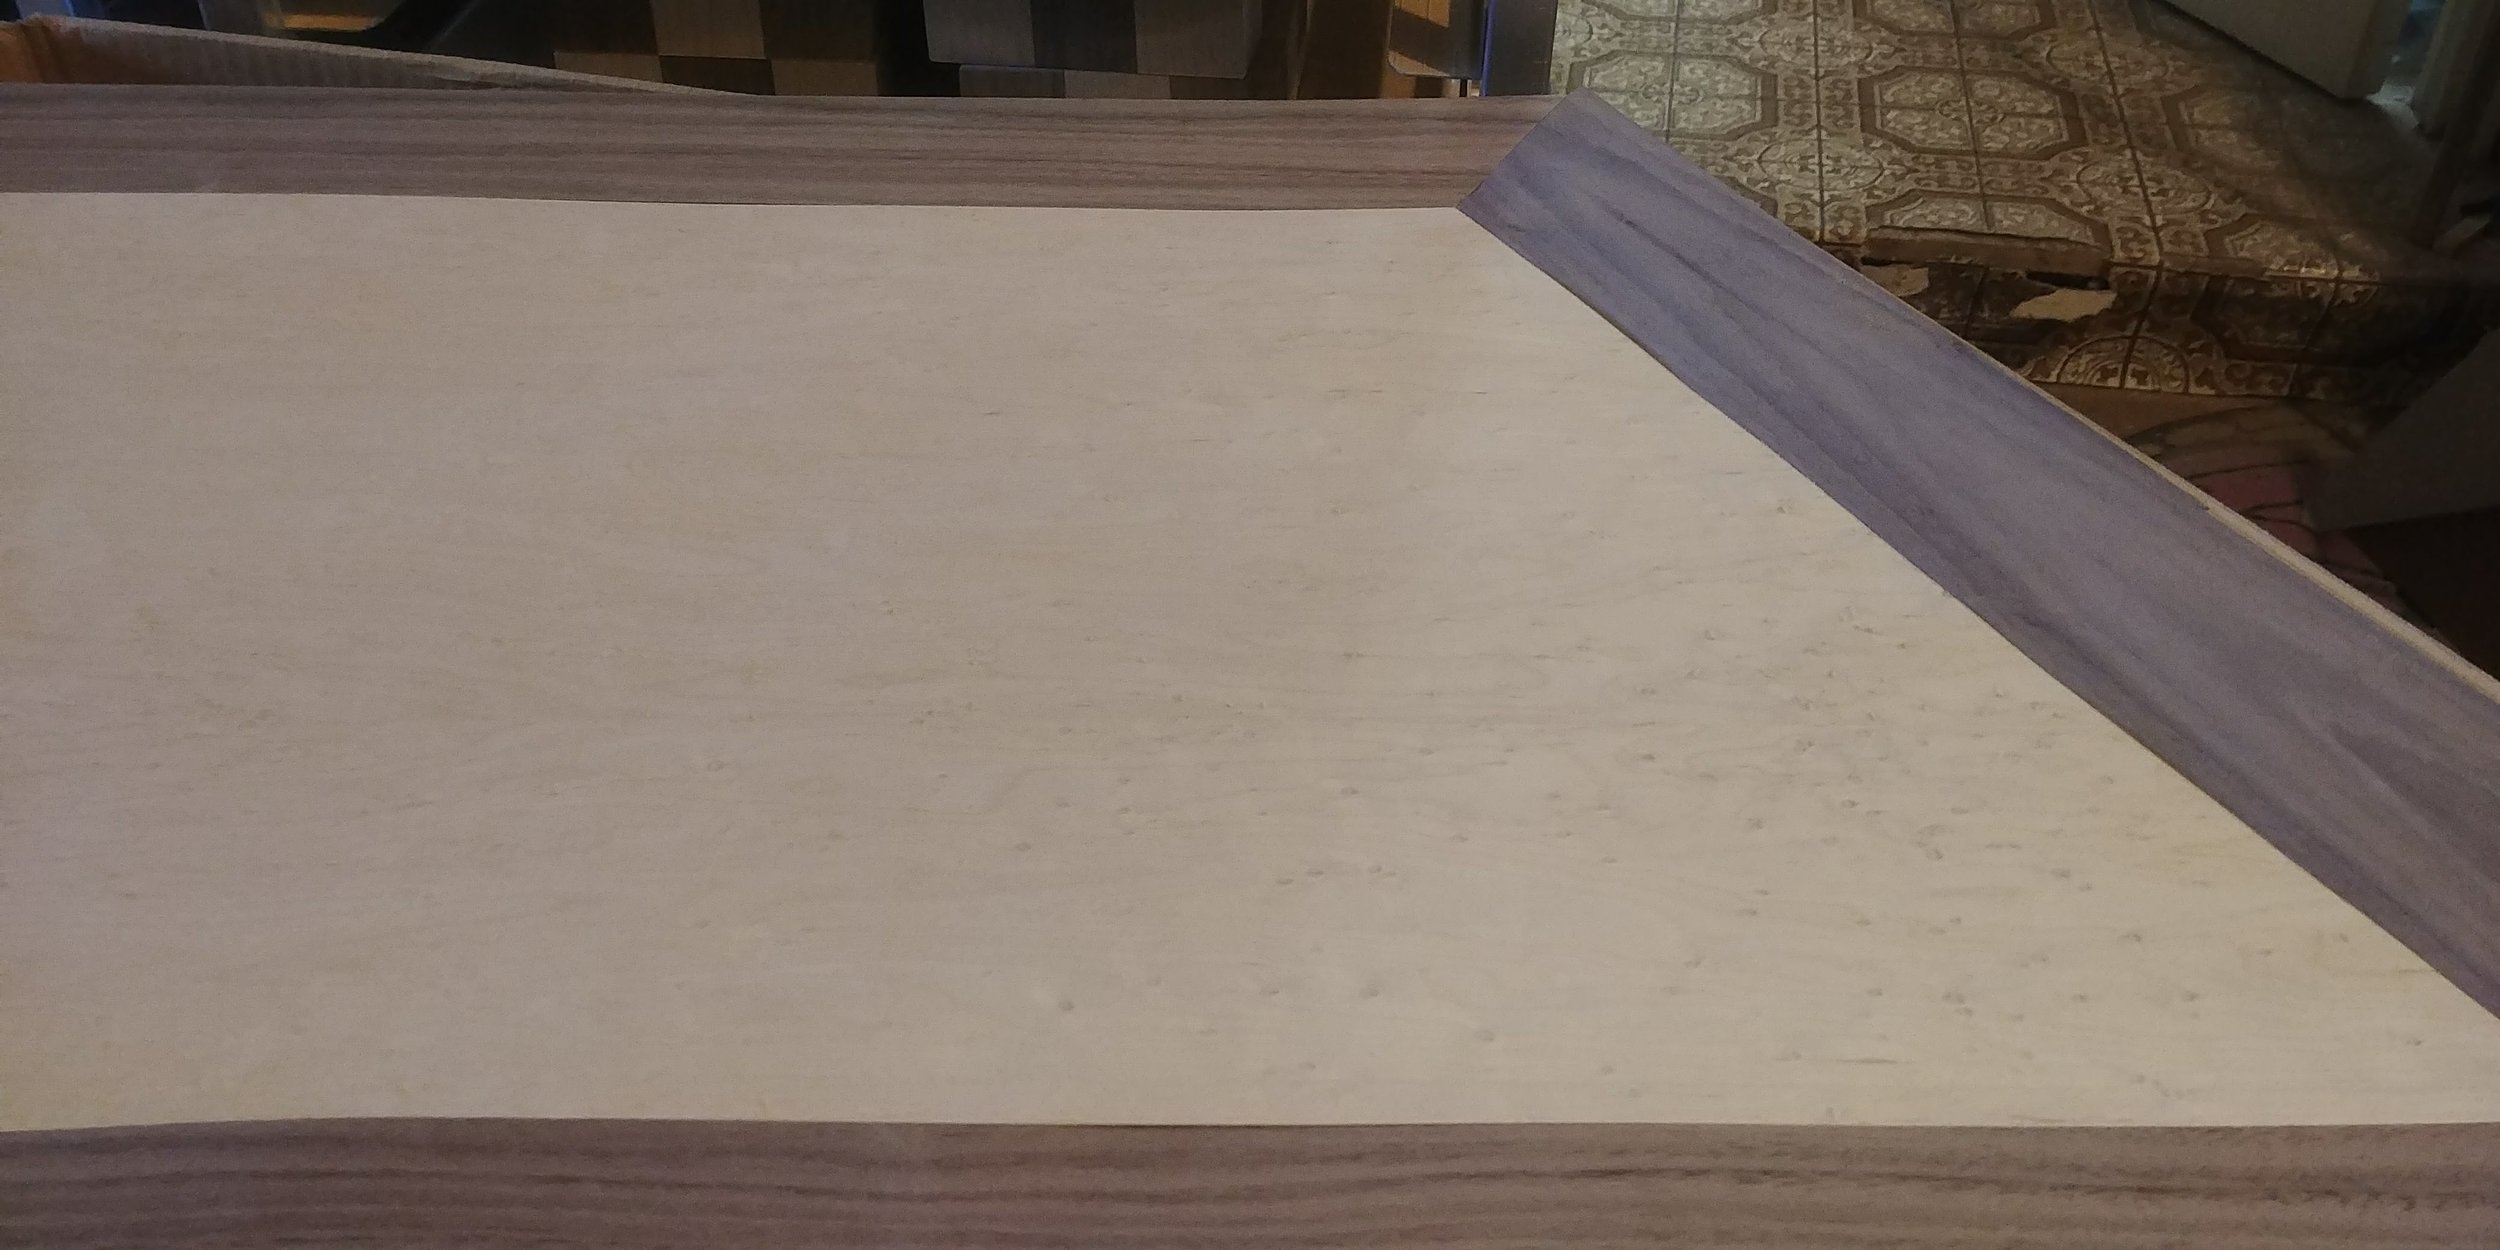
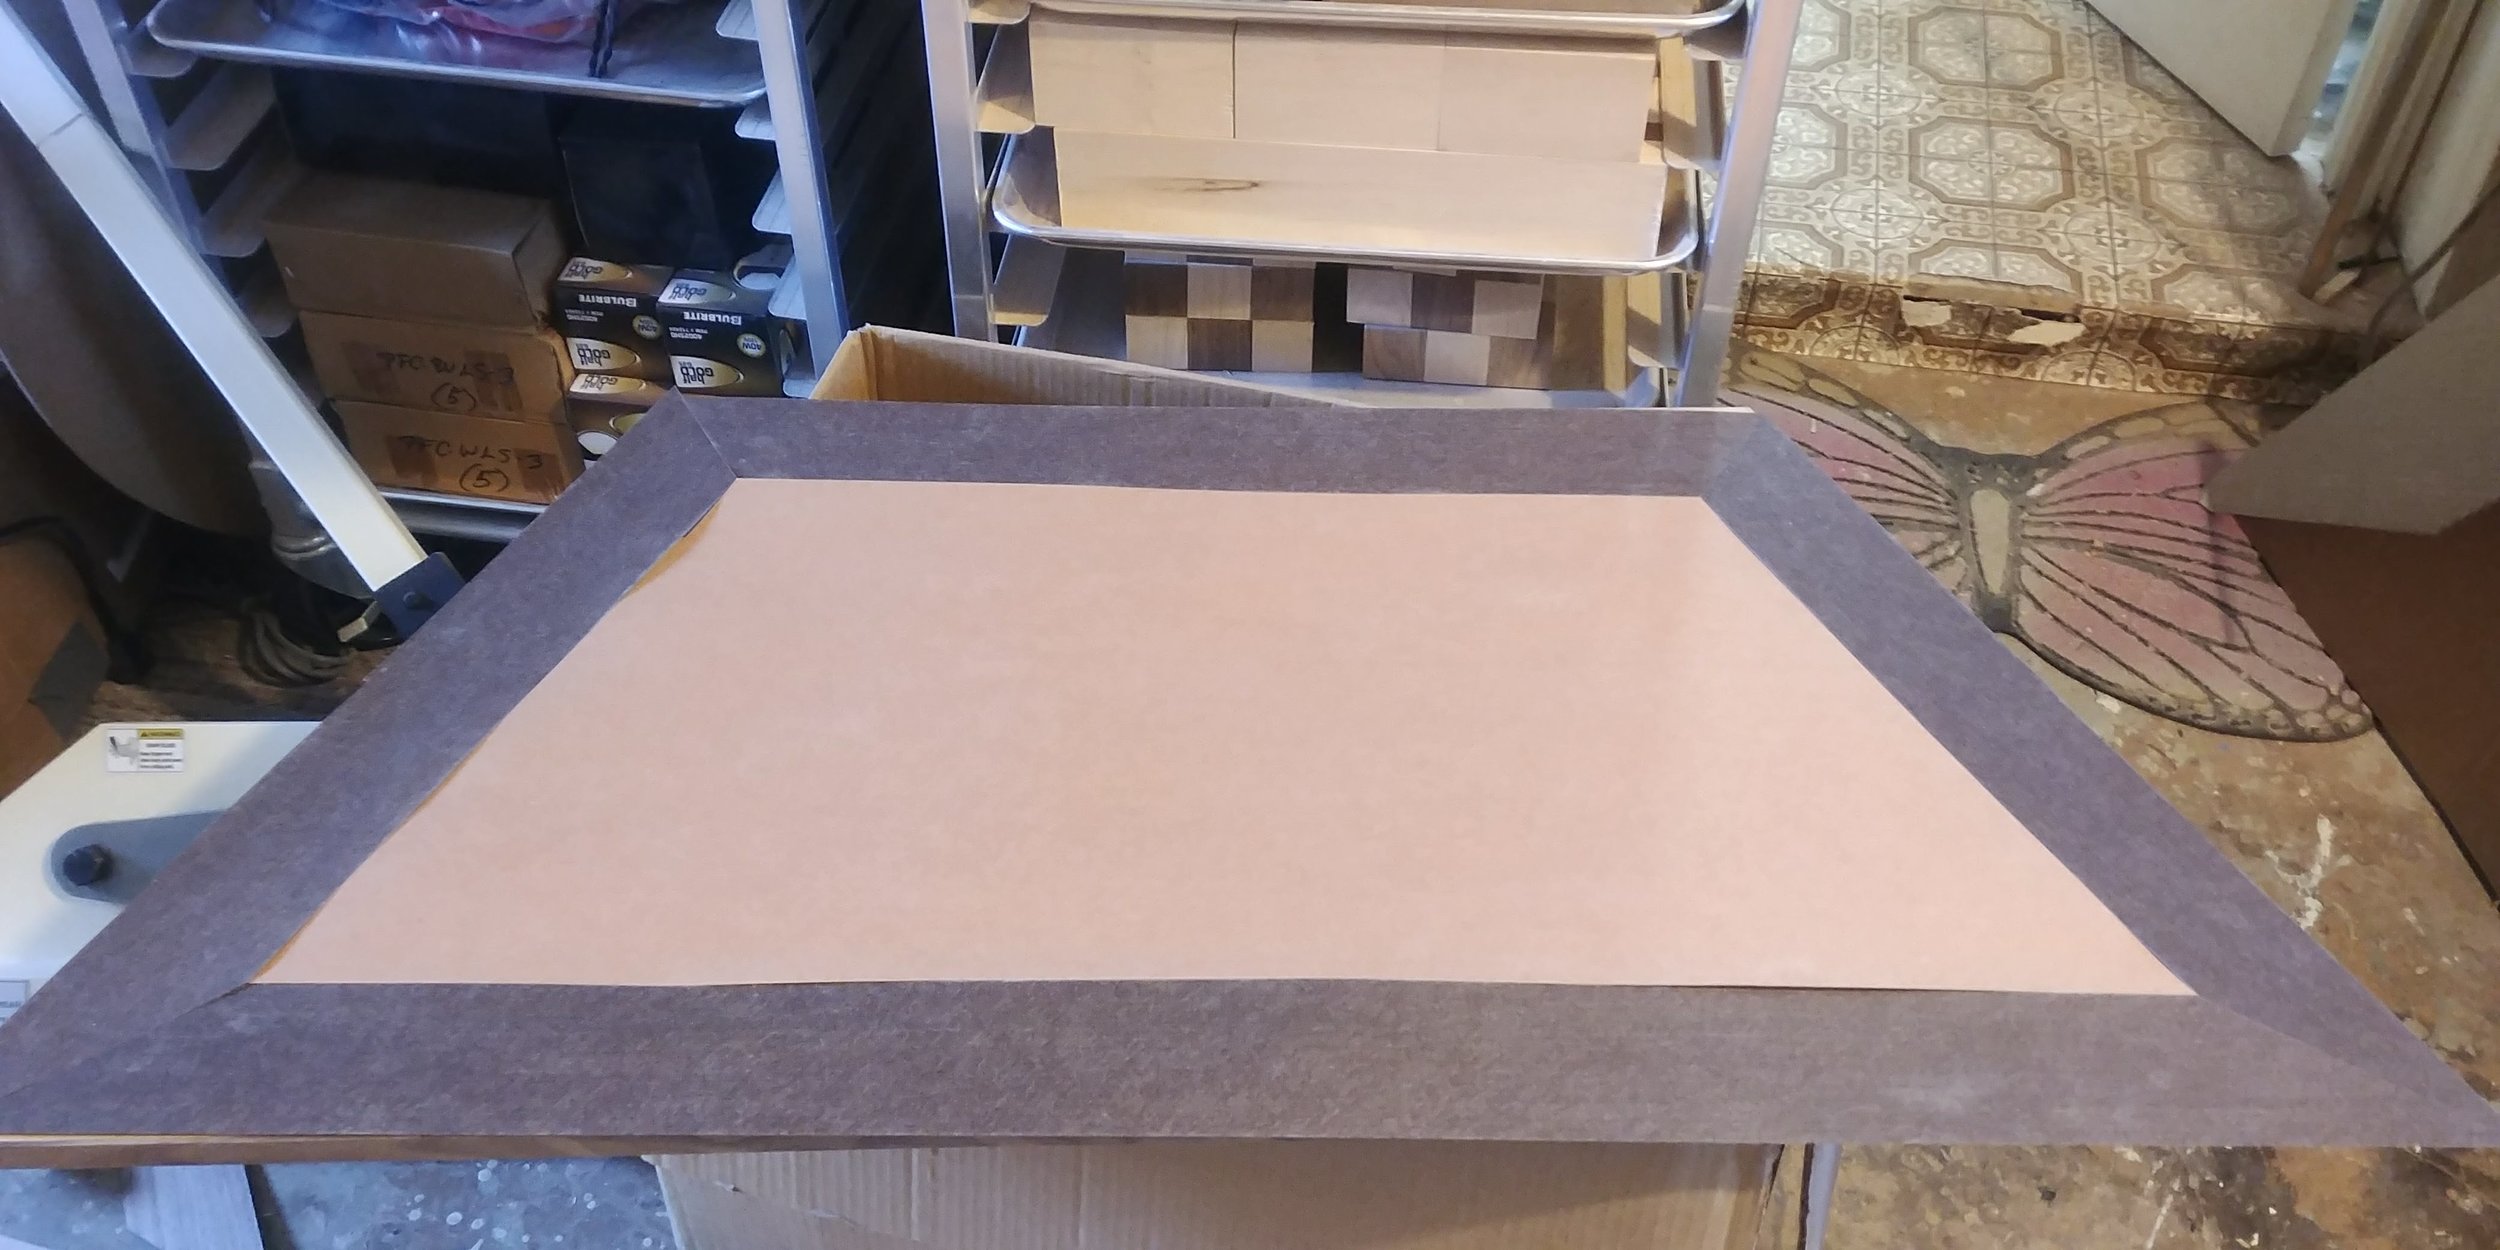
Three of the four pieces were simple trapezoids of walnut veneer, cut about 1/4" larger than the MDF surface, and so very quick to prep. However, the top had the five pieces of veneer joined together to form the principal element of the design, so I spent a lot more time cutting this out precisely. As I cut each piece, I verified that it would fit seamlessly with the previous pieces cut so far, and then used painters tape to temporarily hold the pieces in place.
However, the painters tape would not work in the vacuum press: though it peels off quite easily under ordinary usage, when clamped under 1000# of pressure for a few hours, some of that adhesive transfers to the wood and is very tedious to remove. So once the cutting was complete, I then used veneer tape - very similar to brown kraft paper tape - to keep the set together.
Veneer the solid walnut field of the bottom of the top piece and the top of the bottom piece
Trim - via a router with a flush-cut trim bit - the edge of that oversized veneer
Route out the back edges of the top & bottom pieces so that the back - attached as the last piece - can fit flush inside to give the piece additional stability and strength
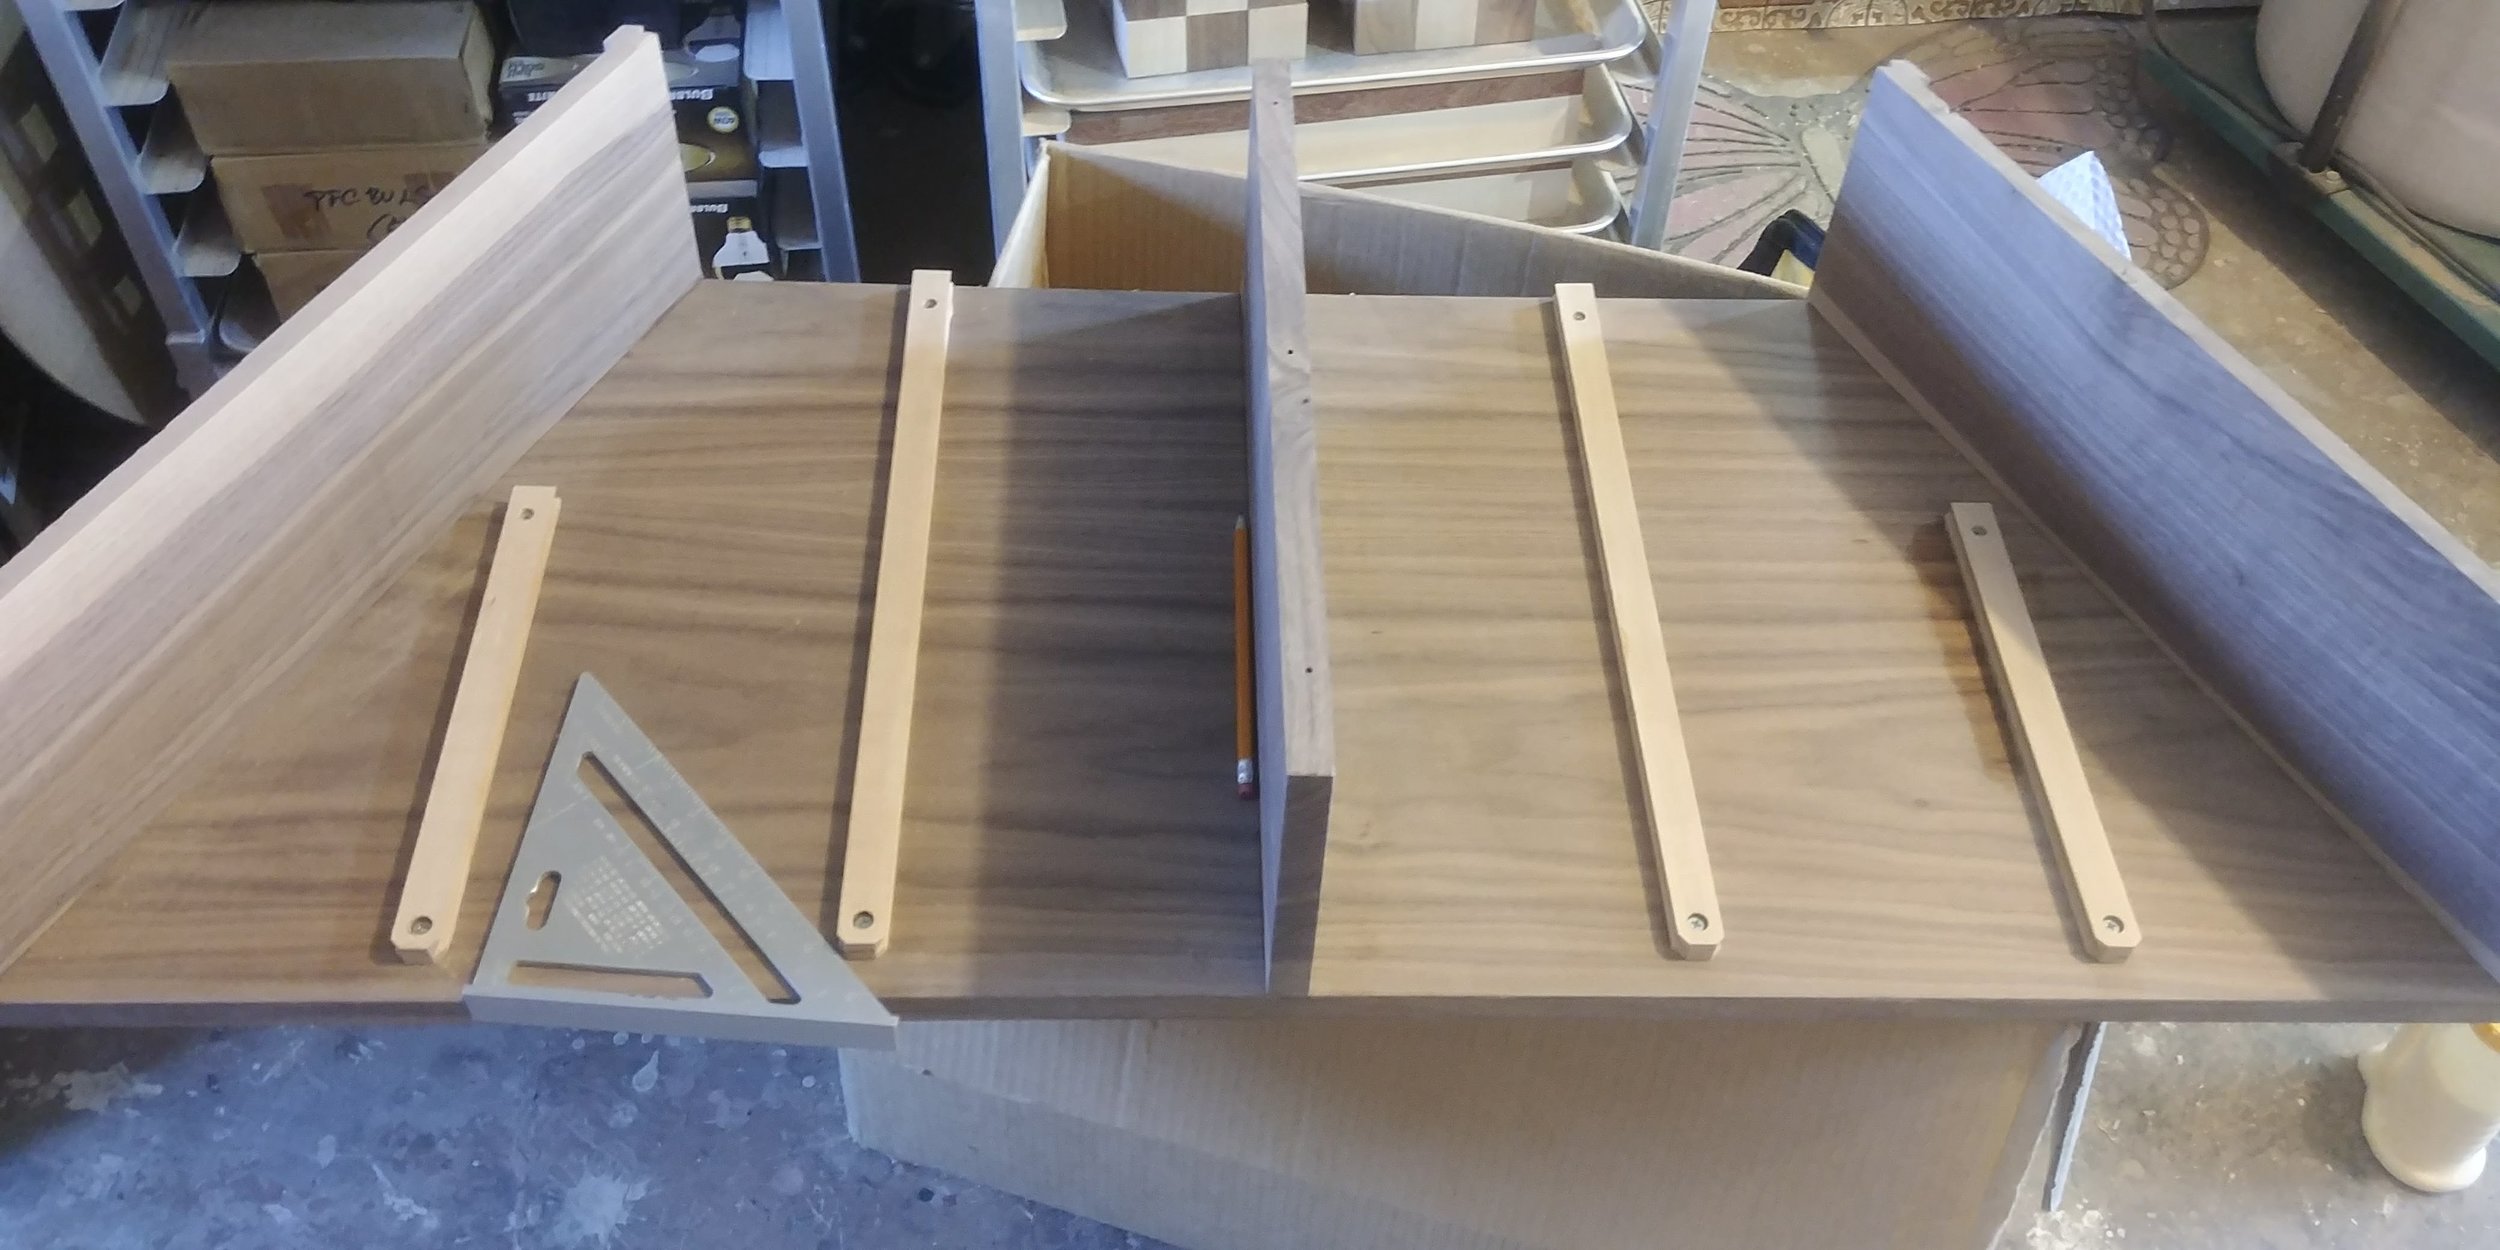
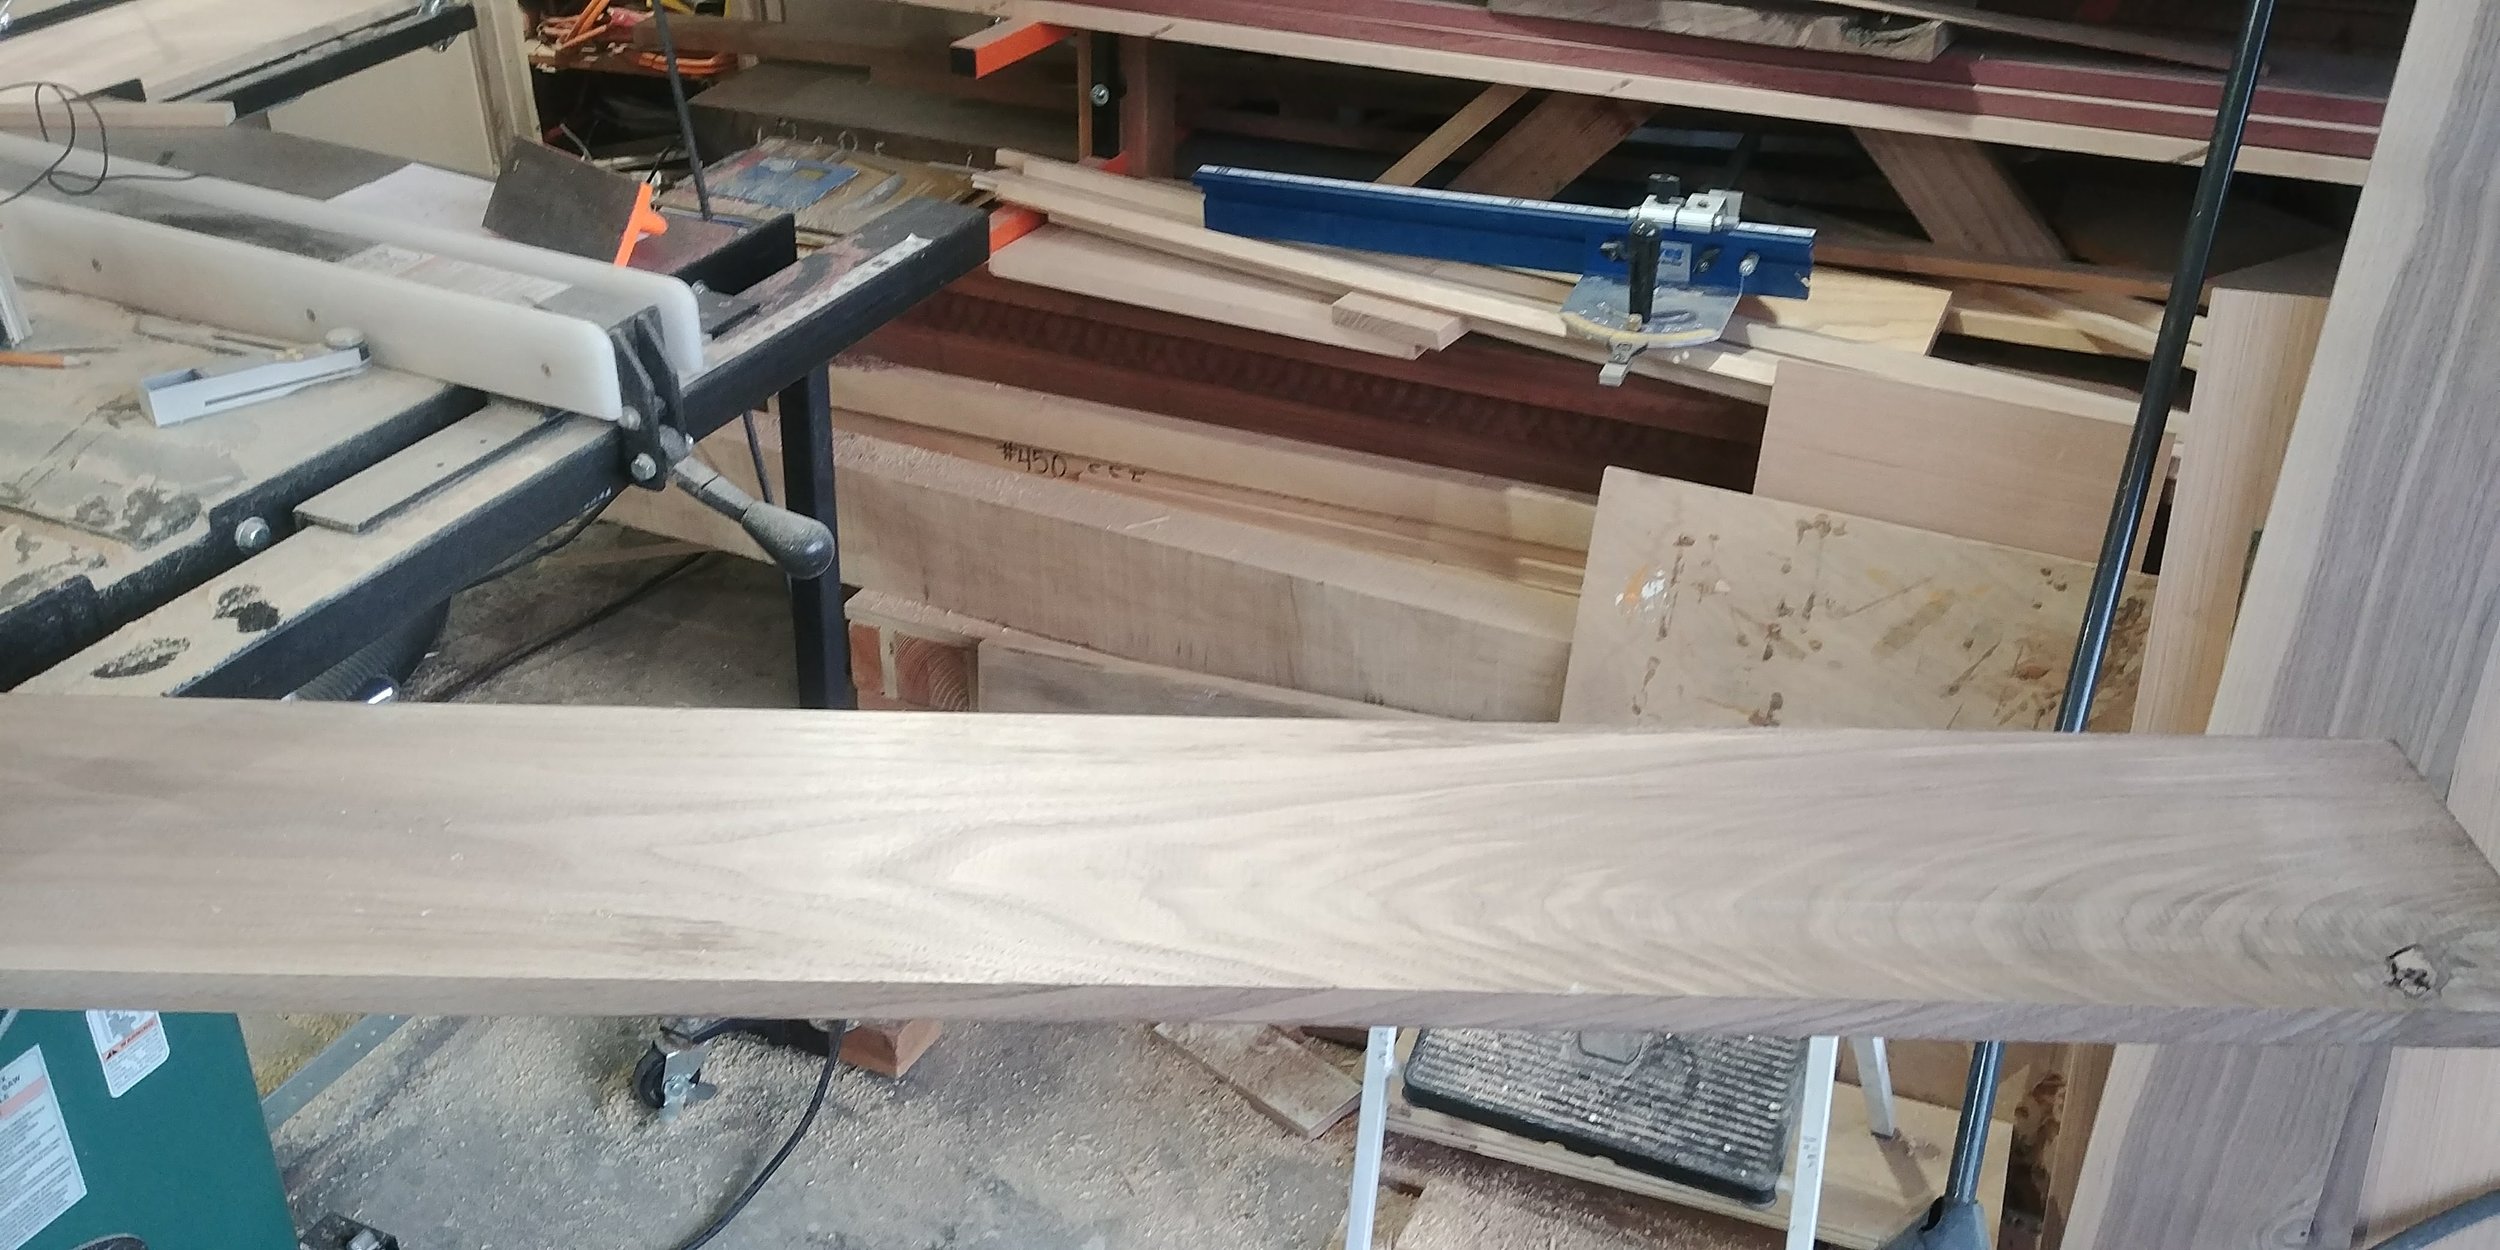
Cut the three uprights (left, center, and right), and route out the outside edges of the left and right uprights

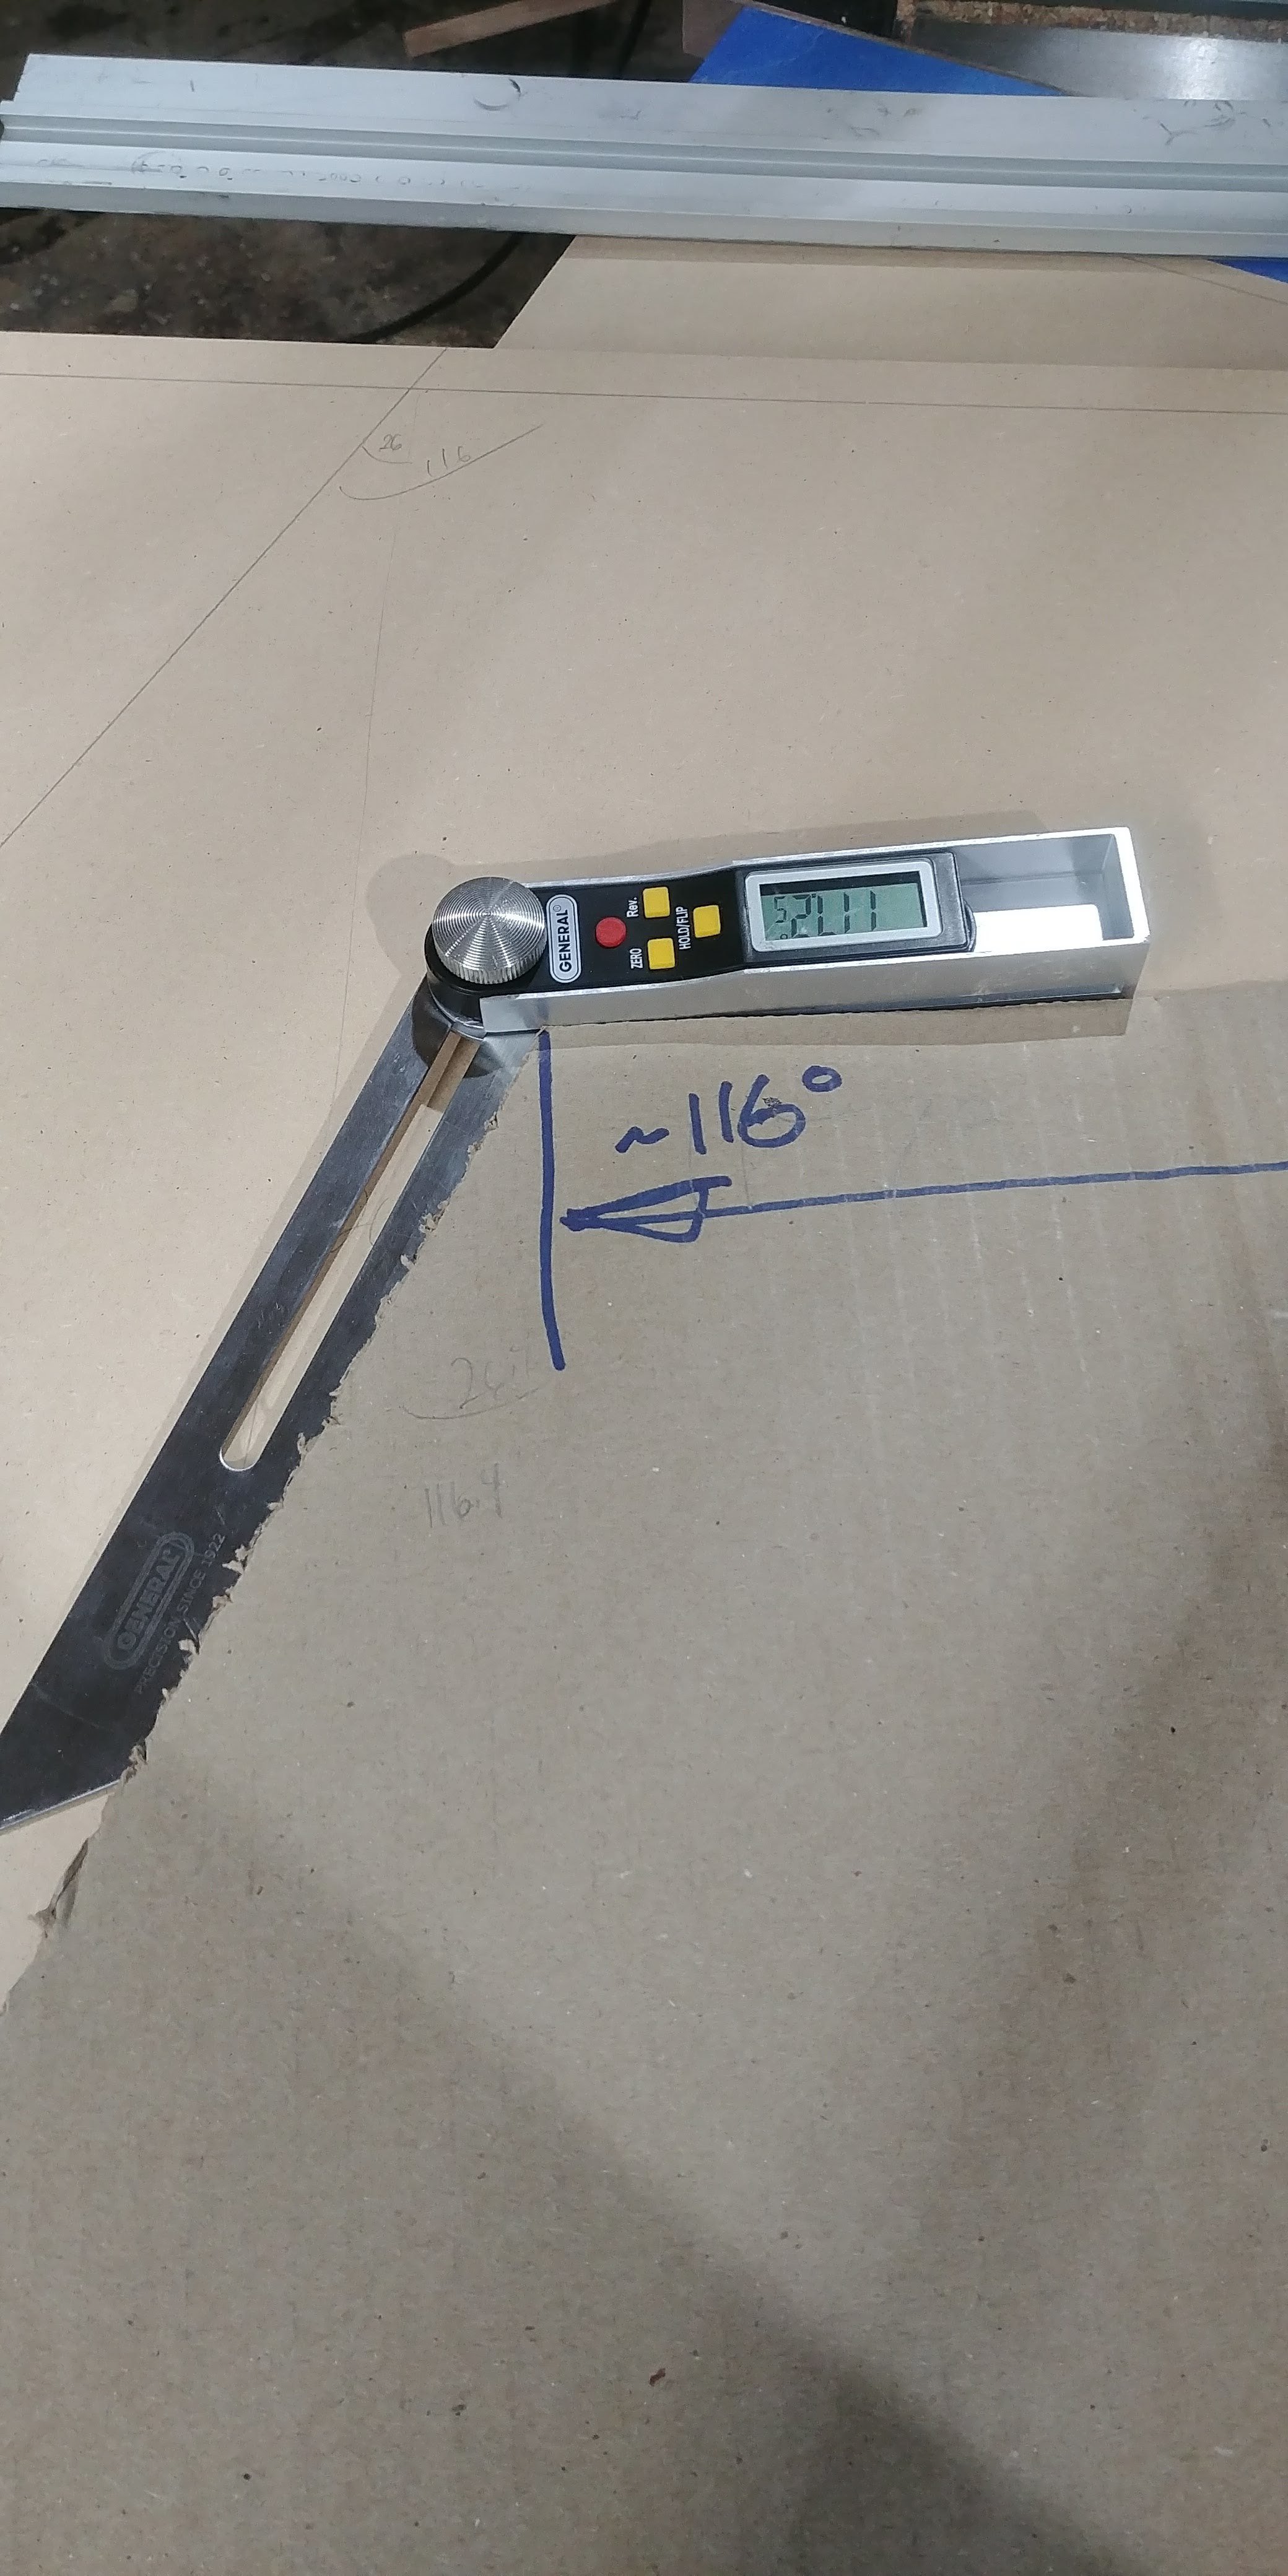
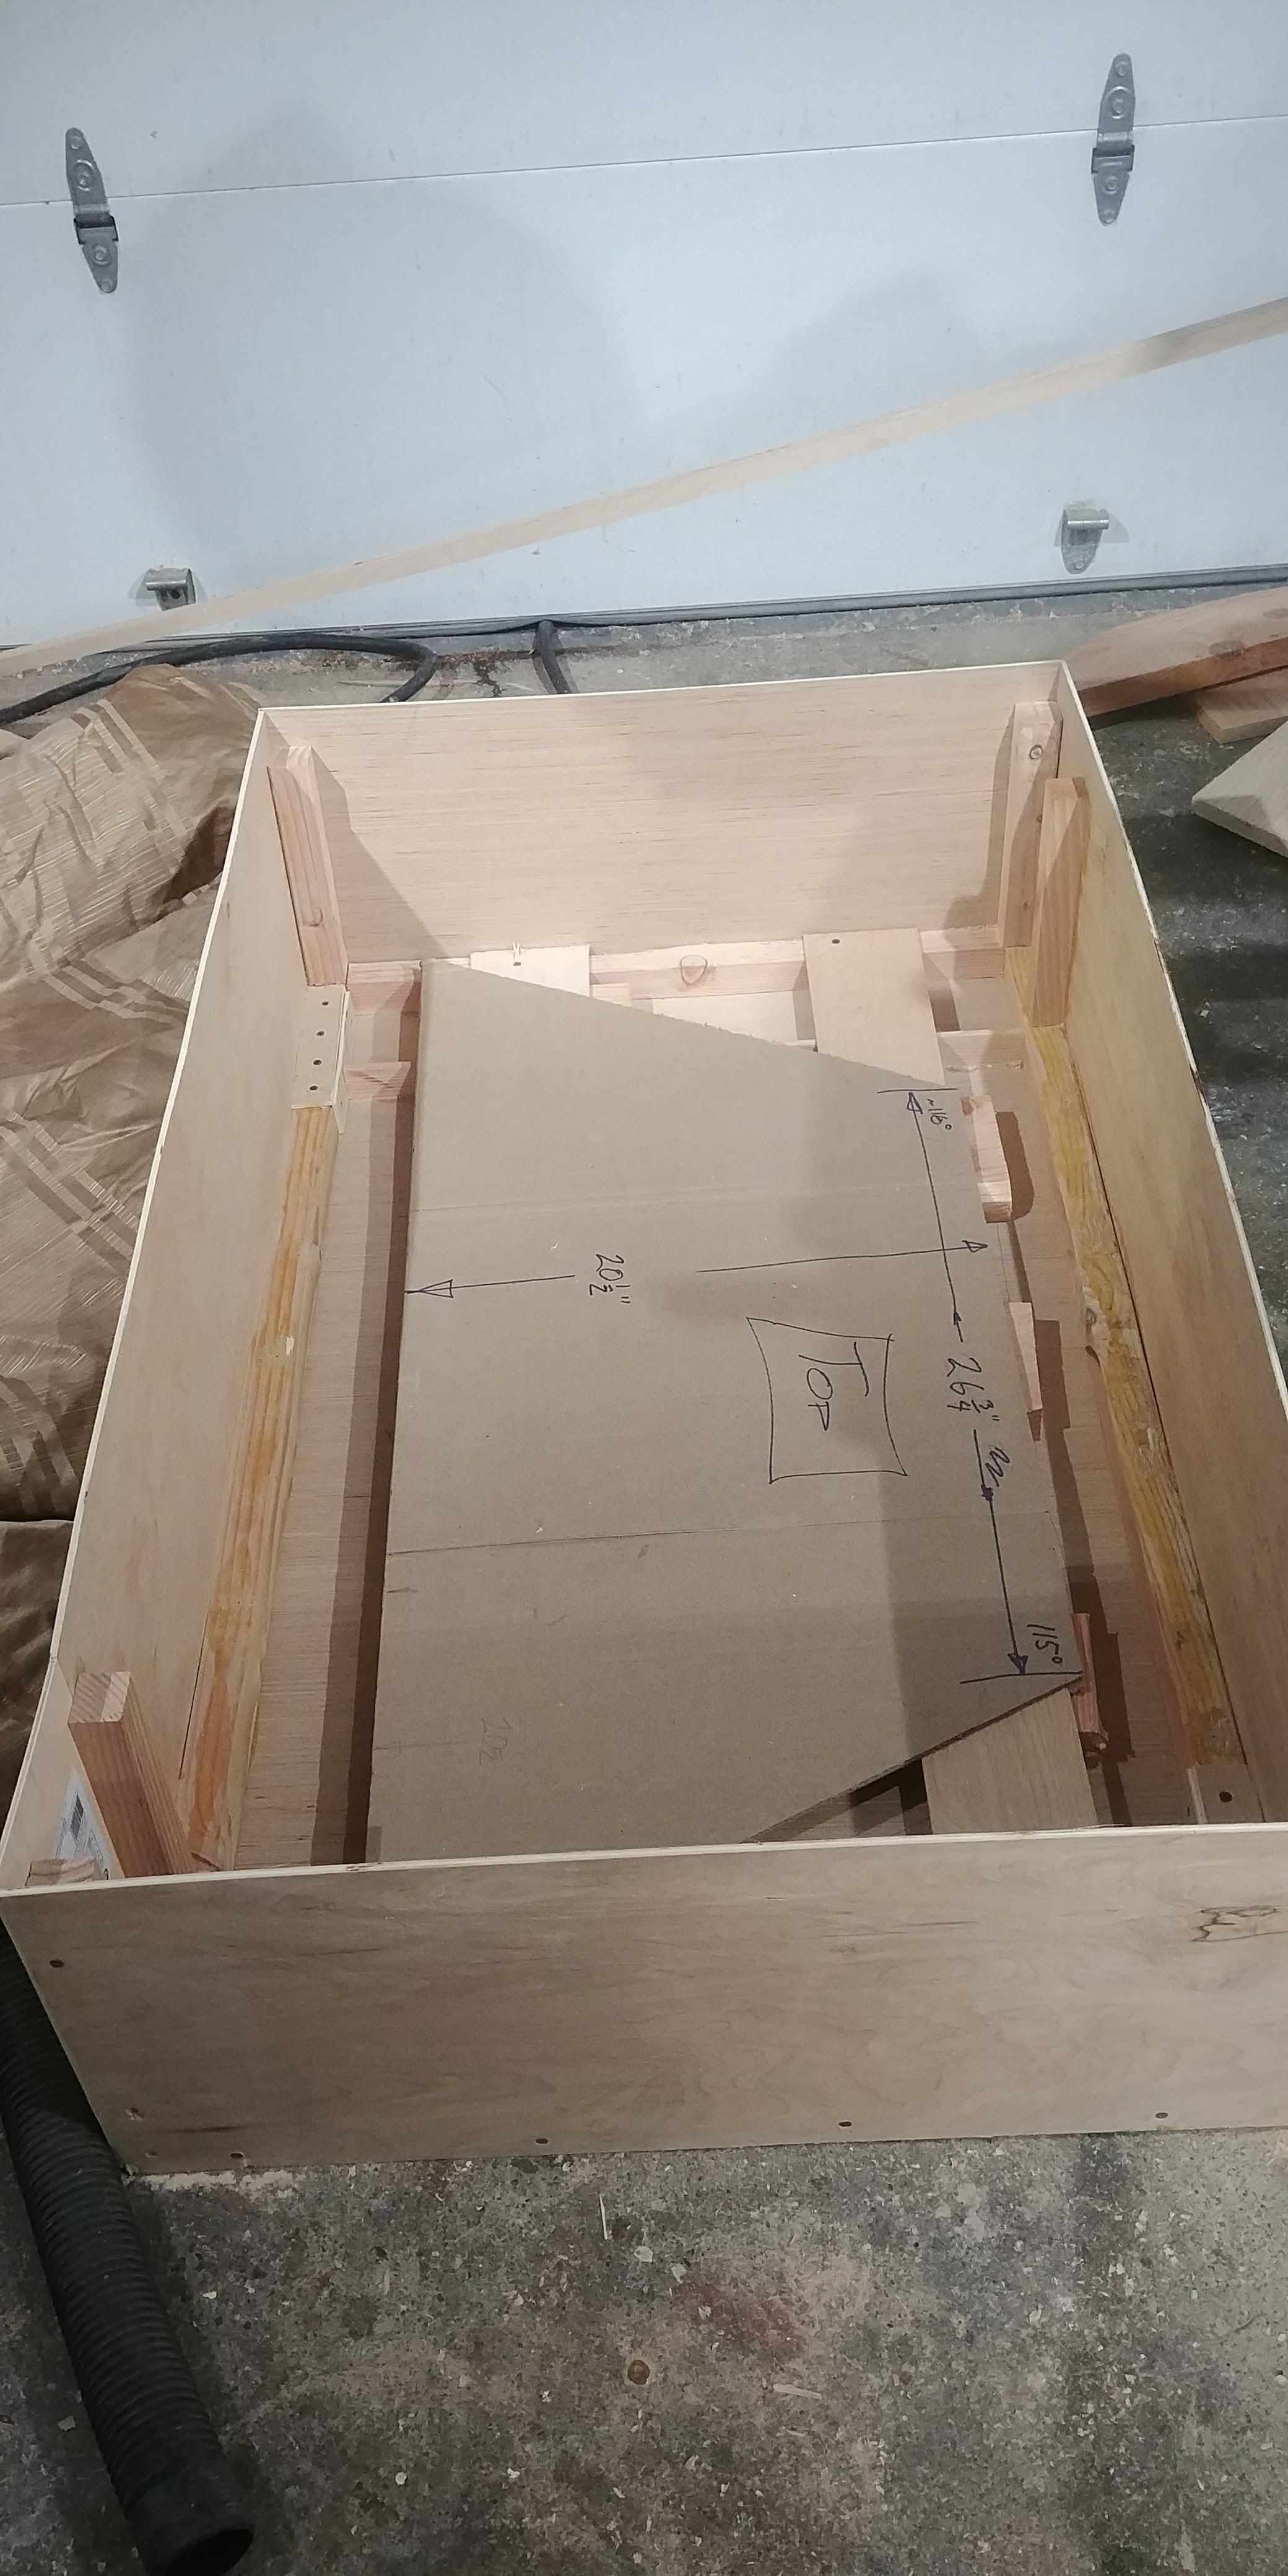
This detail - which you can see at right here - came about in discussion with the client after following up with the template in detail. In particular, the angles and some of the lengths written on the template did not perfectly align with the angles and lengths of the template. Which were correct? We decided to follow the template, but in case there were minor deviations - or the drywall bowed out - I would a) route out the sides so that if the cabinet needed to be sanded down to fit, there was much less material to sand, and b) provide 1/4" radius quarter round solid walnut trim pieces for the top to allow for the opposite possible error, that the shelf was too small. Fortunately, the concern ended up being moot: the shelf fit perfectly requiring neither further sanding nor the quarter round.
Install the drawer slides on the bottom of the shelf - much easier to do precisely now before the top gets permanently attached
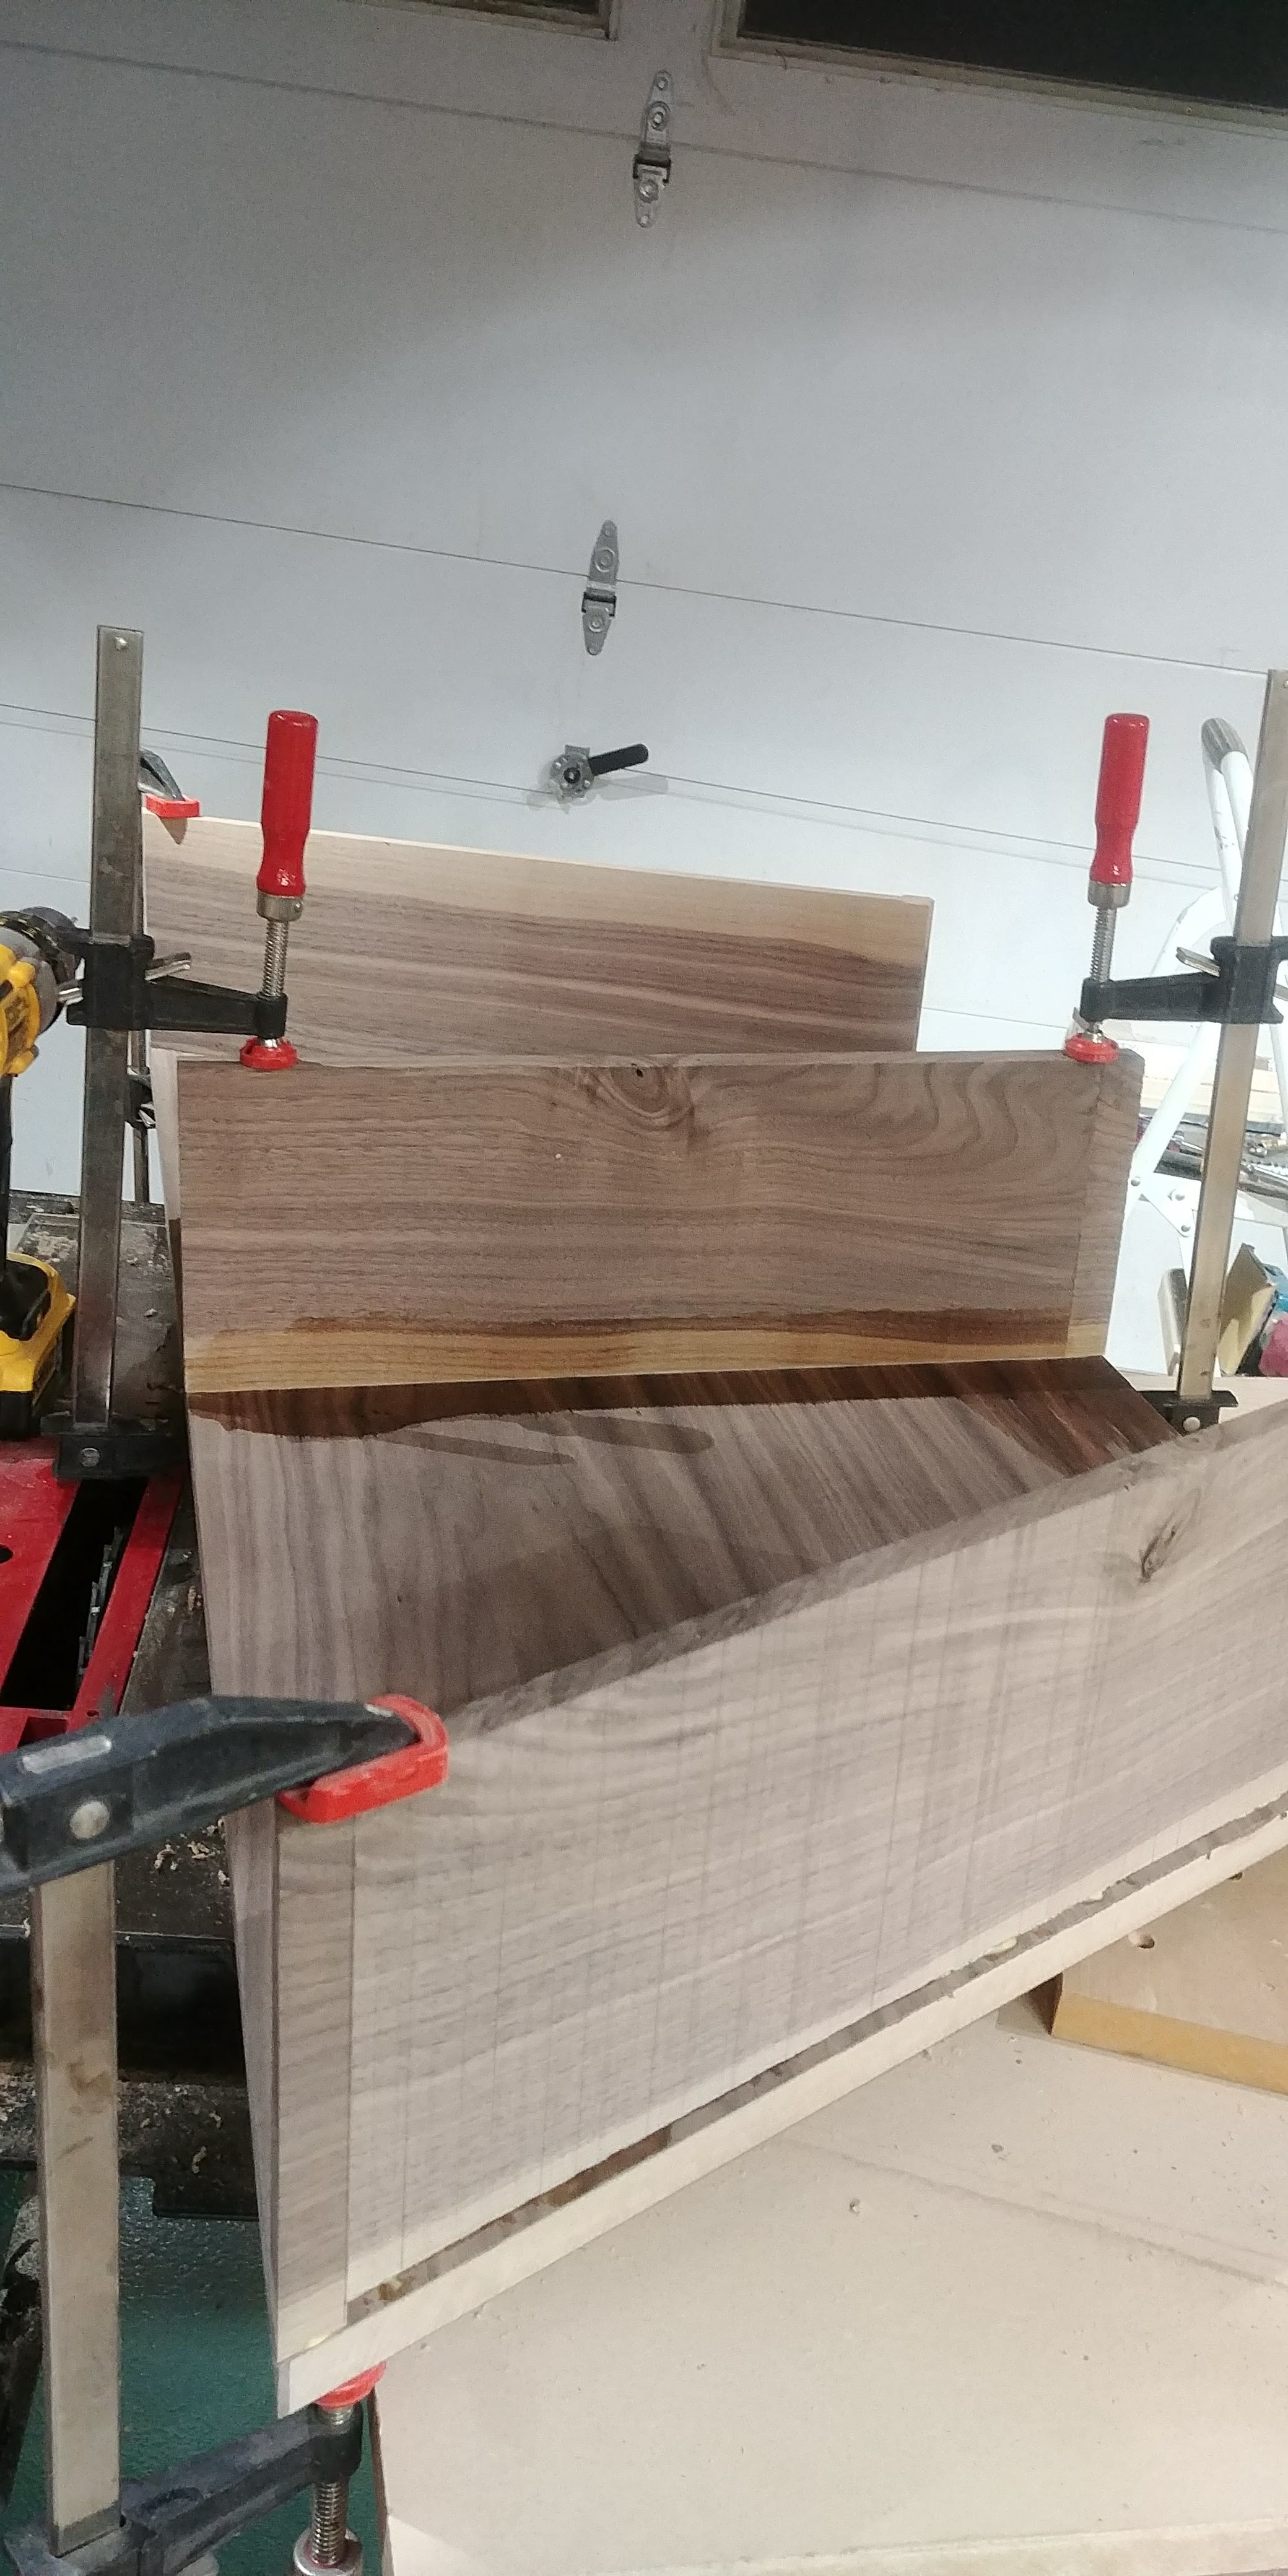
Assemble - via glue and screws - the uprights to the top and bottom, making sure the screw heads are below the surface of the MDF
Cut and install the drawer slides
Use wood filler and sand paper to make those countersunk screw holes disappear; now the “interior” of the shelf looks like solid walnut
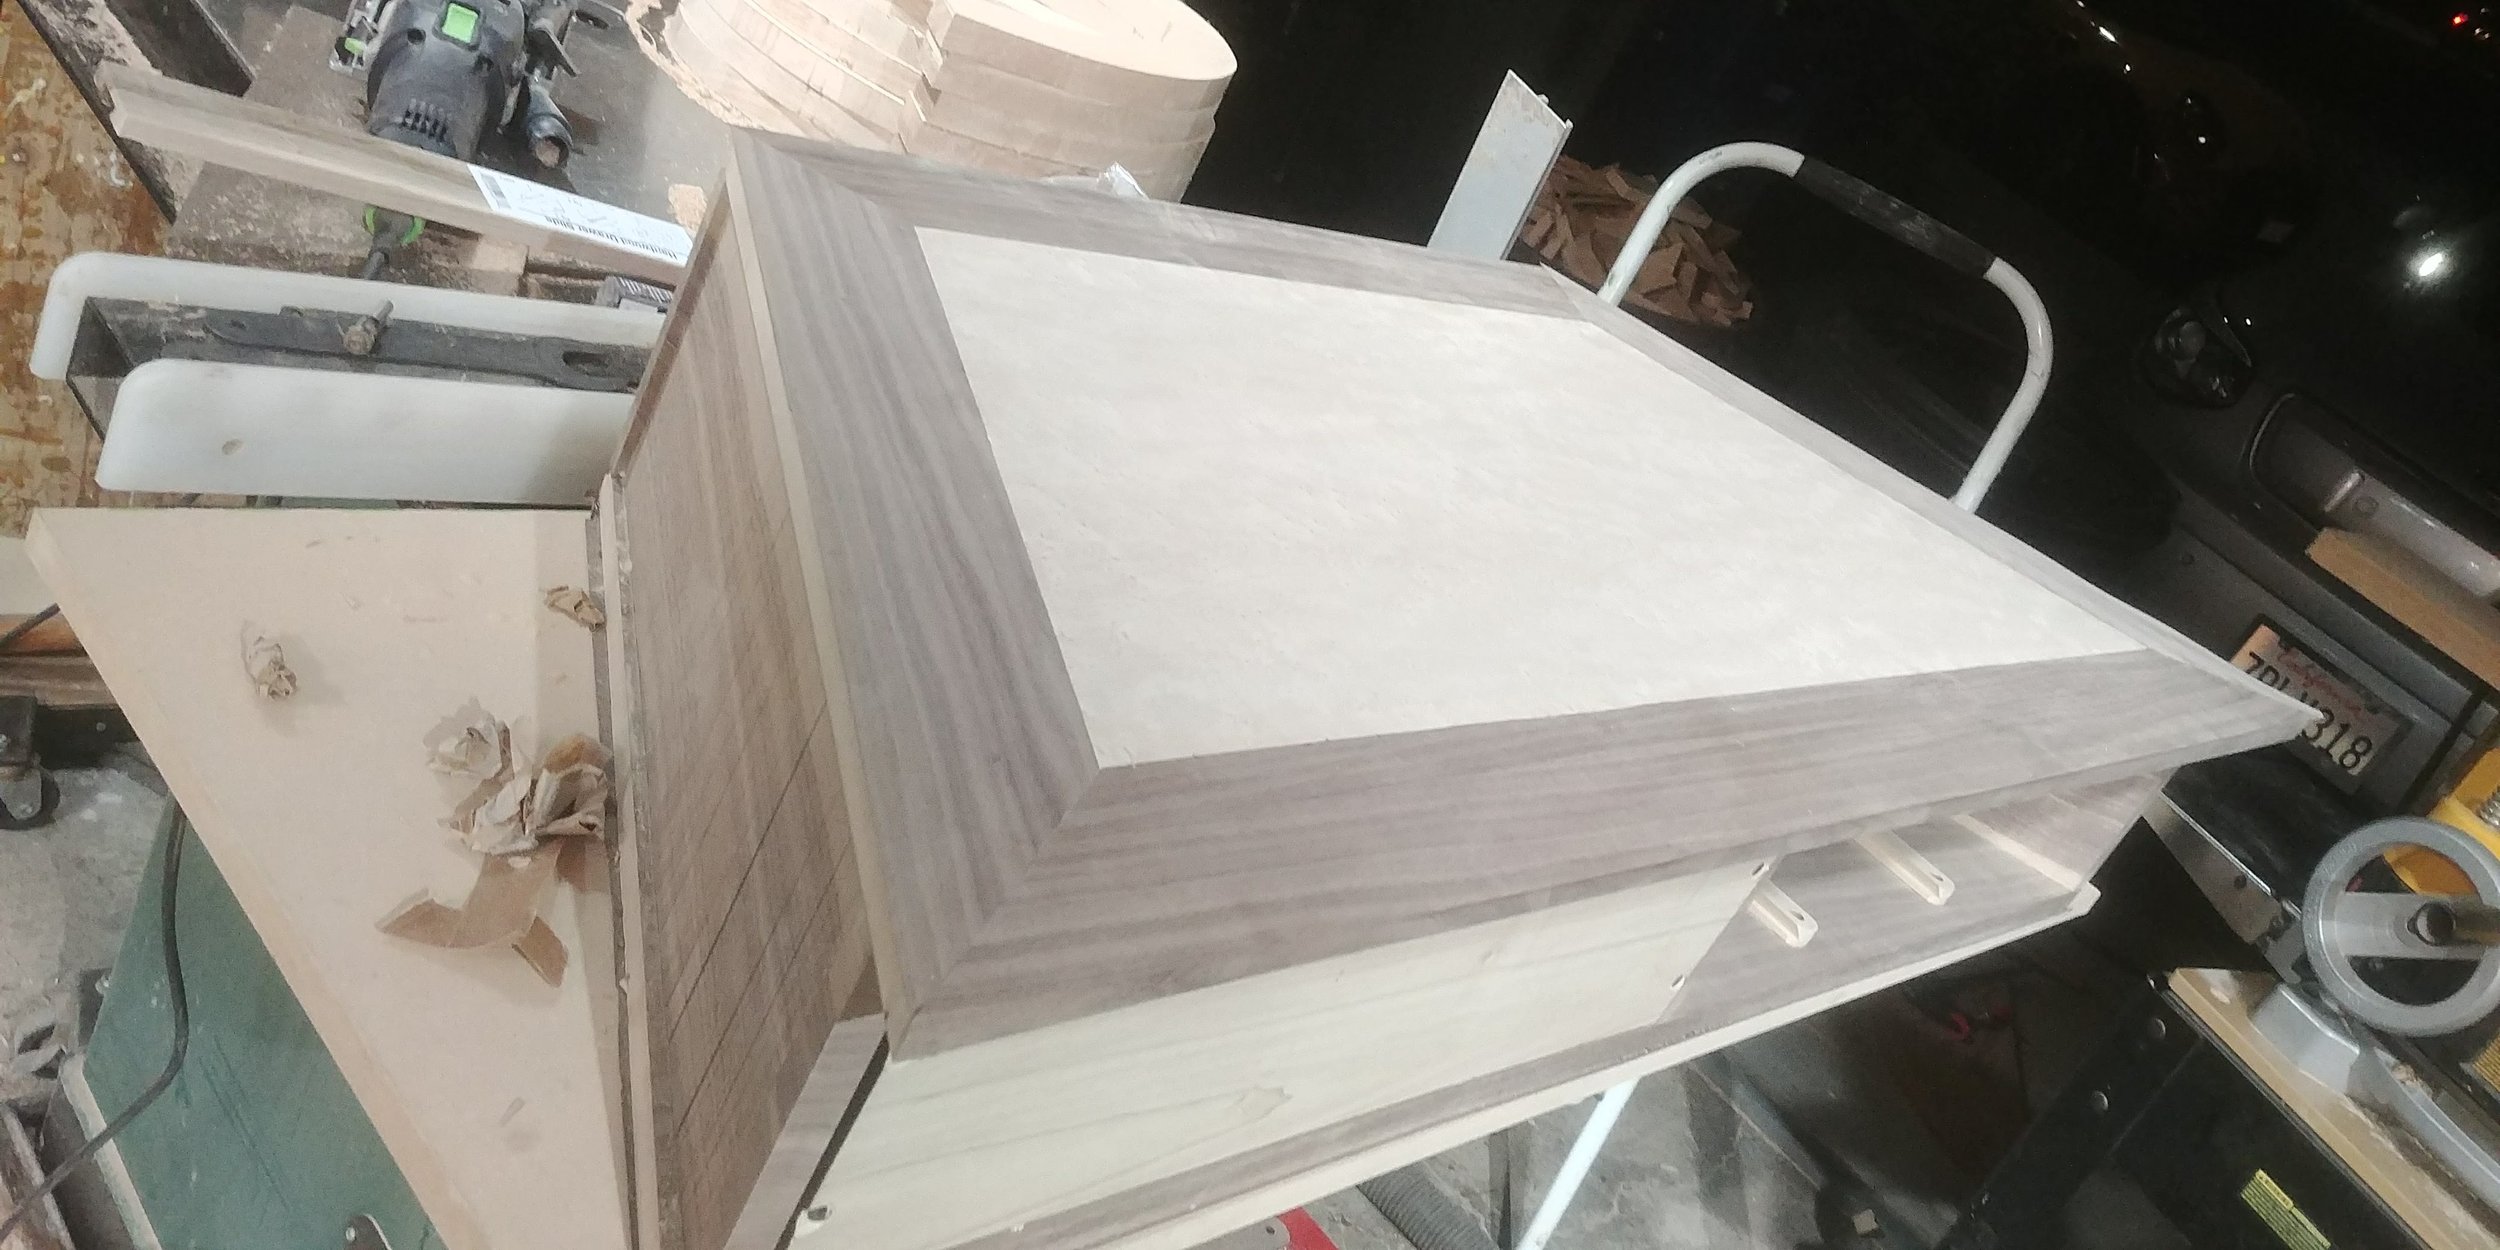
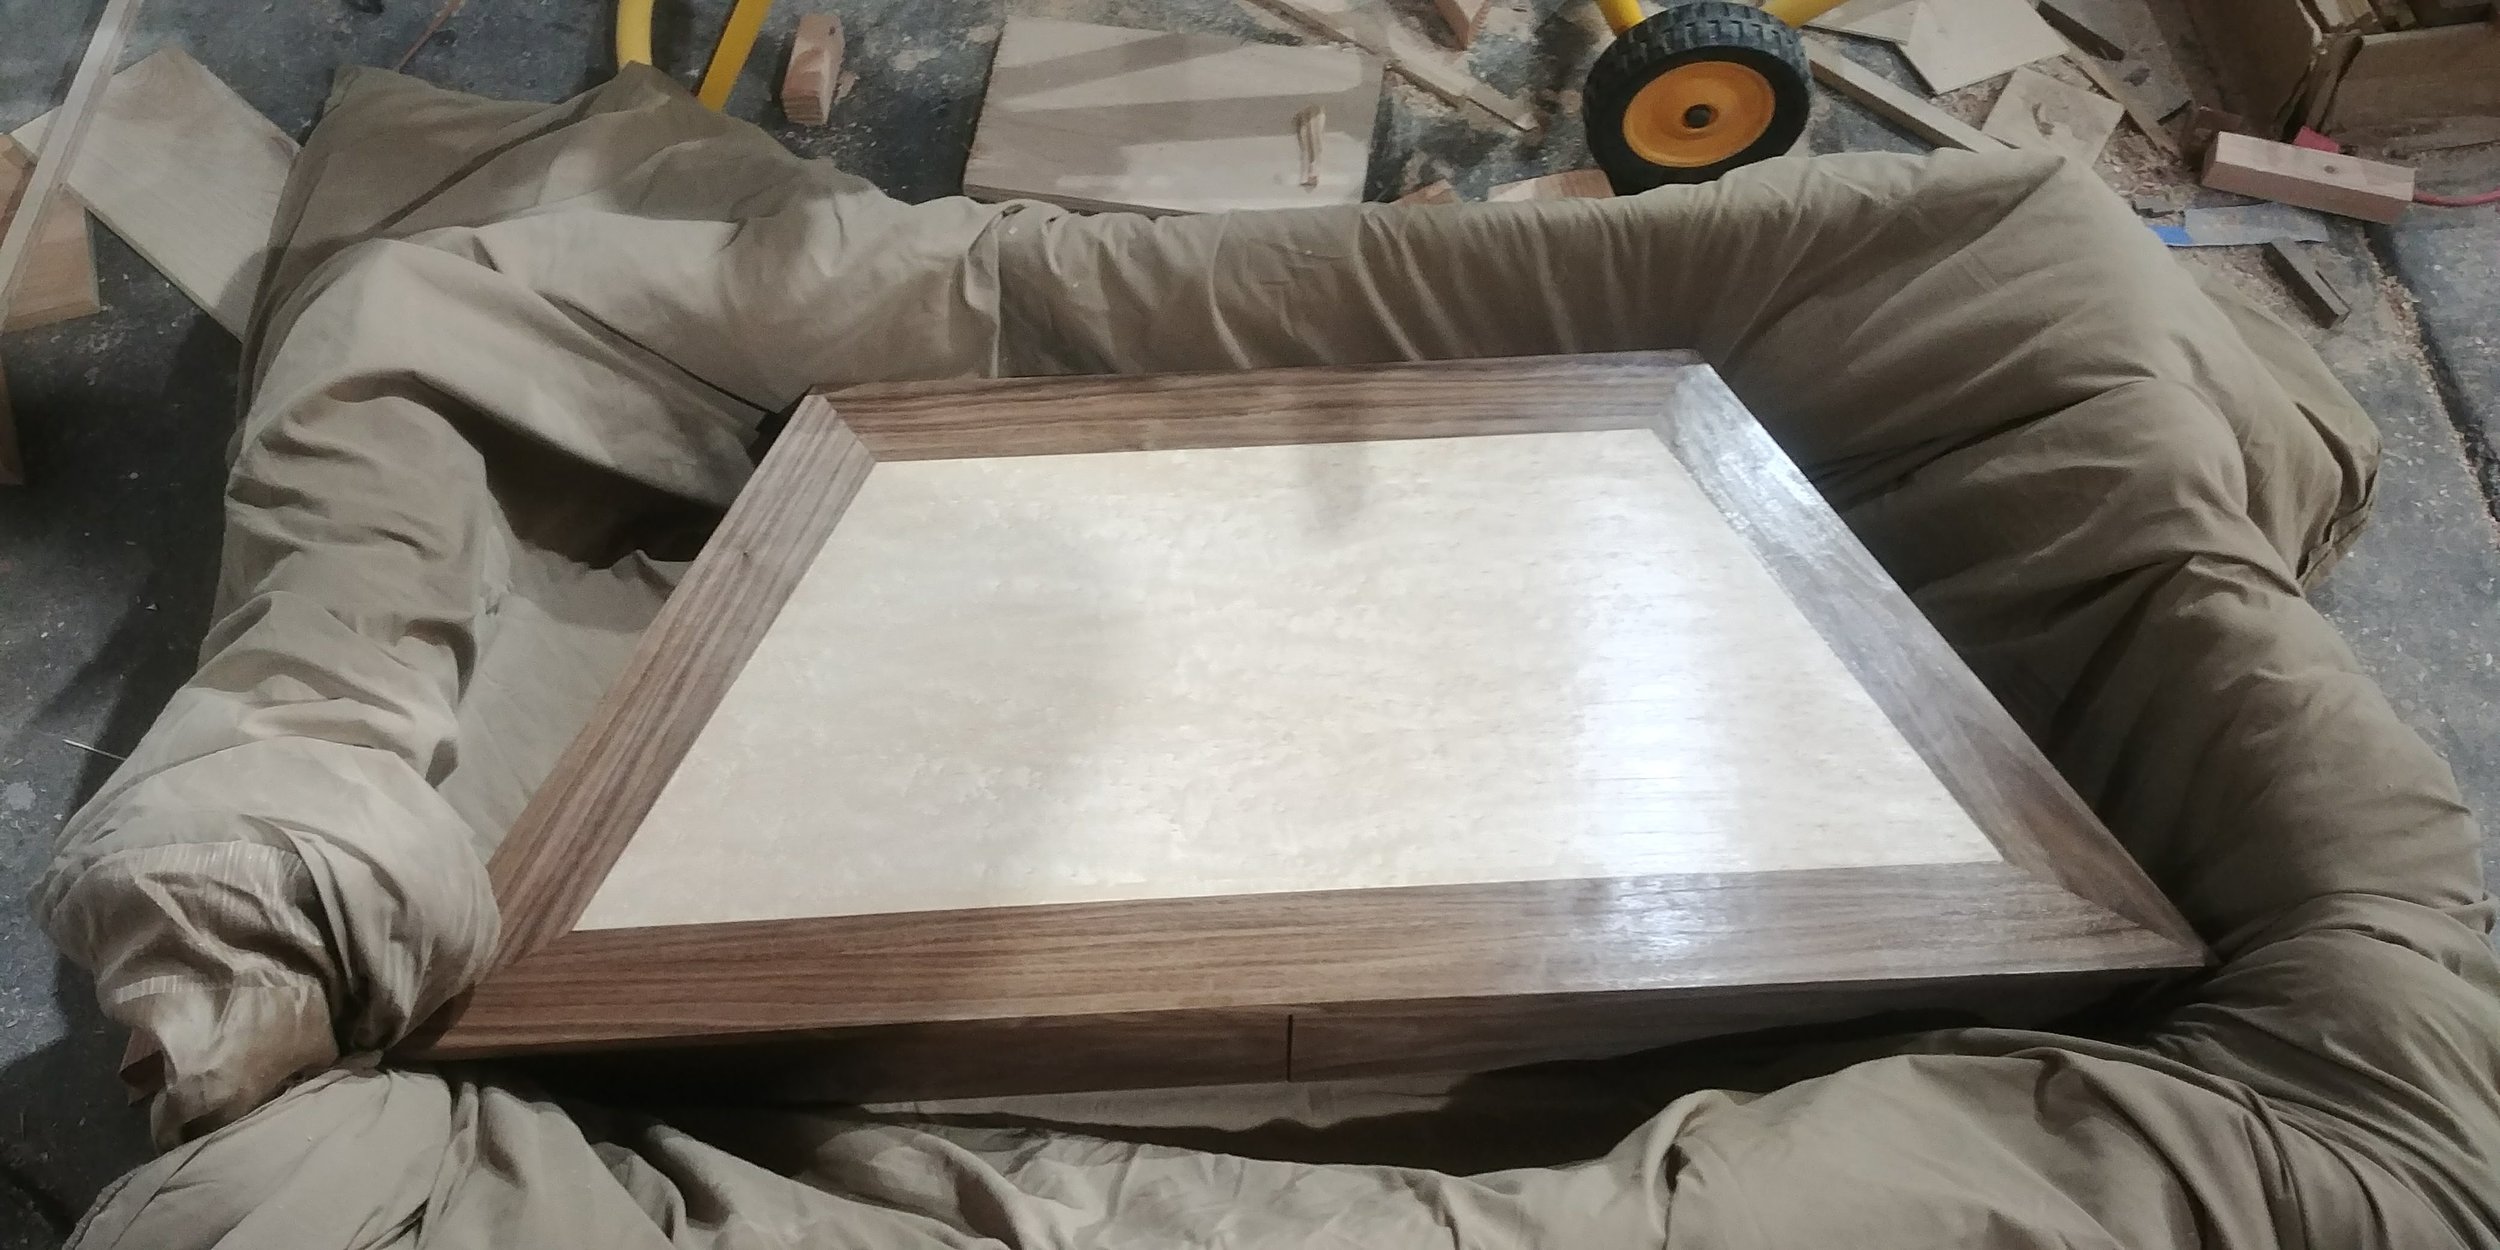
Veneer the top of the top, and the bottom of the bottom
This was my "oh shit" moment in the assembly. The veneer glue I use has roughly a 20 minute "open time" - that is, I need to be applying the clamping pressure within twenty minutes of mixing the glue or I run the risk of the glue not holding. This is more than enough time for a small piece, still easily manageable for the unassembled top and bottom, but a bit more rushed for the outer surfaces of the assembled piece, both because the piece was heavier and thus harder to maneuver in the vacuum bag, and also because the top had to be placed precisely so the "joints" of the four walnut borders intersected with the corners of the top.
So, I was scrambling a bit, but breathed a sign of relief when I closed the bag and flipped the pump switch at about minute 15. The bag started contracting as expected, I started to clean up the mixing bowl, ... and then...

The vacuum bag burst! And while you can think of this as just a giant ziplock bag, they're a bit more expensive: this one cost $300!
The sharp corners of the trapezoid, combined with the thickness of the assembled shelf, popped the bag, as the vacuum press stretched the material across the edge. This isn't a problem for simple panels - like the unassembled trapezoids - because that stretching is only over about 3/4", and the polyurethane bags have more than enough give for that. But they don't have enough give for a 7" thick shelf!
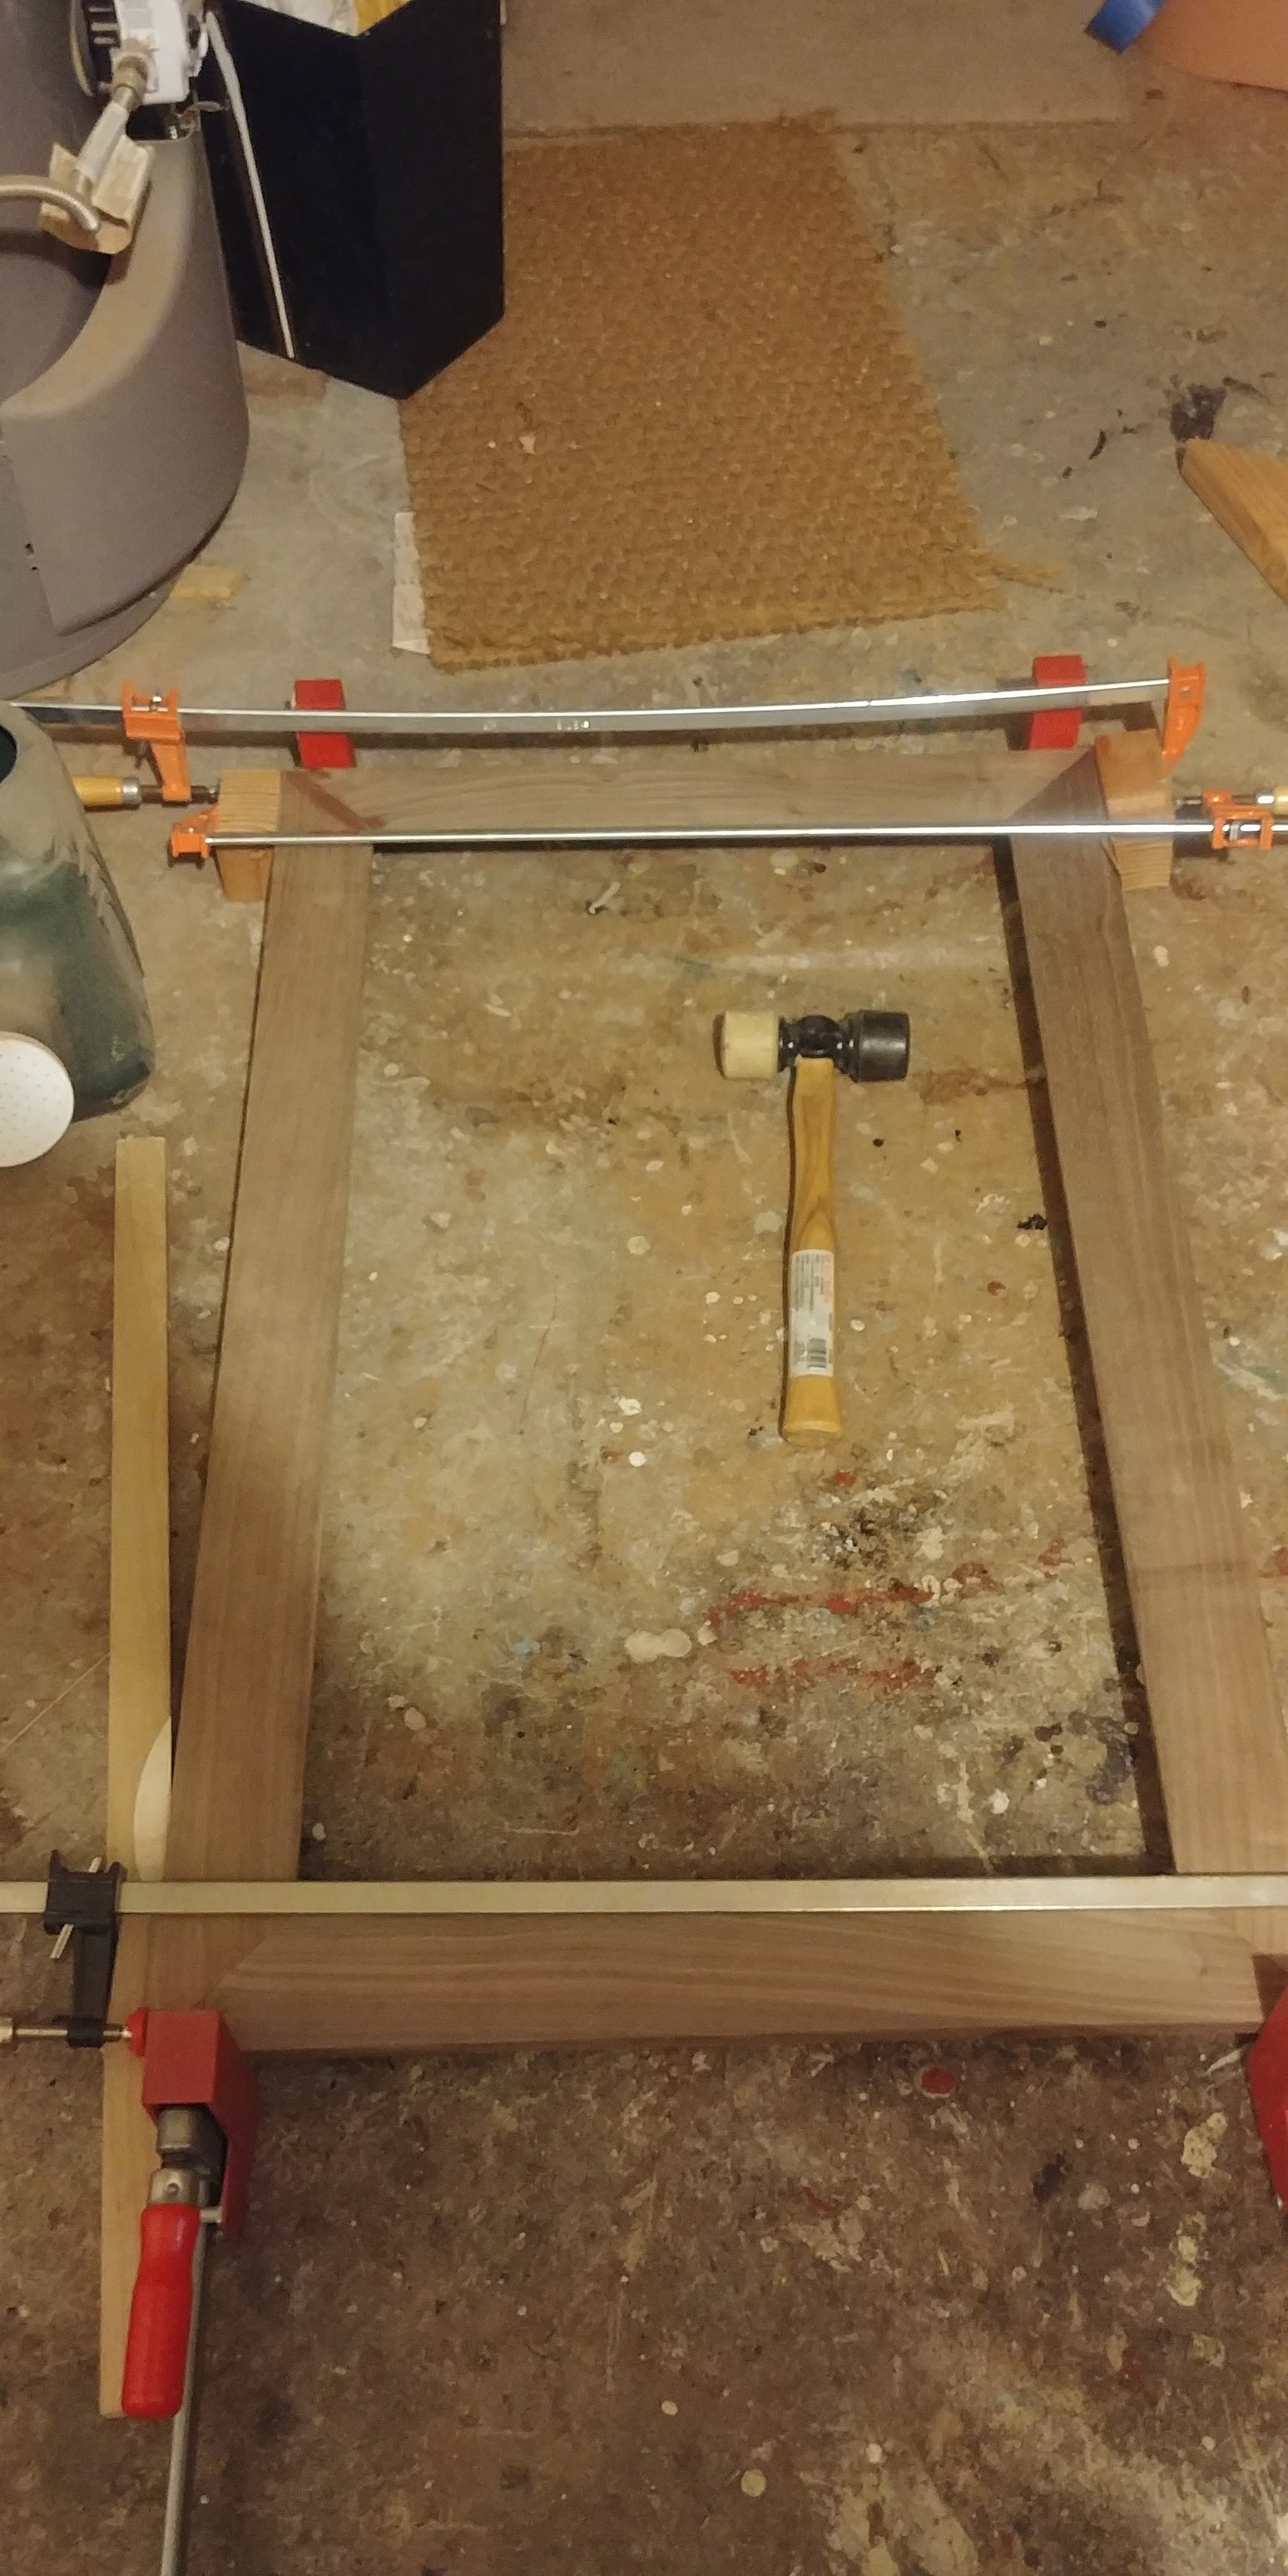
In retrospect I should have put some spacers in the bag, or skipped the bag altogether, but I didn't have time to think through it now or even find the hole: I had about four minutes left of glue open time! Fortunately, I had plywood laying around already cut to about the size of the surface, heavy woodworking cauls handy, and enough bar clamps to clamp down on something that size. Not quite as ideal as a vacuum press, which provides far more even pressure over the entire surface, but - unless I wanted to potentially start over with cutting the outer veneers and lose a day or two sanding down the glue that would dry on the surface, I made do with the equipment I had on-hand.
Fortunately, it indeed worked out pretty well. Now we have a delicate piece of furniture with veneer / finished surfaces on the exterior, which means work has to proceed much more carefully as I can no longer sand out or as easily repair any blemishes that I might introduce as I move the piece around.
Trim - via a router with a flush-cut trim bit - the edge of that oversized veneer
Make the drawer boxes with poplar & walnut-veneered lauan bottoms
Cut and install the drawer slides to the drawer boxes, notching out the bottom rear rail of the drawers
Cut and attach the drawer faces to the drawer boxes
Cut and install the back
Finish with three coats of spar polyurethane
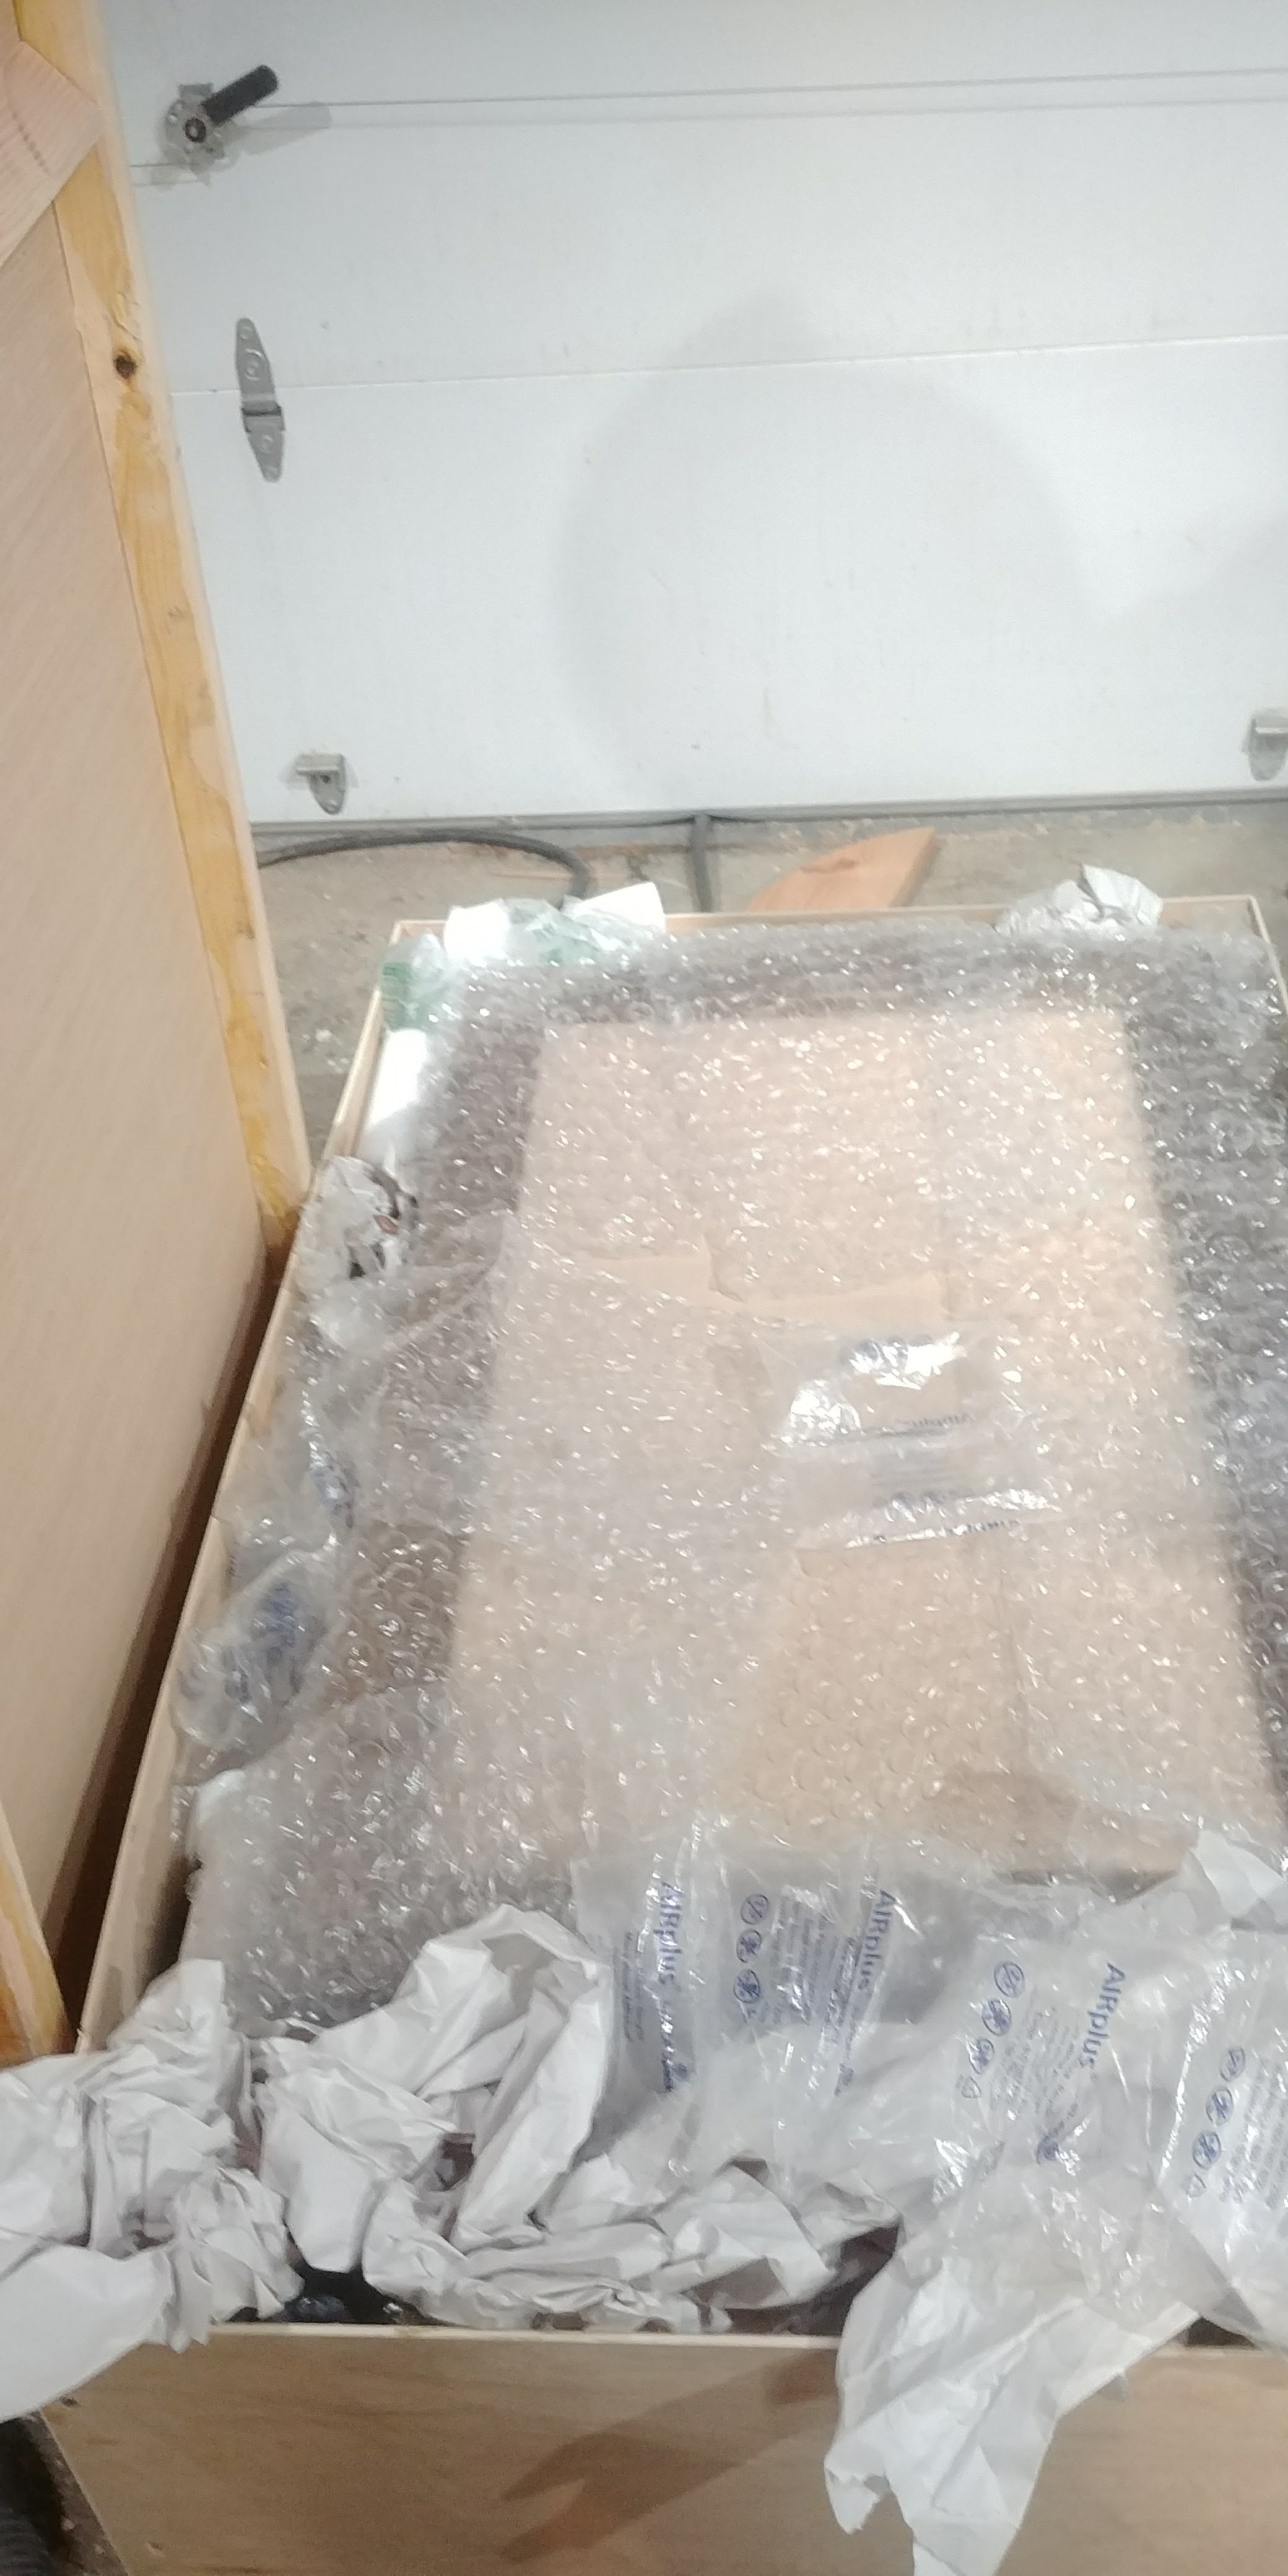
Pack, ship, and wait!
The crate alone was about 20 pounds; fortunately, the size and weight of the crated furniture fit just within FedEx's limits, so I was able to drop it off at my local carrier without too much hassle!

OK the title of this post was a little misleading - there were more than ten steps, and while a few of them were easy, most were a bit more involved. Nonetheless, I hope this gives you a better sense of what's involved in designing and delivering a custom piece of furniture, and so when you talk with a craftsman about their trade, there's a lot more that happens behind the scenes in delivering a beautiful finished piece than just a little sawing and gluing!
Other Commissions
Since the beginning of the year, I've done a handful of other commissions, including:
A pair of modern replacement drawers for an antique heirloom cabinet
A solid walnut shelf for a boat house in Emeryville
A set of 24 oval oak mirrors for a carousel refurbishment at the Spectrum Center in southern California
An entryway tray featuring purpleheart, walnut, and maple
Is yours next? I'd love to hear about a project you're considering!