

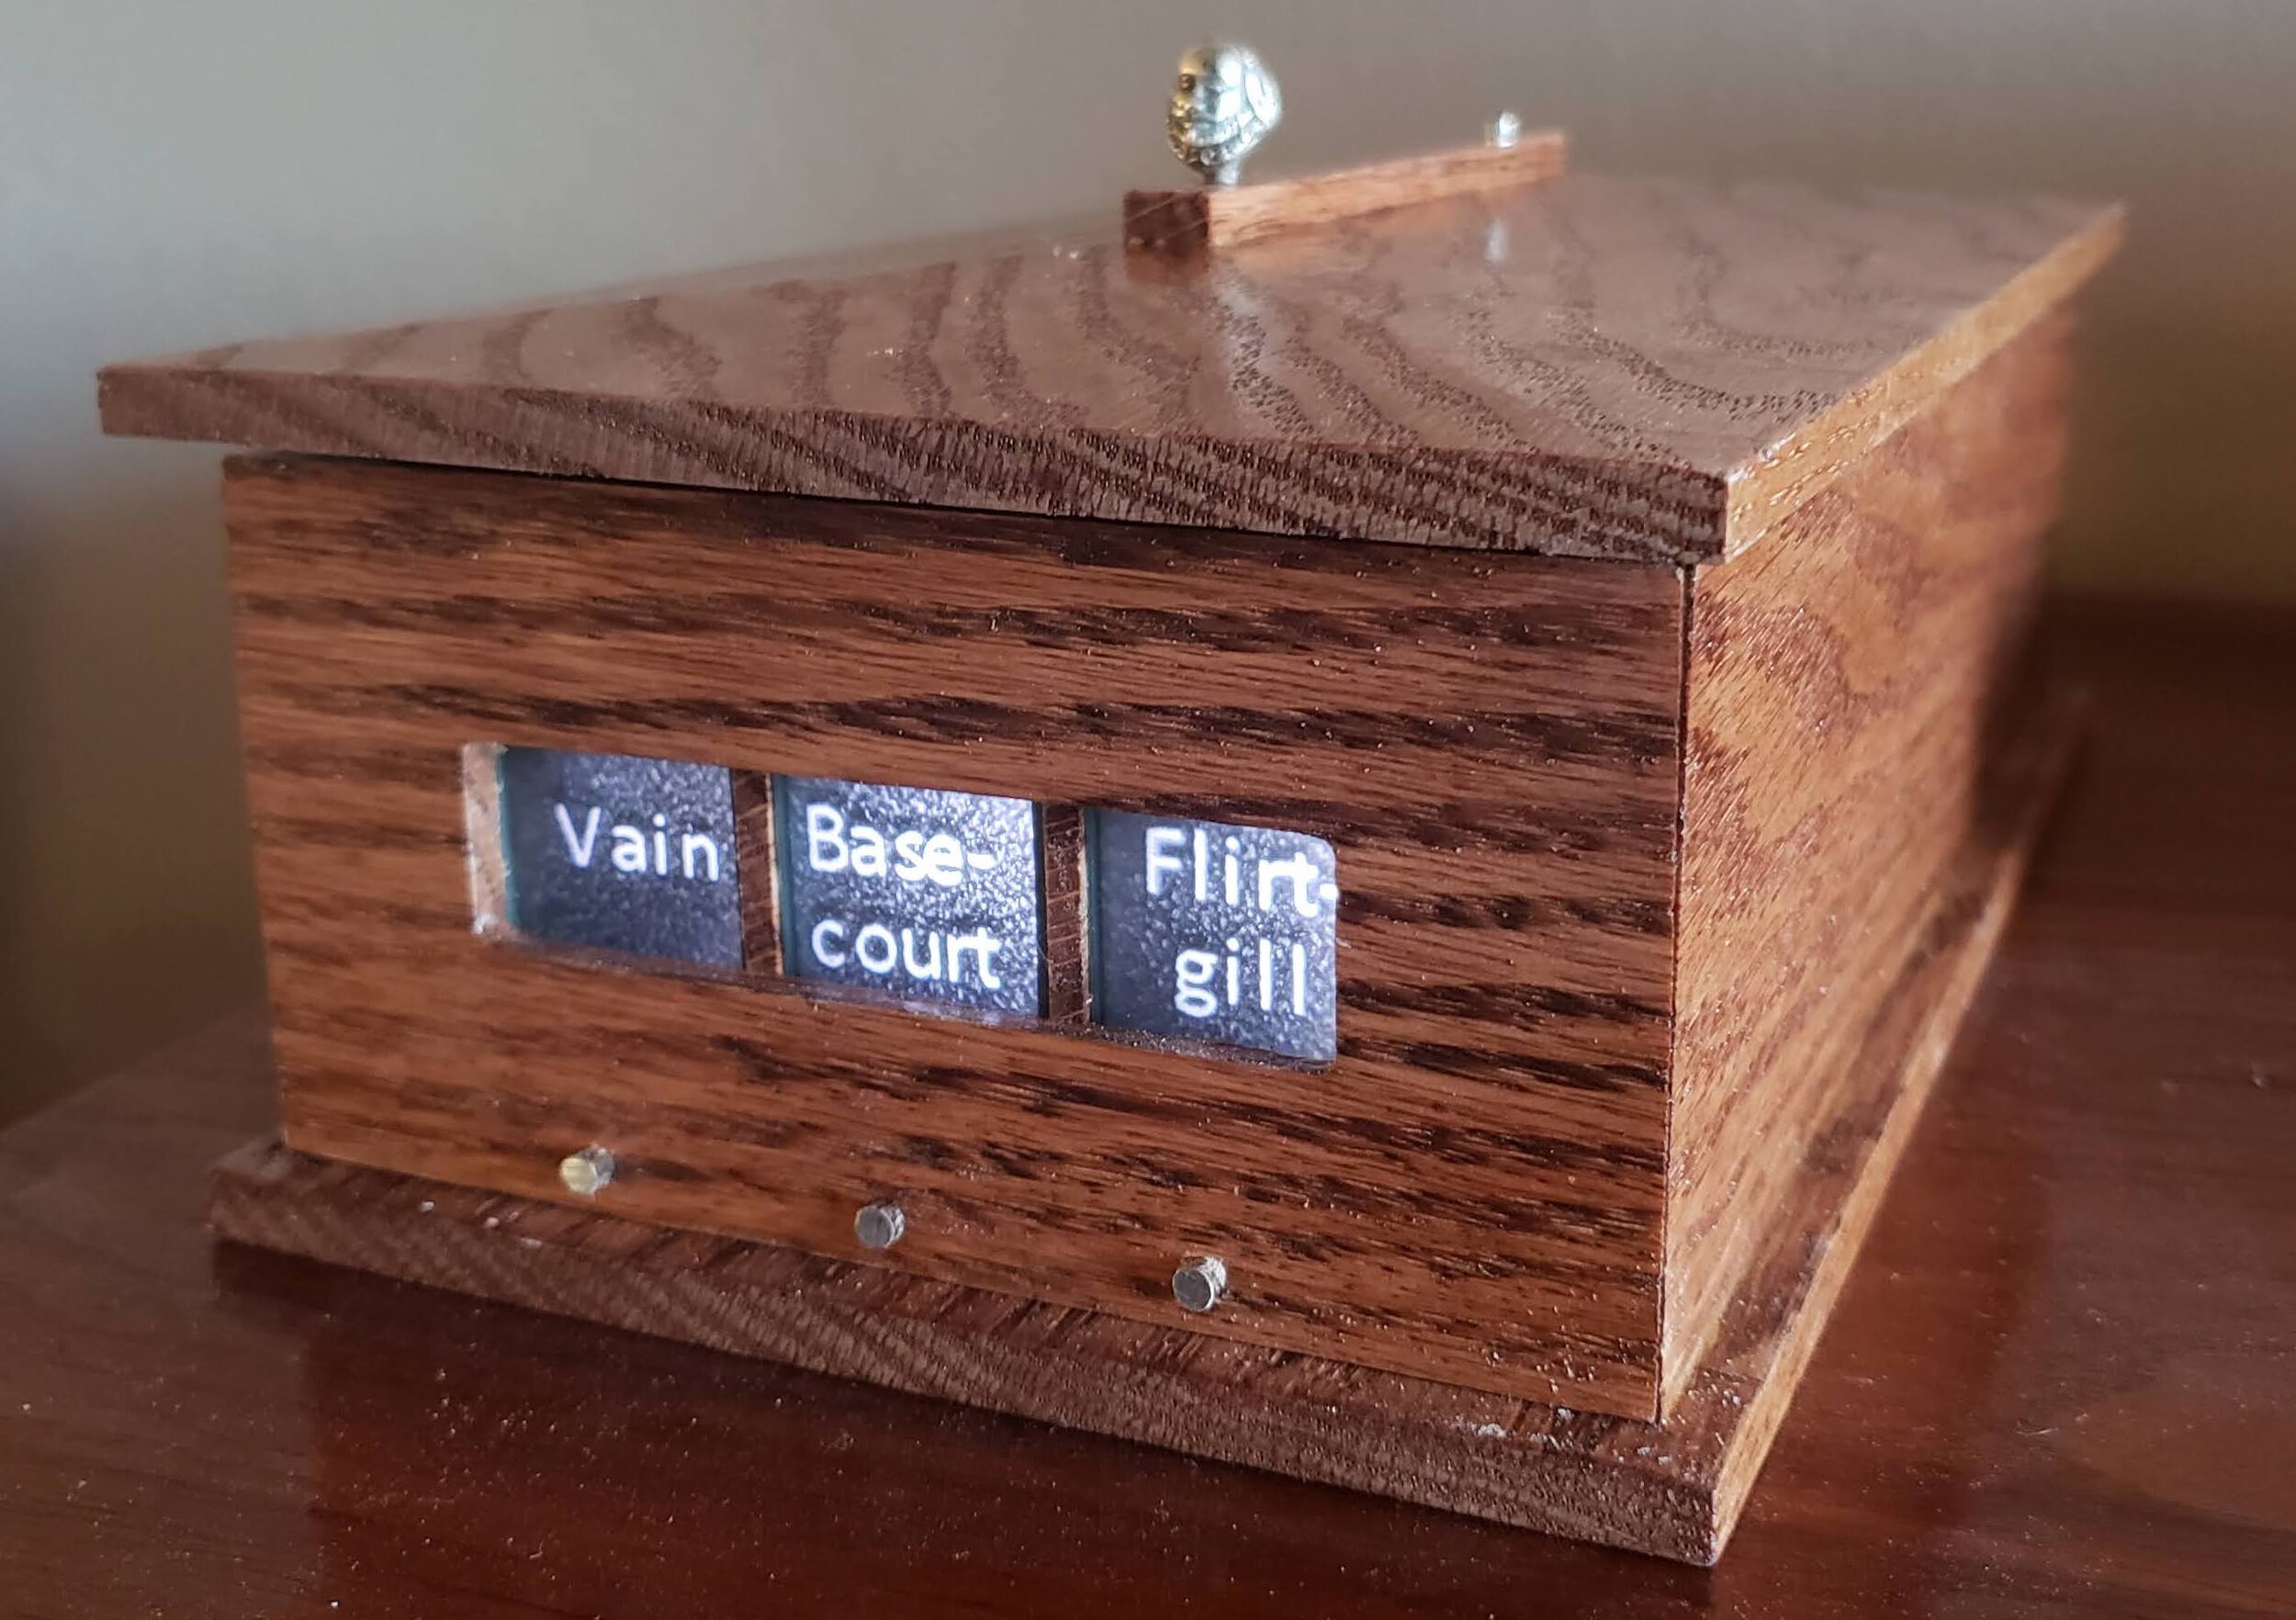
A numeric single plane display in operation
Some projects take an unexpectedly long time to come to fruition. My Shakespeare Insult Generator is one such project that, with the “shelter in place” orders around the COVID-19 pandemic, I’ve finally had the time and opportunity to bring over the finish line.
In this post, I’ll share some of the challenges and milestones in building this piece, along with - of course - plenty of photos and a video of the finished product. I hope it gives you a little inspiration for some of your own unique projects, or at least a little chuckle.
The Idea
This project was spawned not by my vision of the finished project, or even of the idea itself, but initially, by my interest in some older technology. In fact, I first came across the display technology at the heart of this device in doing the research for a post last year about a few interesting pre-digital display technologies. In that research, I found a listing for a group of four “Single Plane” displays on eBay, and purchased it out of curiosity and the hope that I might come up with some idea on how to use them.
These devices can each display one of ten different pre-printed messages or images, so for several months, I toyed with a few ideas: a steampunk magic eight ball? a cocktail drink recipe maker that illuminates the mixers, the liquors, and the drink name if you’re feeling indecisive at happy hour time? some sort of unique infinite color projection device given the display’s ability to blend multiple “images” together simultaneously?

The book that - together with the displays - provided the inspiration for the project.
Ultimately, the right idea came to me while sitting at my good friends’ home in Berkeley; on their end table was this irreverent book, Shakespeare Insult Generator. One of the things that made this book so unique - and the perfect fit for the displays I had purchased - is that the book is actually comprised of three sets of pages that can each be individually flipped to generate an original Shakespearean insult.
What, praytell, makes an insult Shakespearean? Well it’s the combination of two adjectives and a noun, using colorful Elizabethan-era words - like “loggerheaded puke-stockinged scullion”. You can find a few good online sources for this, such as this site which does the work for you with each page refresh, or this enumeration of relevant words you can string together yourself.

Great - I have the idea, and the base technology. This takes me to about late March of 2019. So why did it take a year to bring to fruition?
Customizing the Displays

Original - and sharply printed - display mask.
The displays themselves are essentially miniature slide projectors with a built-in screen; it has ten tiny lightbulbs to illuminate ten different regions of a single transparency. With a few compound lenses between the transparency and the front of the screen, the message or image in that part of the slide is projected to the front.
These particular displays were originally used in some 1960s-era printers, so the first step would be to replace this mask with a custom-printed mask with my selected words. But as the entire slide is smaller than a 35mm negative, it proved very challenging to get the alignment of the words and the crispness of the text good enough using my laser printer. I contemplated outsourcing the slide printing part, but since the text alignment was so critical to line up with the internal optics, I feared spending money and weeks waiting for the slide, only to find out that a column or row is off by a few millimeters. So, instead, I went through multiple iterations with different transparency stock (and tweezers to handle the finished product slide so as to not smudge the toner), until I finally achieved a “good enough” print.
The size of the print in the display - ultimately, I found good results with 6pt text - also dictated the words I could choose for the display. “Loggerheaded weather-bitten skainsmate” would not do; “saucy fool-born lout” is closer to something that can fit in the tiny space!

The almost-final masks, printed on paper
Driving the Displays
The incandescent bulbs the displays came with were 12V (drawing approx 100mA). My initial thought was to control them with an Arduino - an open-source hardware single-board microcontroller for building digital devices - but those bulbs exceeded both the current & voltage output that such a board supports, which led me down three possible paths:
Replace the bulbs with 5v LEDs (but I need to find compatible LEDs)
Add relays to the Arduino output (but this grows the size, the complexity, and adds electromechanical failure potential)
Build a custom circuit (but since starting from individual transistors and components is beyond my skills, I’d need to either outsource this, or find the right building blocks to join together)
Though I purchased a few inexpensive control boards in my pursuit of #3, that added so much additional complexity that I abandoned that and held out hope for #1. An Arduino control would also give me much more flexibility in other elements, such as the buttons to control it. But my searching of the thousands of LEDs on Digikey - my go to for electronics components - repeatedly turned up empty.
After putting this project on ice for a few months, I decided to try searching again, and this time I stumbled upon Allied Electronics, where I found a potential match with a 5v LED. At $5 each - I’d need 30 - I started by ordering just one to test it out. It worked! So I ordered the other 29. These LEDs mean no electromechanical or hard-to-debug parts, and they’ll never burn out. Problem solved!
Programming
Fortunately, I have some Arduino experience from my much earlier ill-fated attempt to build this coffee table with stepper motors. So the programming paradigm - which took me some time to learn the first time around - was not a problem.

This is an Arduino Mega which forms the “brains” of the Insult Generator. Why the larger Mega? Since there are 30 LED bulbs to independently control, the 14 outputs of the standard “Uno” just did not have enough pins.
I wanted “slot machine”- like behavior: when the button is pressed, the three panes flash randomly, and they progressively slow down in sequence. That is, first the first pane “locks” in place while the other two are still spinning, then the second pane locks, and finally, the third pane. Additionally, you can “manually” cycle any of the three panes individually by pressing any of three small buttons, and there’s a fifth button to turn it all off if you don’t want to wait for the hour timeout that I programmed into it.
Controlling the Display

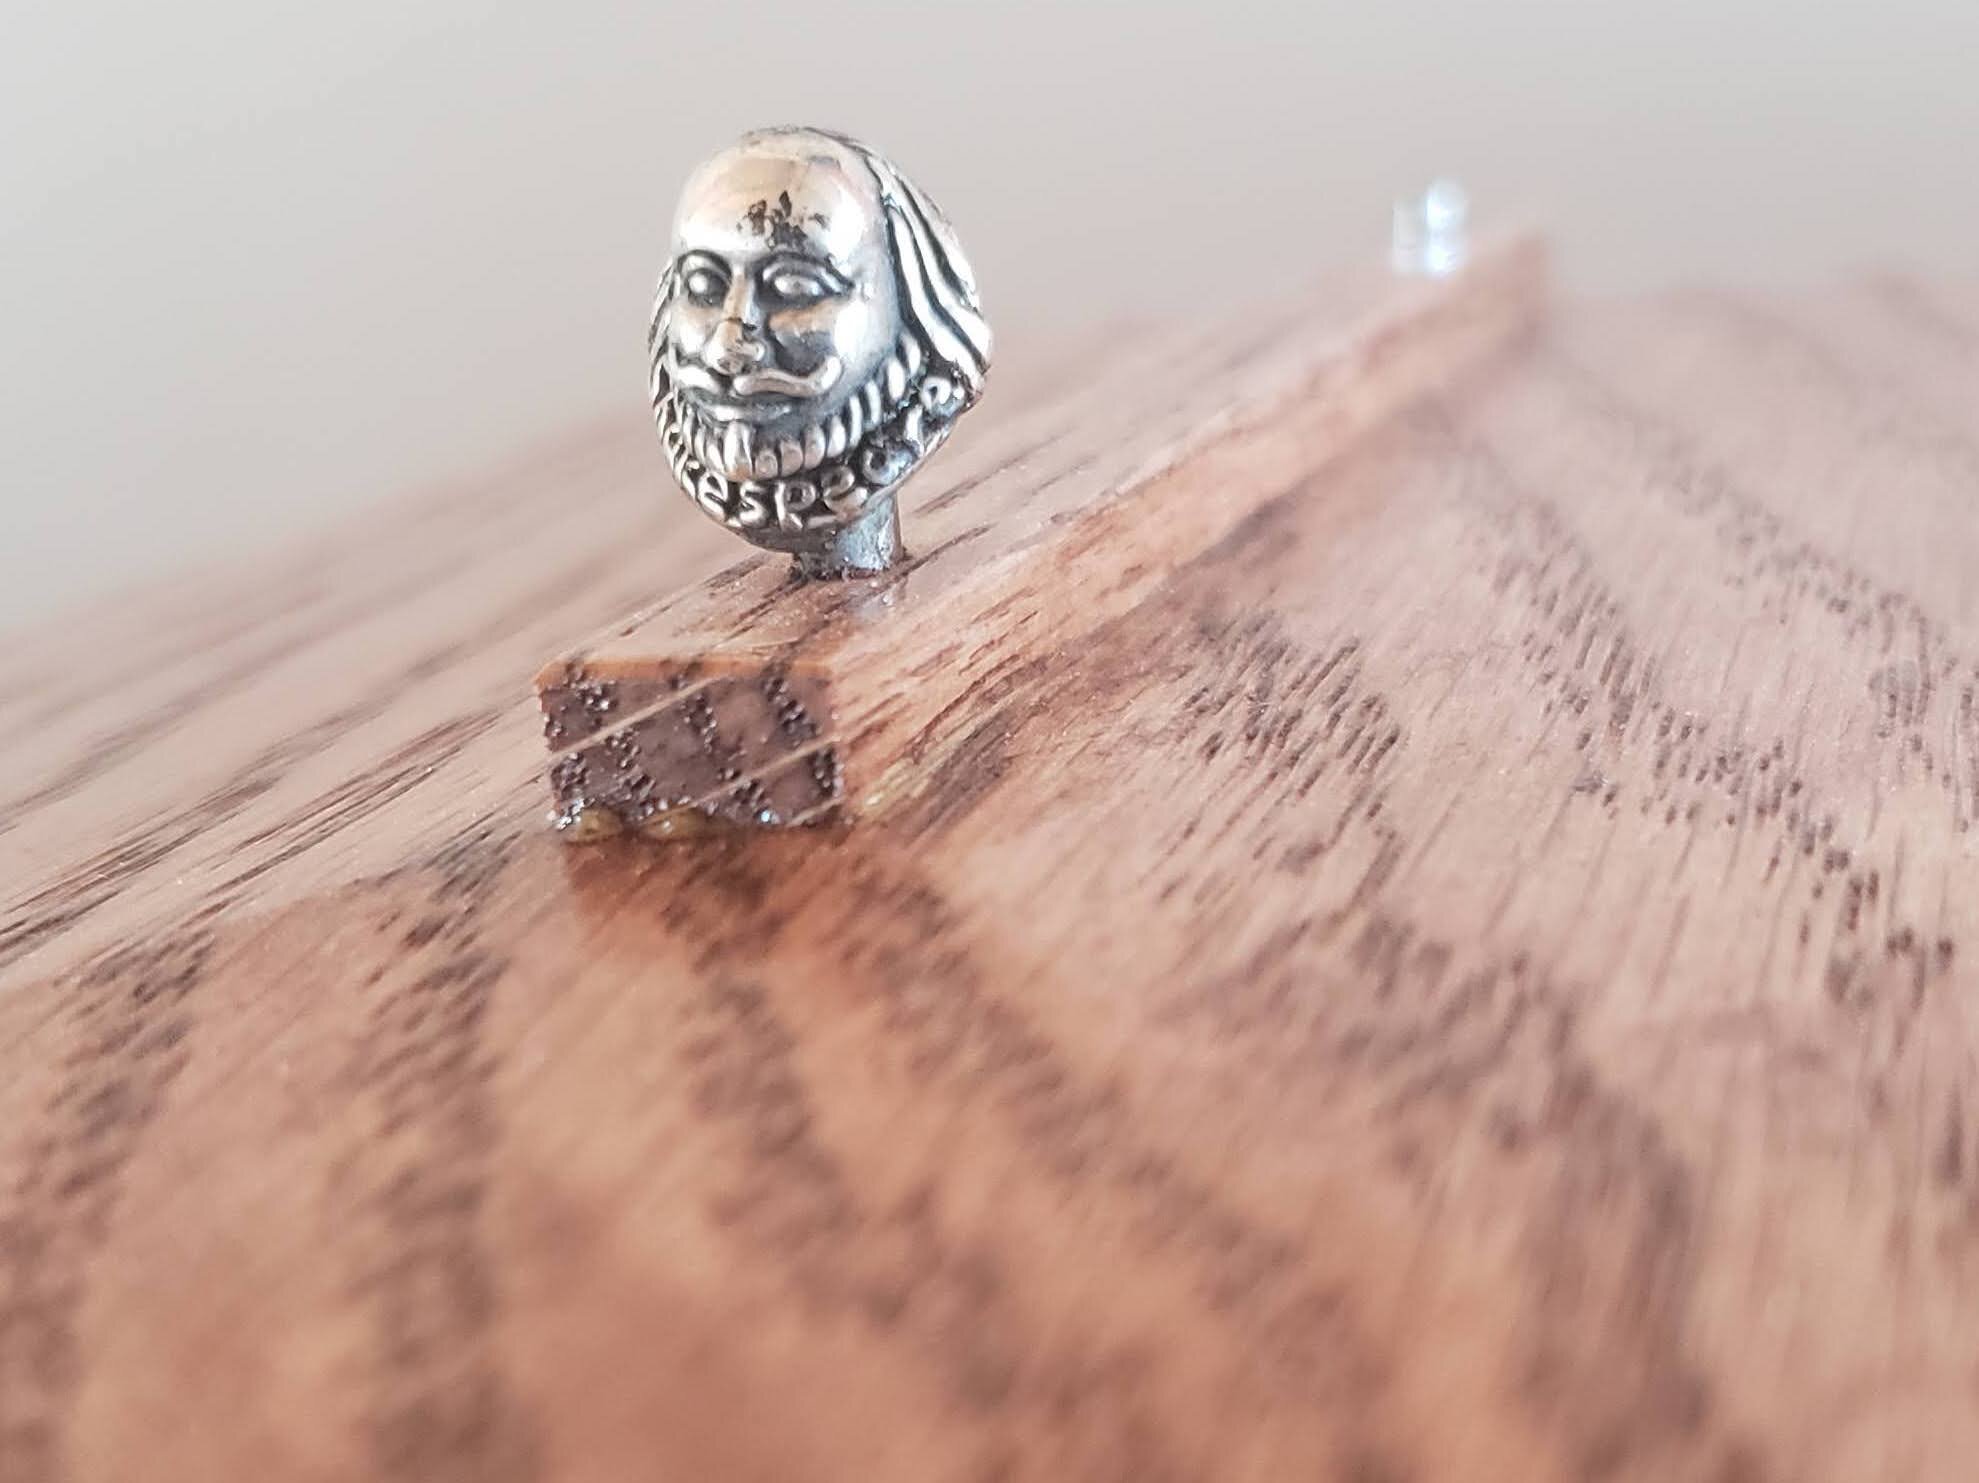
The bust that is the “on” switch for the display
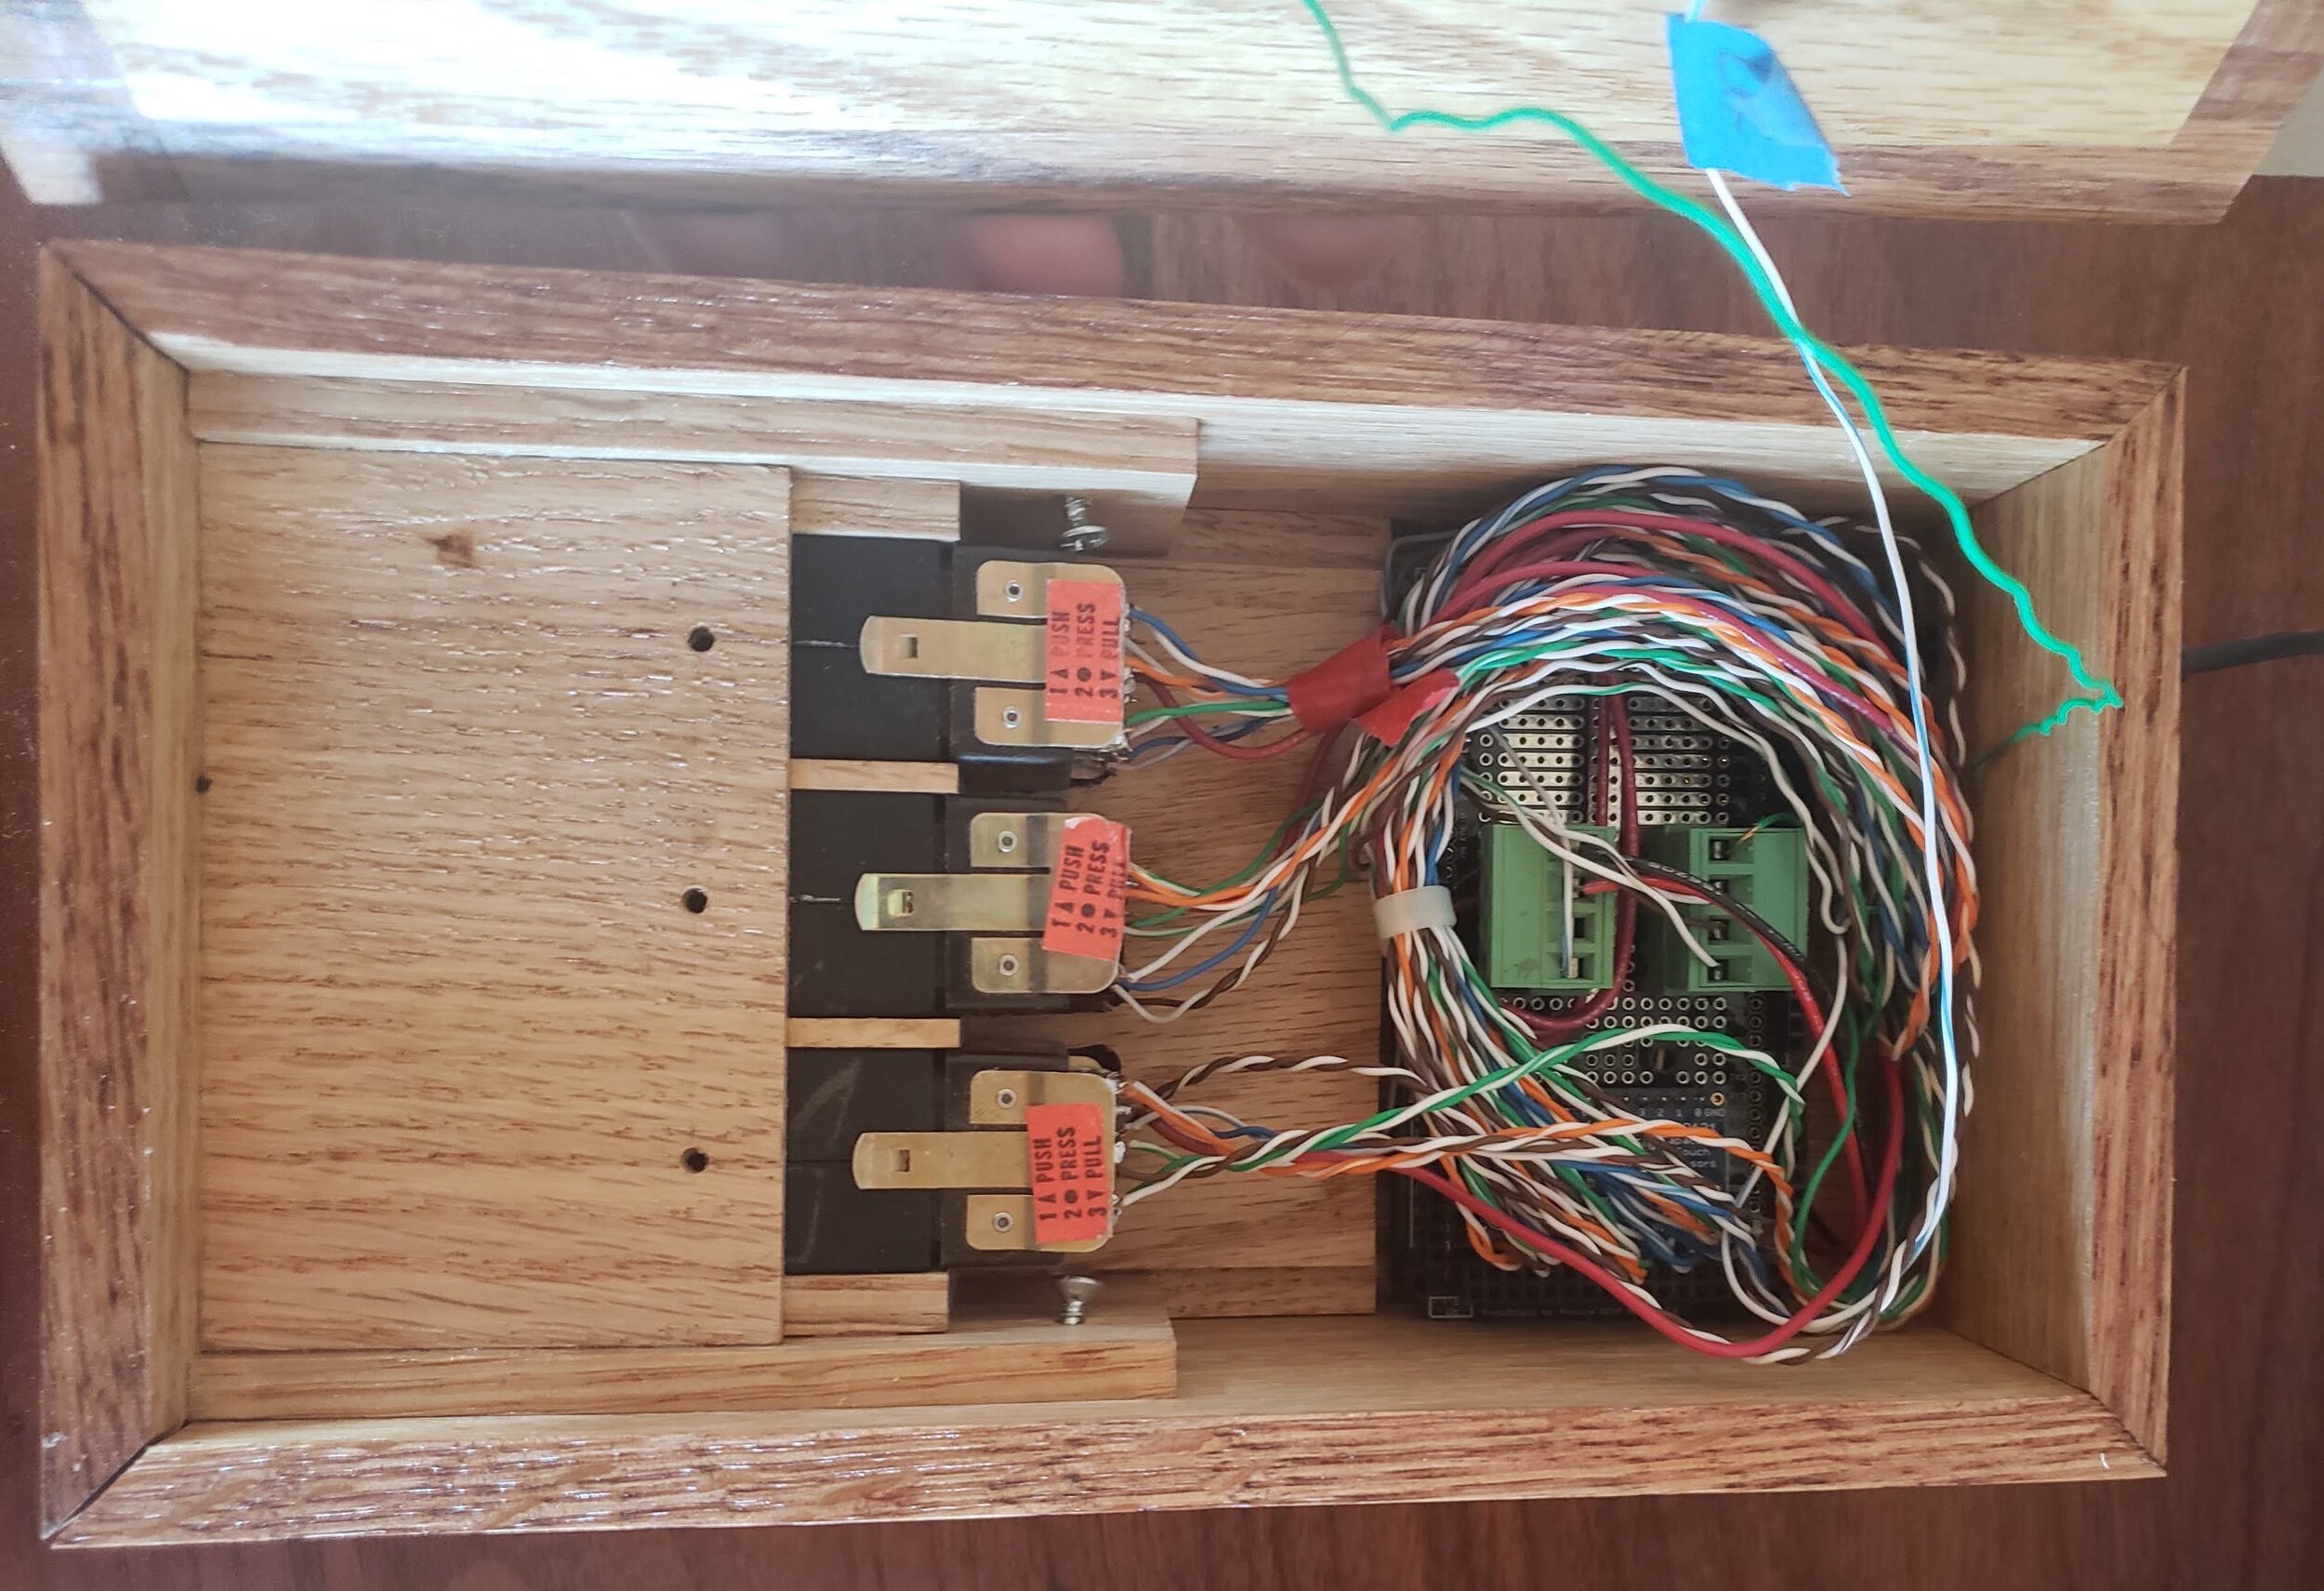
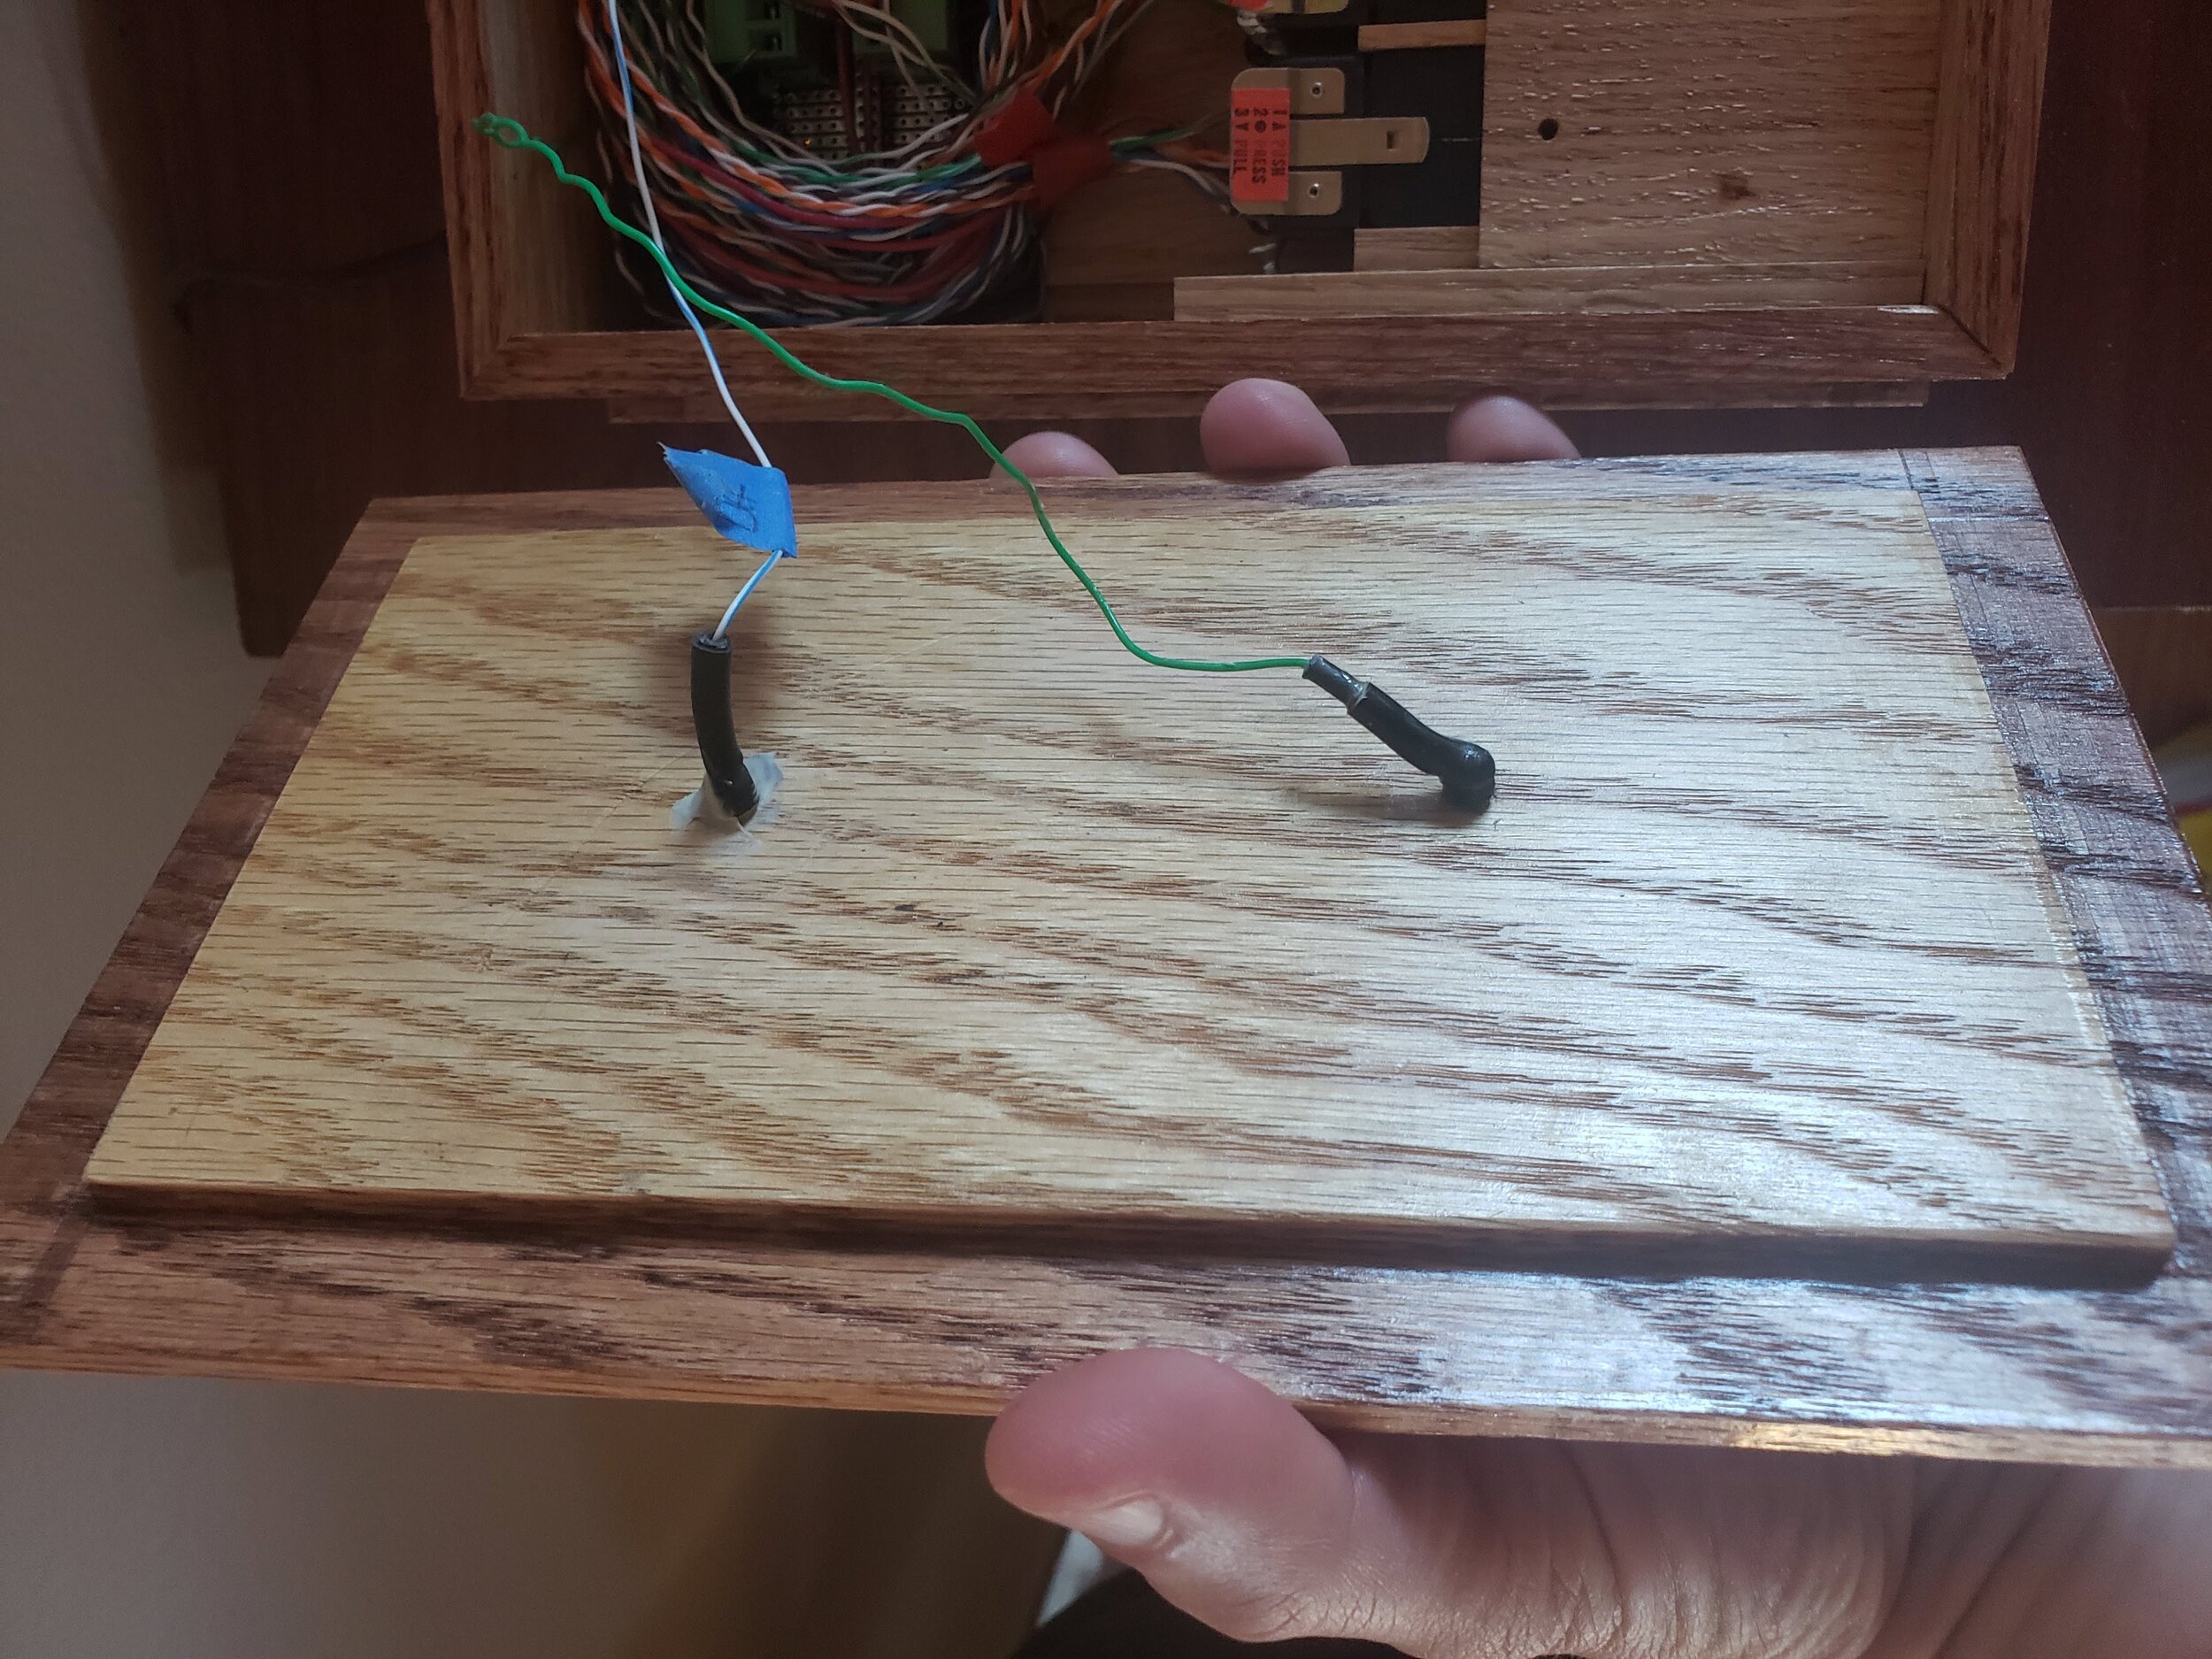
All these mentions of buttons? I decided to use capacitive touch buttons, with this nifty Adafruit controller. This proved to be a piece of cake in comparison to all the other challenges in this project. For the actual metal, I’ve used a few metal rod inserts, and for the “main” button to start the machine, I found a small Shakespeare head from this Etsy supplier, intended as a pendant for a custom necklace.

I’m using five of the twelve-available channels on this capacitive touch trigger.
Building the Case
With the internal electronics all figured out, I could redirect my attention to the wooden case.
Attempt#1: Elizabethan Chest
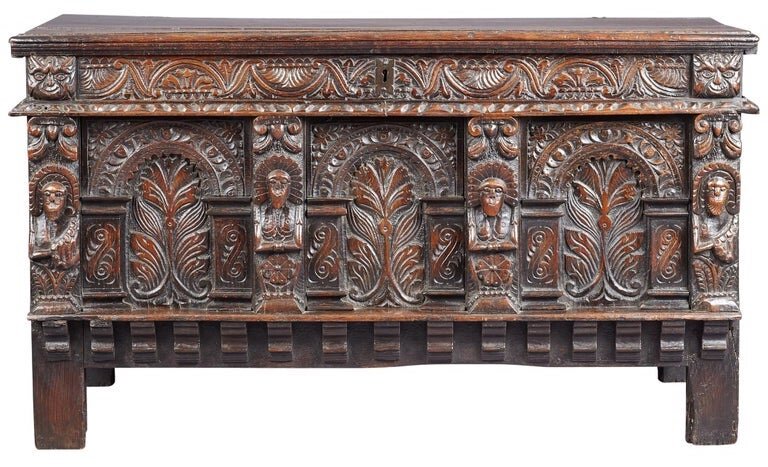
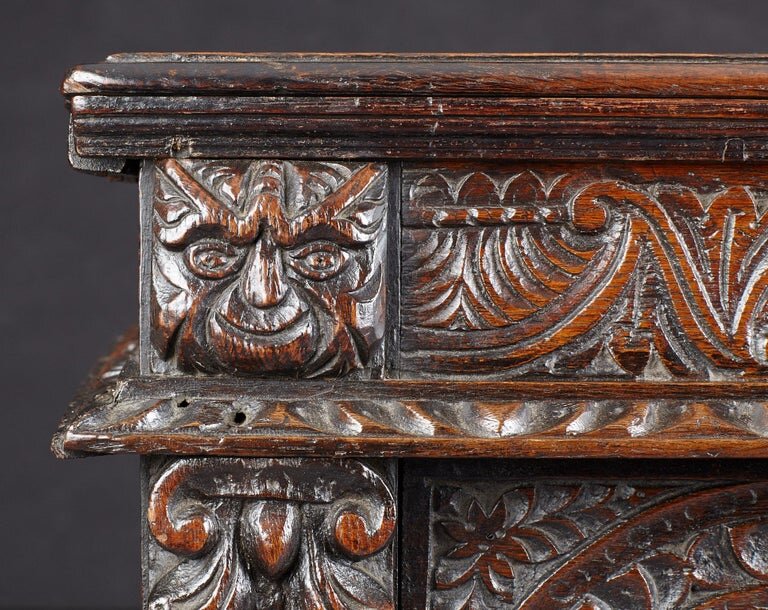
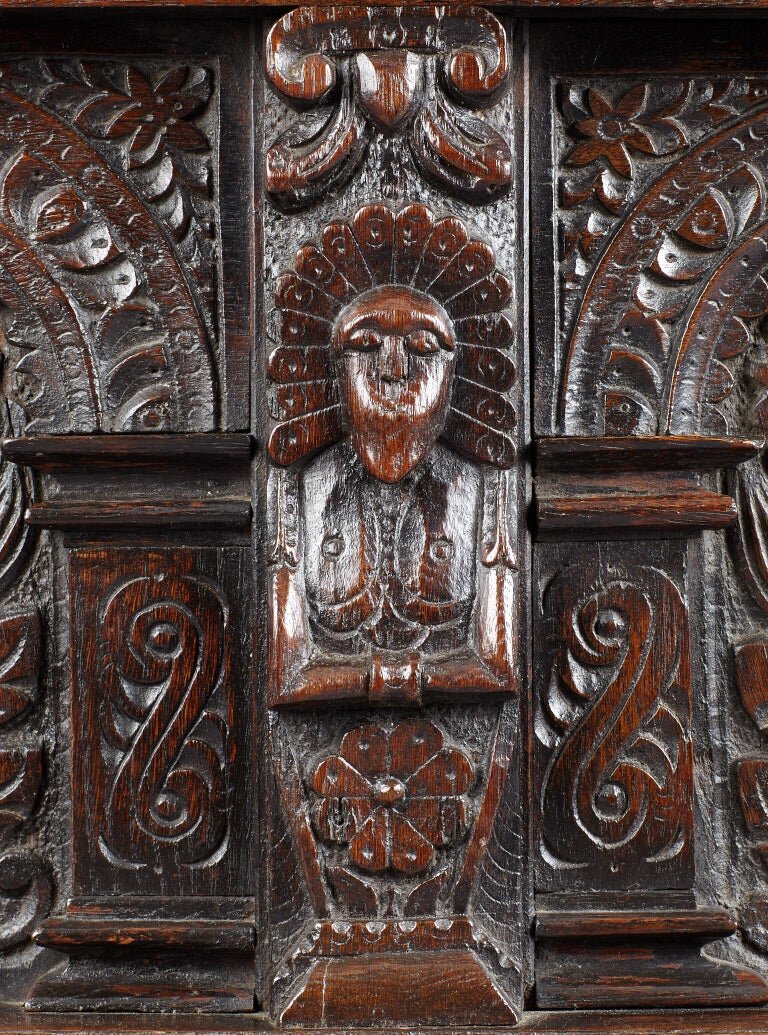
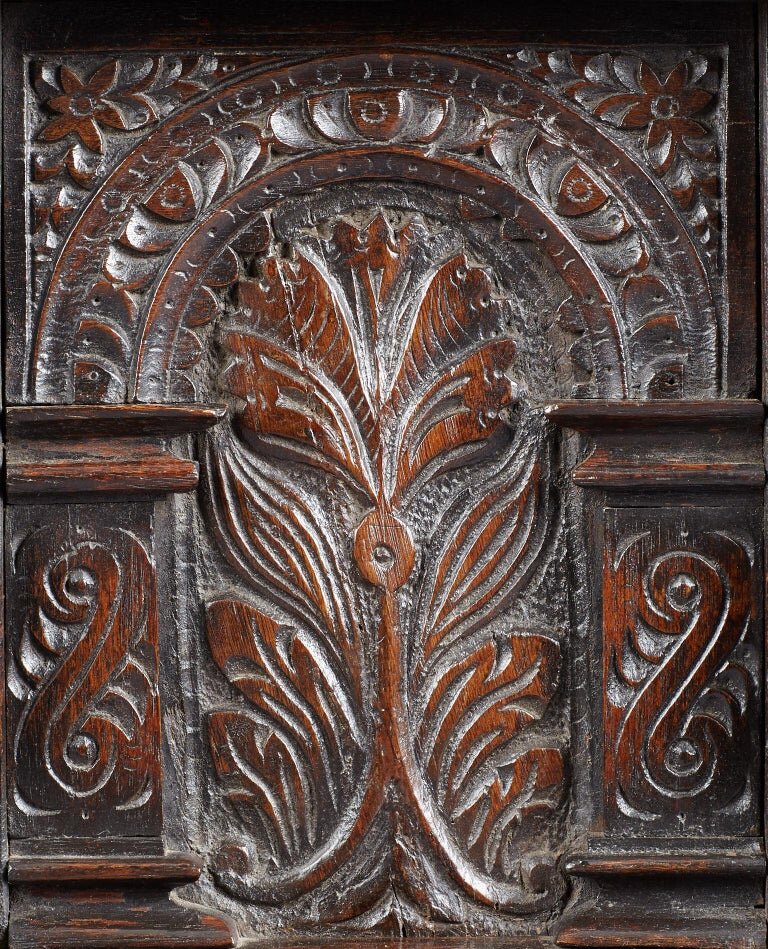
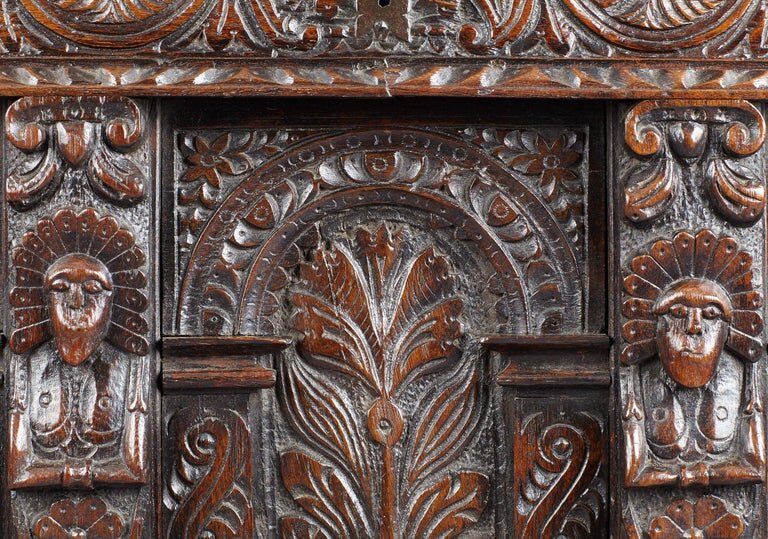
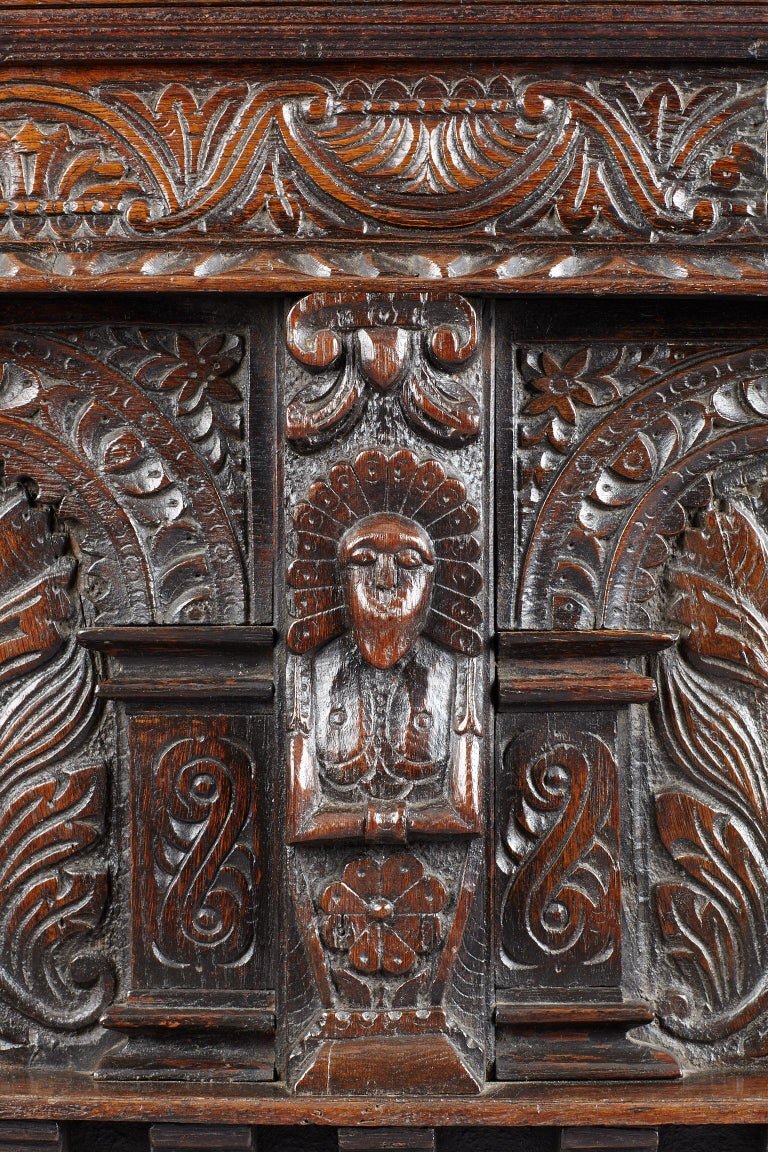
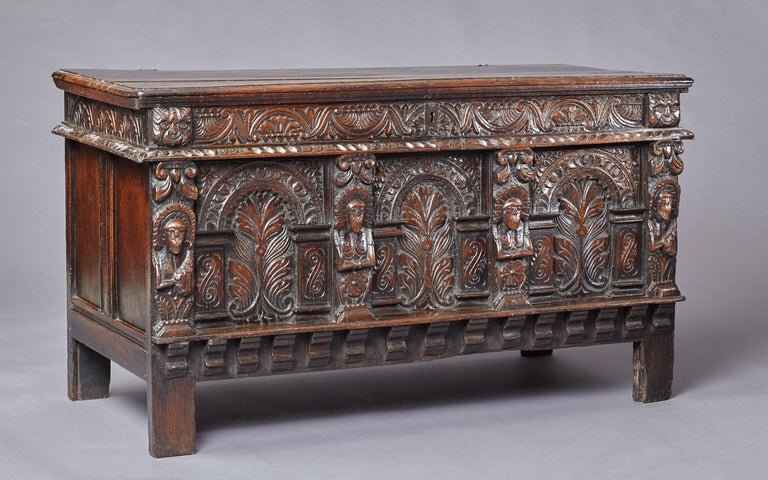
For a Shakespearean insult generator, and with Shakespeare’s bust for the main button, I wanted to build an appropriately-Elizabethan themed wood case to match. In my online searching, I came across this beautiful 16th-century wooden chest on 1stdibs - and with three areas in the front that could be opened up for the display screens, this seemed like a perfect fit, Though the original is over 4ft wide, I have a CNC, so with a digital model, could customize one to my needs.
Creating the model of the chest, however, was far beyond my skills (and interests). But I found a digital design services marketplace called Fiverr, an Israeli company with an international pool of designers including everything from voiceover artists to video editing to graphic design. I put out a job for a three-dimensional model of the chest, and two weeks later, I had a file in-hand, created by a very talented modeler in India.

A rendering of the model file produced by my Fiverr designer.
Model in hand, I milled some pieces of oak for a box to be about 12” x 9” x 5” tall, and set up the CNC to engrave the sides. But the first attempt barely scratched the surface! After troubleshooting a bit more, I realized that the level of relief and detail that worked for a 51'“ wide chest just won’t scale well to something less than a quarter the size. Even if I “amplified” the depth for this small piece, much of the detail clearly visible in the original (and in the model) just would not come out well. So, six weeks after first finding this chest, back to the drawing board.
Attempt#2: Classical Architecture
Given the need for the three openings for the screens, a Greek temple-like design might be appropriate; while this isn’t as thematically aligned as the chest, both Shakespeare and a Greek temple could be considered “classical”. Because of the tight tolerances and all the cabling to squeeze in, I felt this design, despite its comparative simplicity, still required a detailed design. All-in, there are about 20 separate oak pieces in this case - though most are simple rectangles, or with simple cuts, the front warranted some CNC work to cut out and recess the opening so that the displays would not be recessed from the front plane by the full thickness of the sides.

The case design, sans top

The front piece of the case (pictured from the back)
The Finished Product
At long last, a little over one year since I placed that order for those Single Pane Displays on eBay, I’m pleased to be able to share this creation.
Touching the Bard’s pate generates a new insult.
What’s Next?
For my next bespoke steampunk project, and given the copious free time many of us have during our shelter-in-place, I’m designing the software and controls for a “split flap” display (built by Vestaboard) for planes that fly overhead. As I live right in the flightpath of SFO, I expect it will be a very active (and interesting) display, once I finally get to finish it. But the comparatively simple Shakespeare Insult Generator took me a year to bring to fruition - I hope this doesn’t take me halfway into 2021!

My home is that dot; you can see a south-bound plane a few hundred yards away.

Sample output for my flight tracker, to be displayed on a 132-character split flap display.
Do you have any fun or unique projects that - with our need to self-isolate - you’ve finally had the time to bring to completion? Or other ways you’re exploring your creativity with what for many of us has become copious free time? I’d love to hear about your creations!