
Although most of my projects are made of solid wood, I have done several veneered projects when required by the shape or design. While veneering flat panels has now become fairly routine, veneering curves can be a bit more challenging.
When veneering a flat panel, one component that goes into the vacuum bag or the veneer press is a flat “platen” at least a little bit larger than the panel you are veneering. This helps keep the veneer substrate flat as it absorbs the moisture from the glue - but a flat platen for a curved item will obviously not help the item keep its desired shape, and also will not necessarily help with applying even pressure along a concave surface.
Using a Form
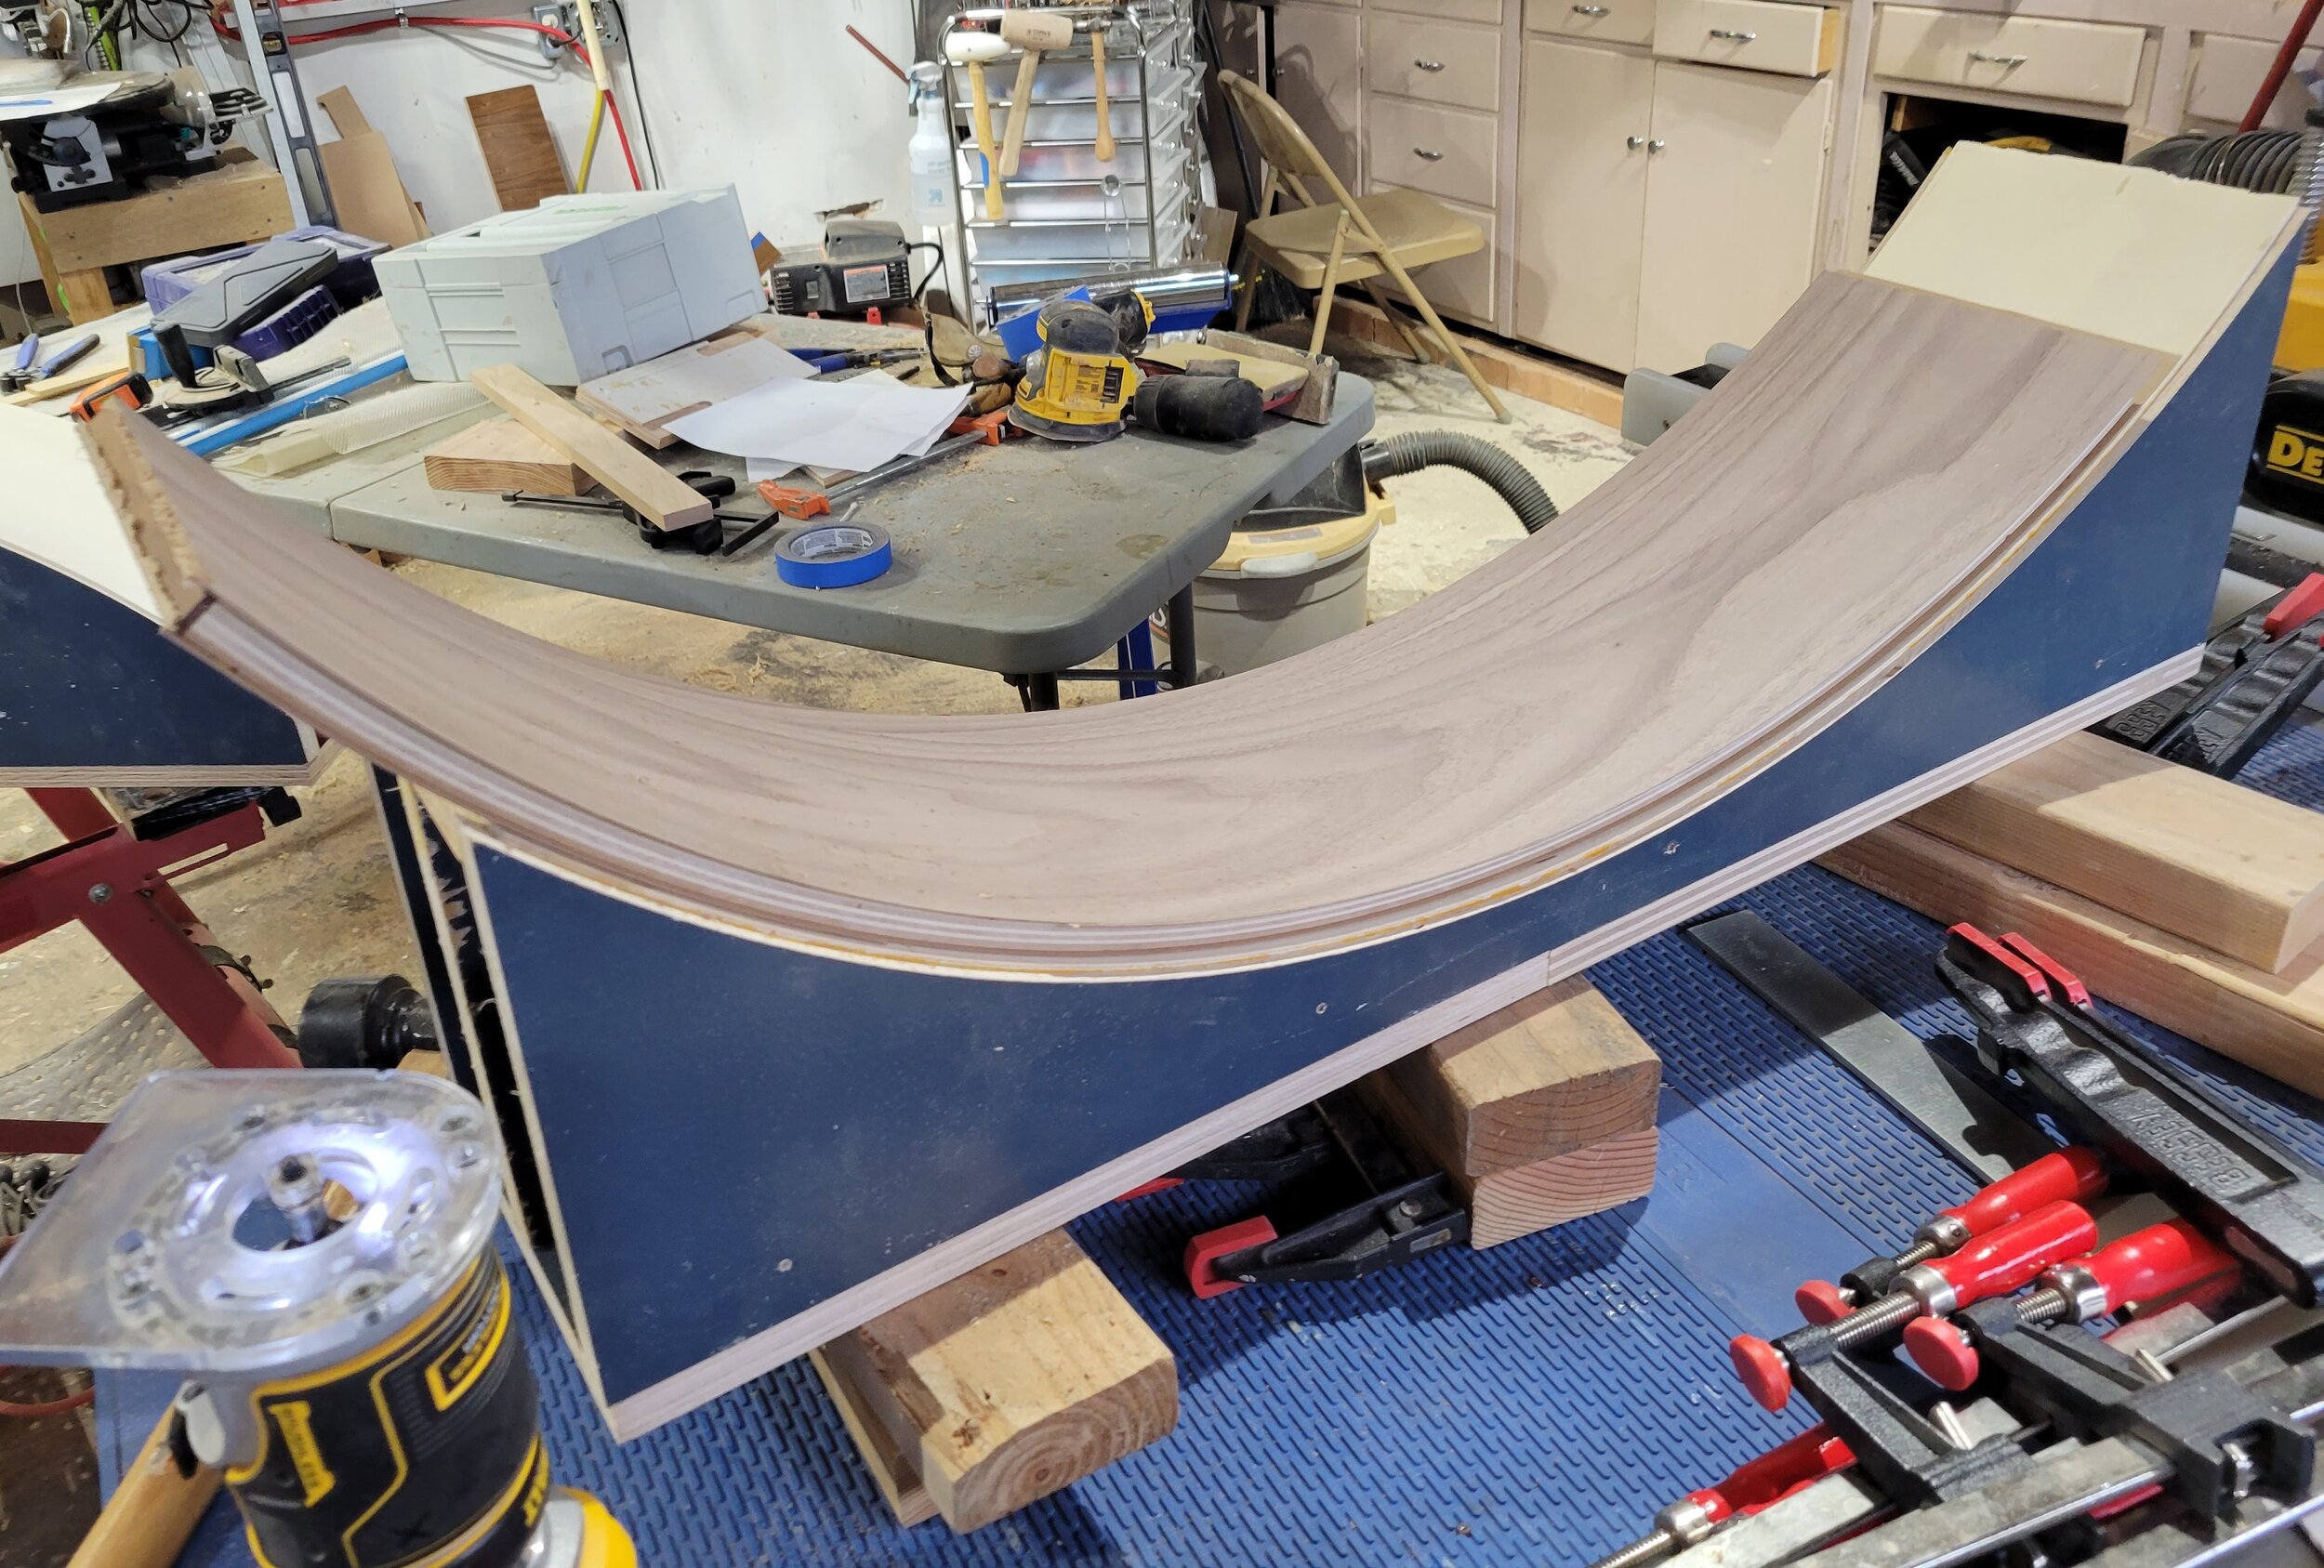
The same principle as a platen applies here as well - just that instead of using a flat panel, use a curved platen that perfectly matches the curves of the item getting veneered. Just be sure to use materials that are strong enough to withstand the force of the vacuum or press. Vacuum bags in particular are not very forgiving at the max pressure of 14.7psi - my first attempt veneering a curved surface got crushed with about two tons of pressure!
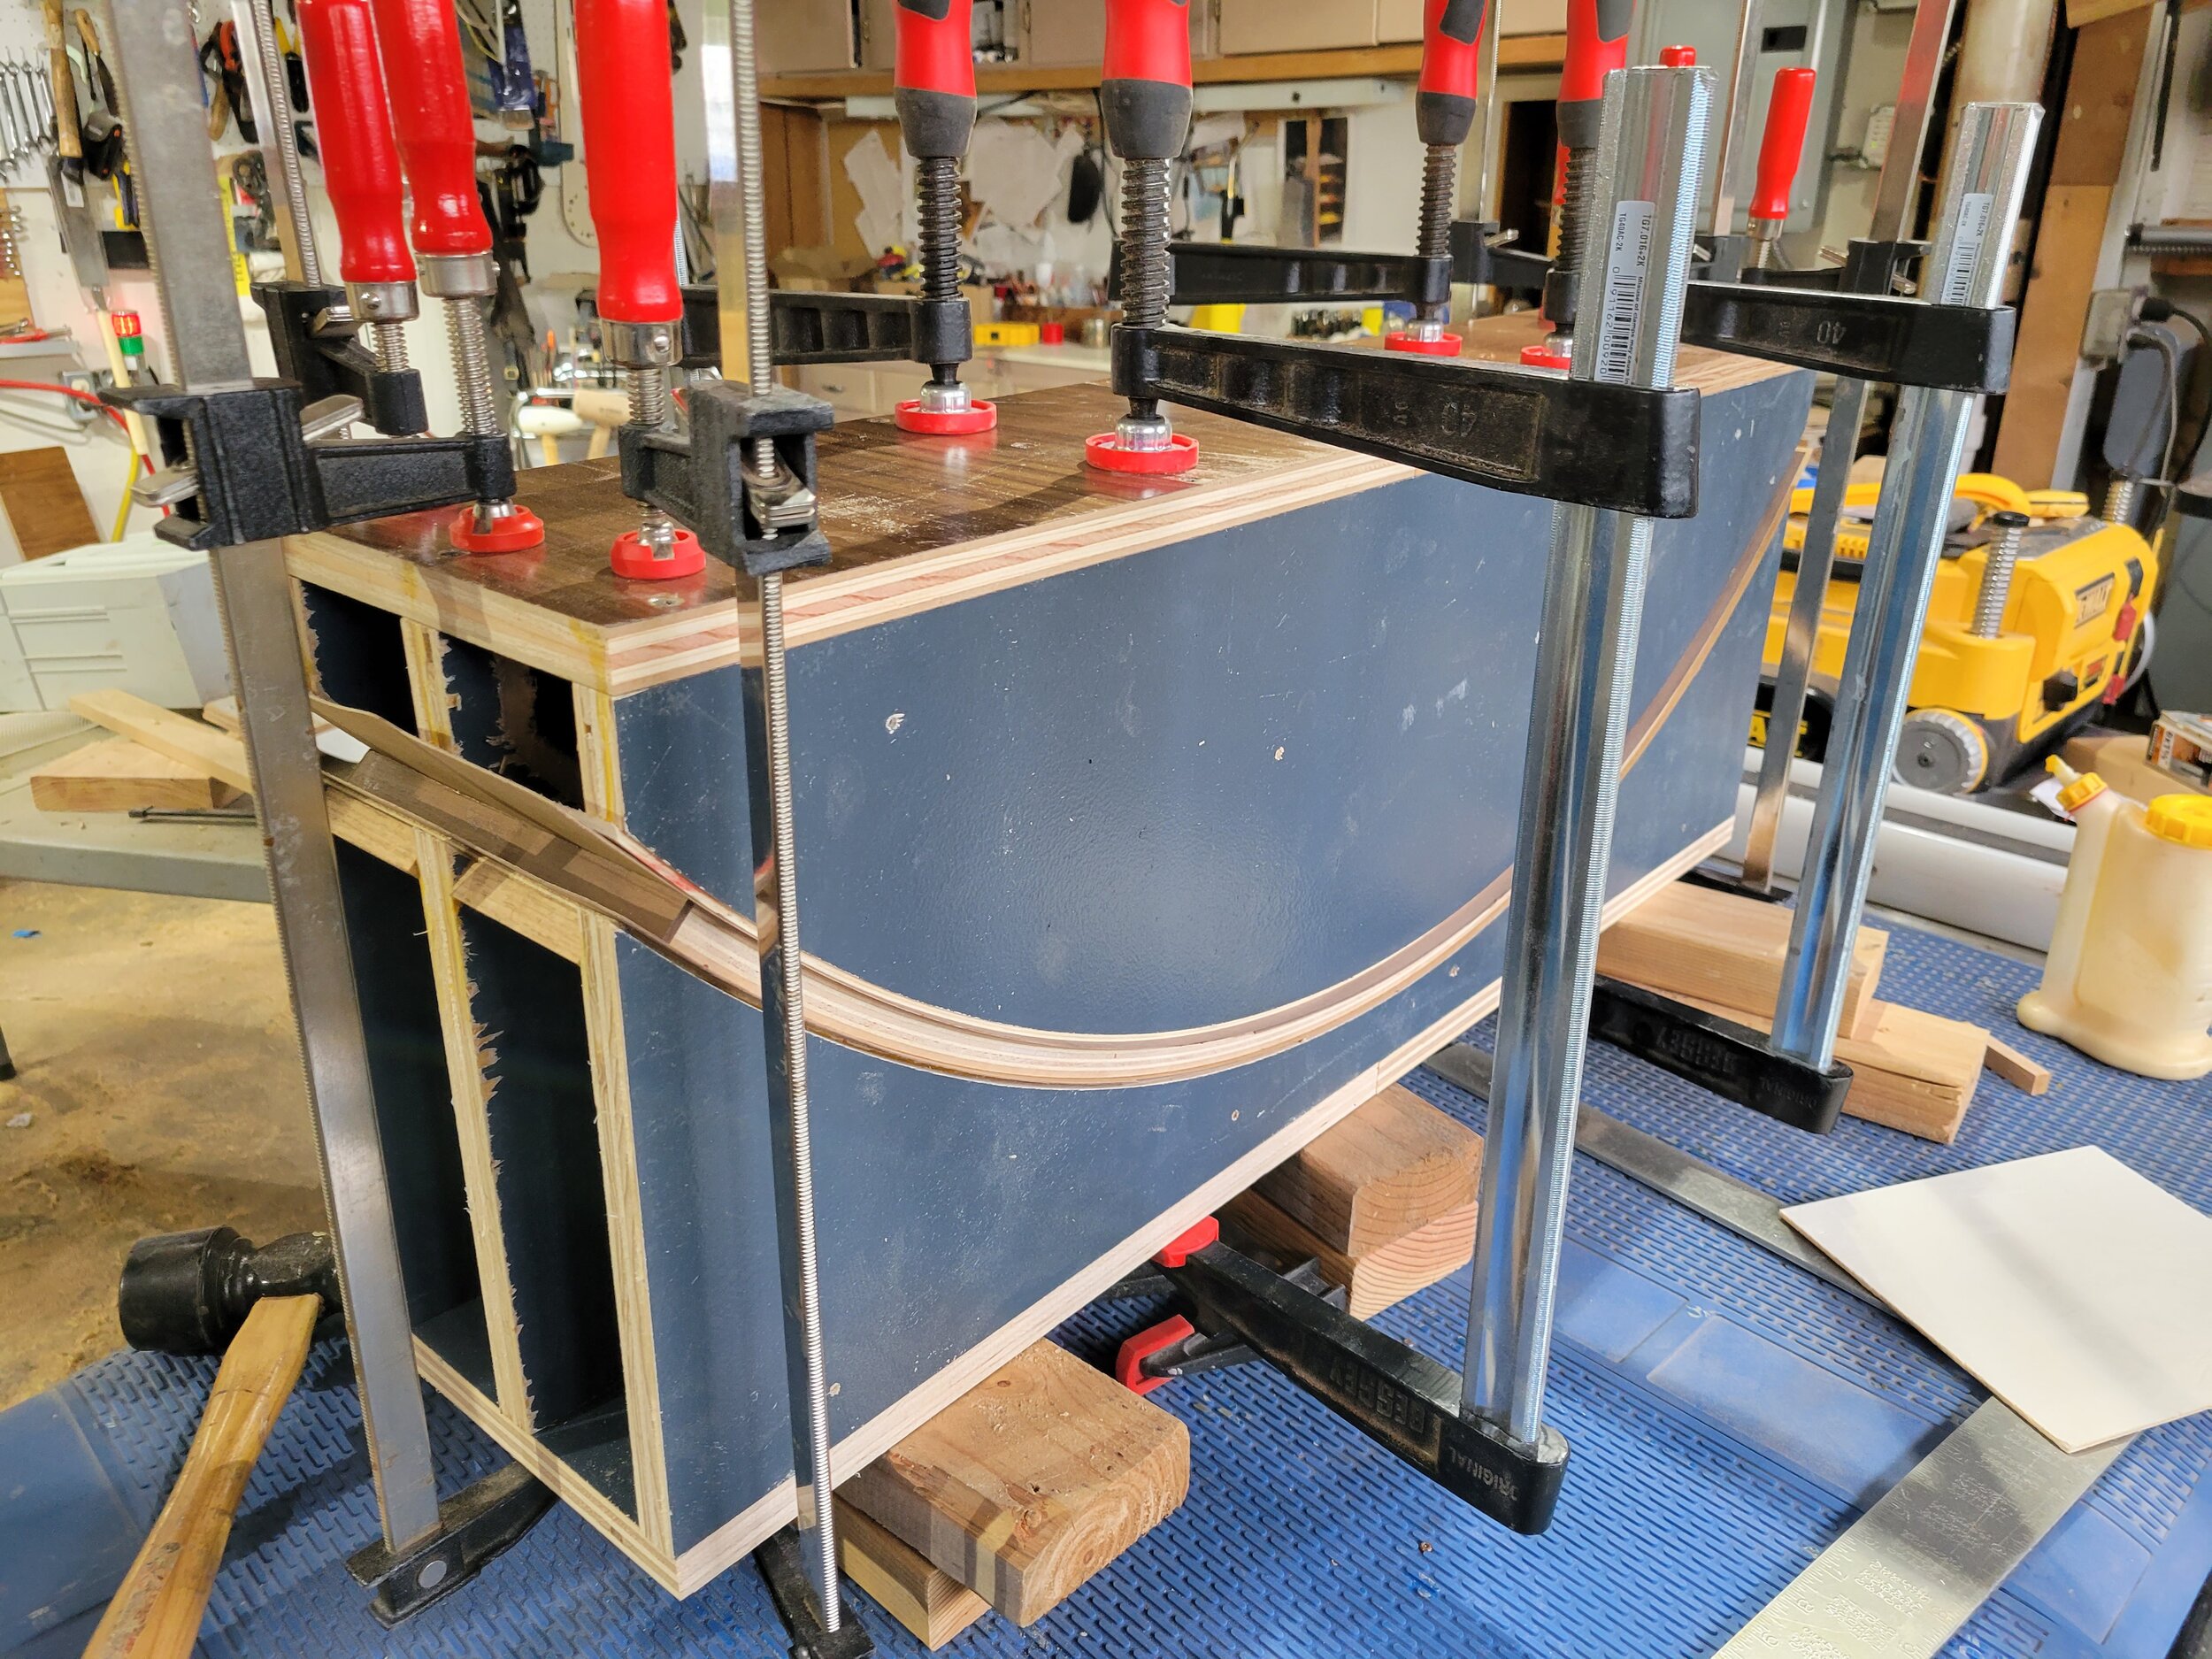
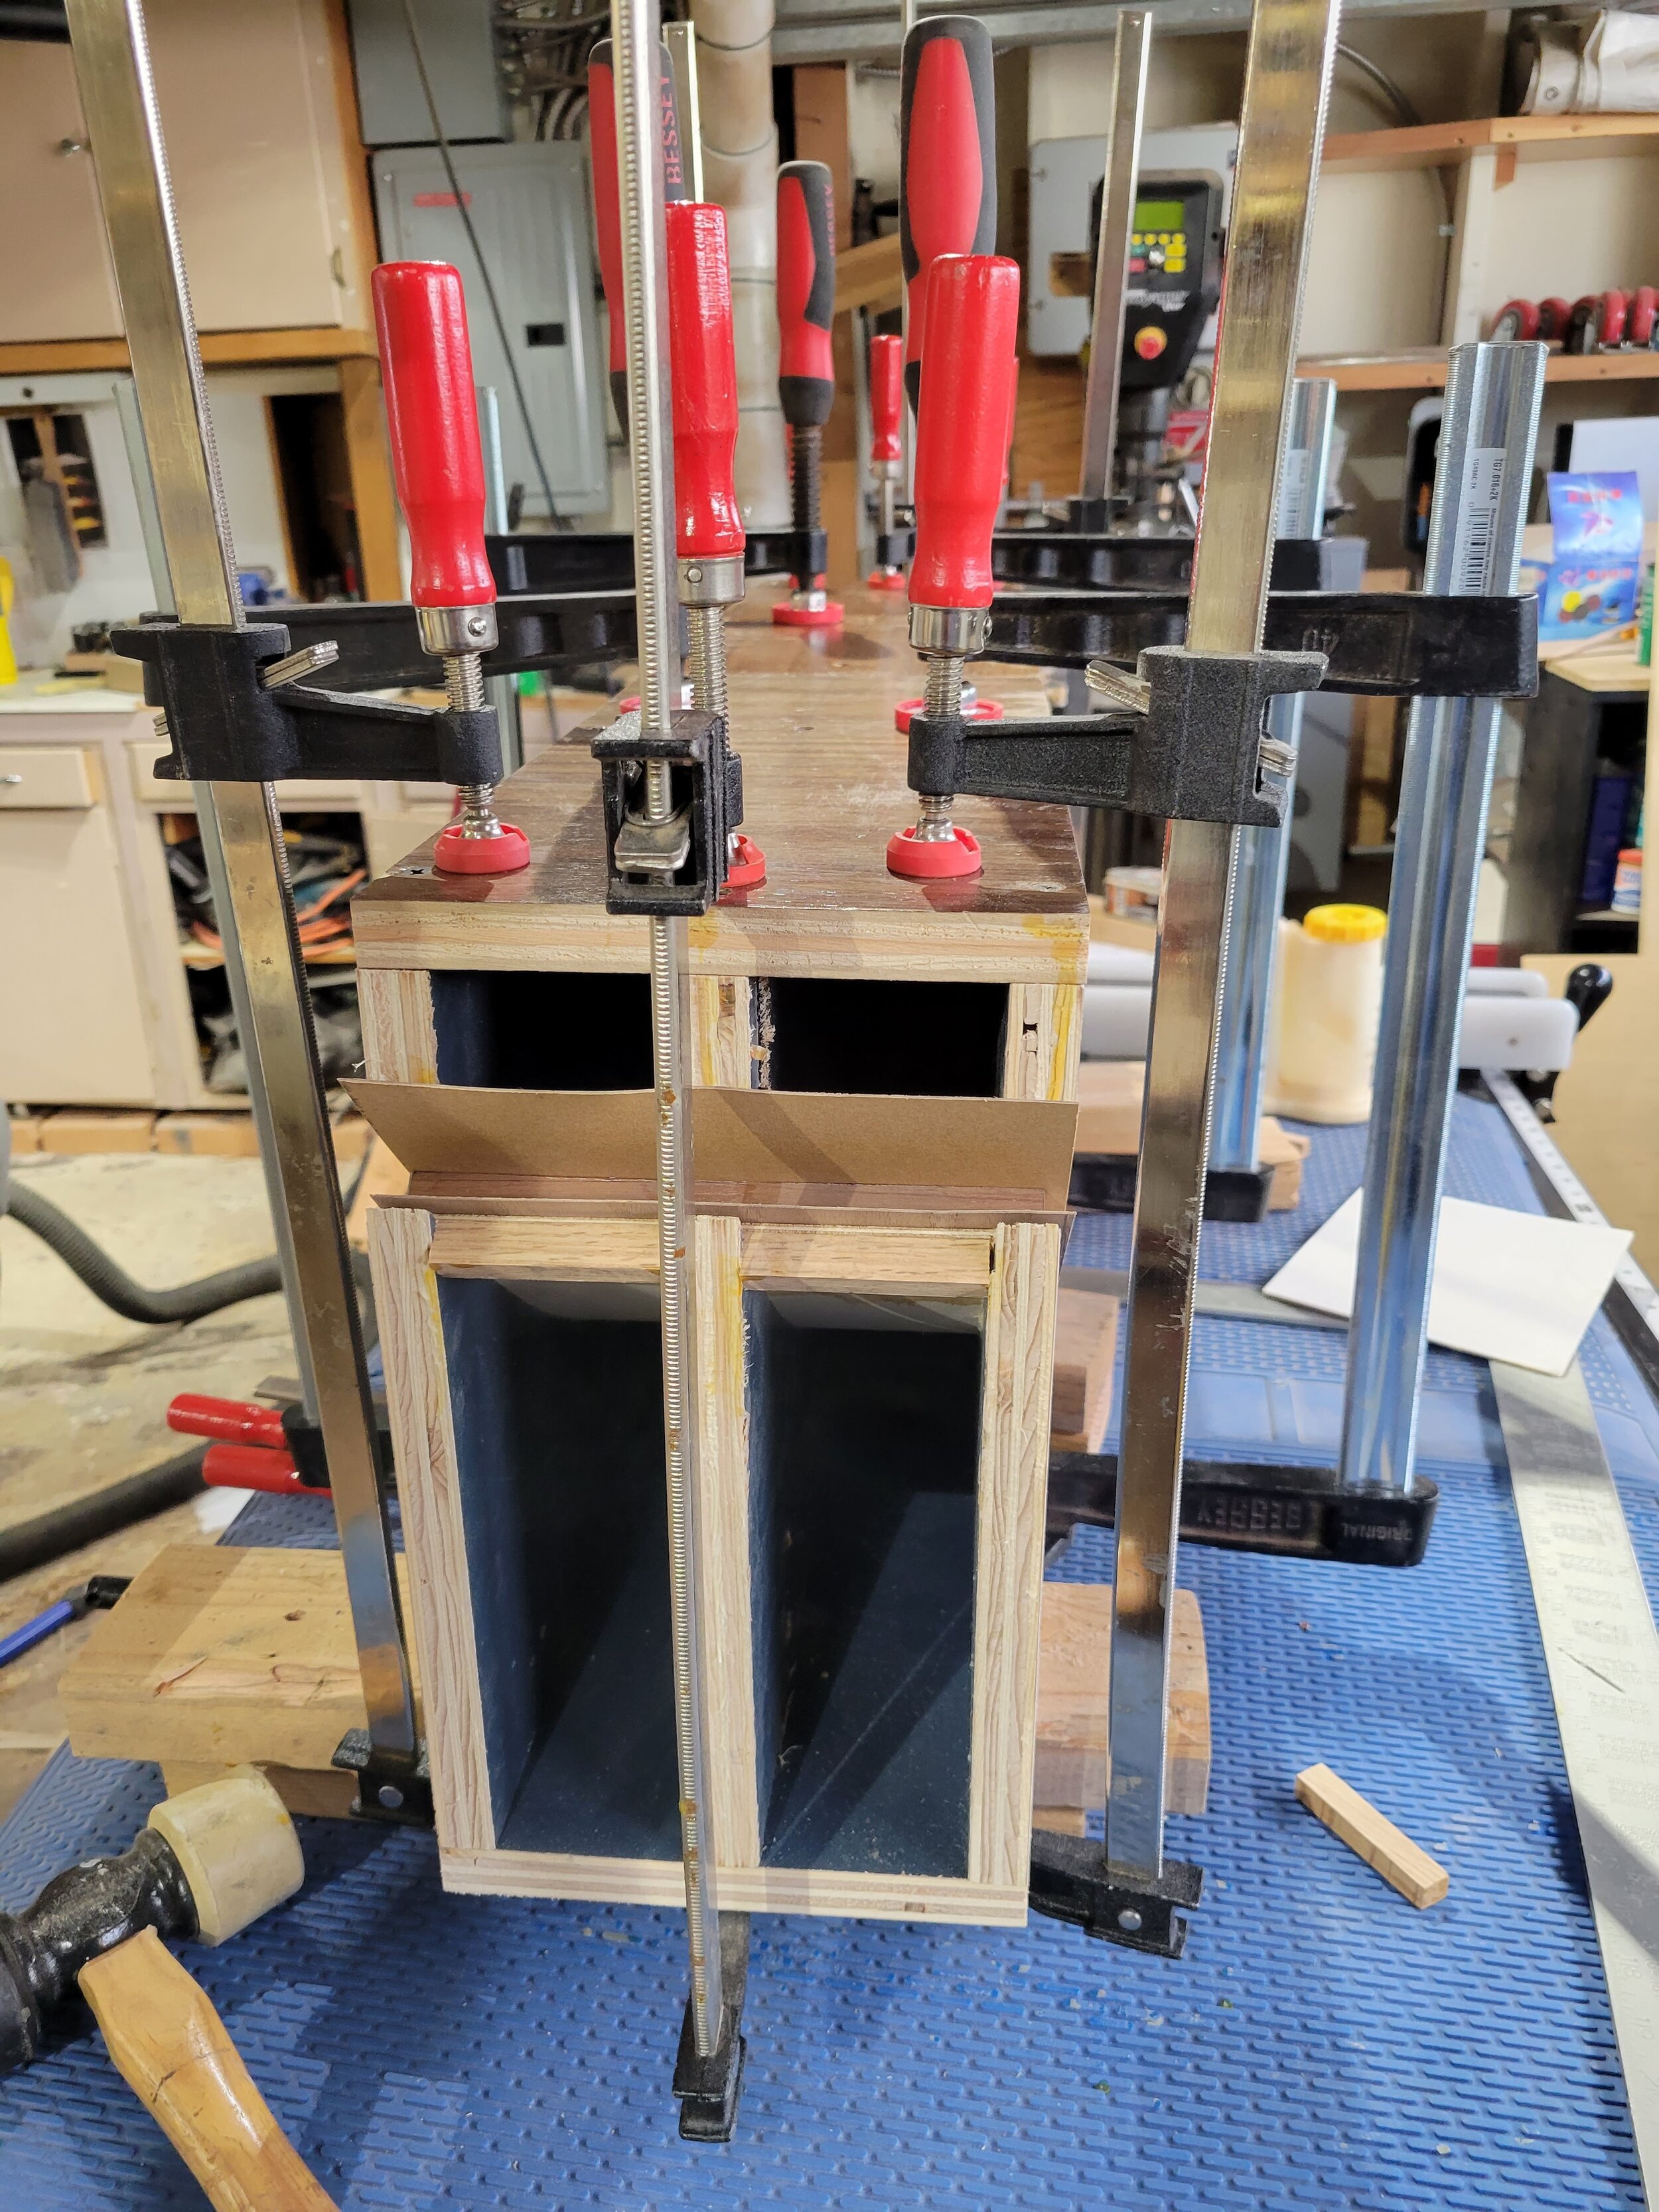
All the curved forms can get a little challenging in both fabrication and storage in that each radius or shape you will be veneering requires its own custom-built form - I have yet to be able to reuse any form I’ve built, and though I’ve kept them around until now, I may soon have to start “culling the herd” of jigs and forms that are unlikely to be used again soon just to keep my workshop useable.
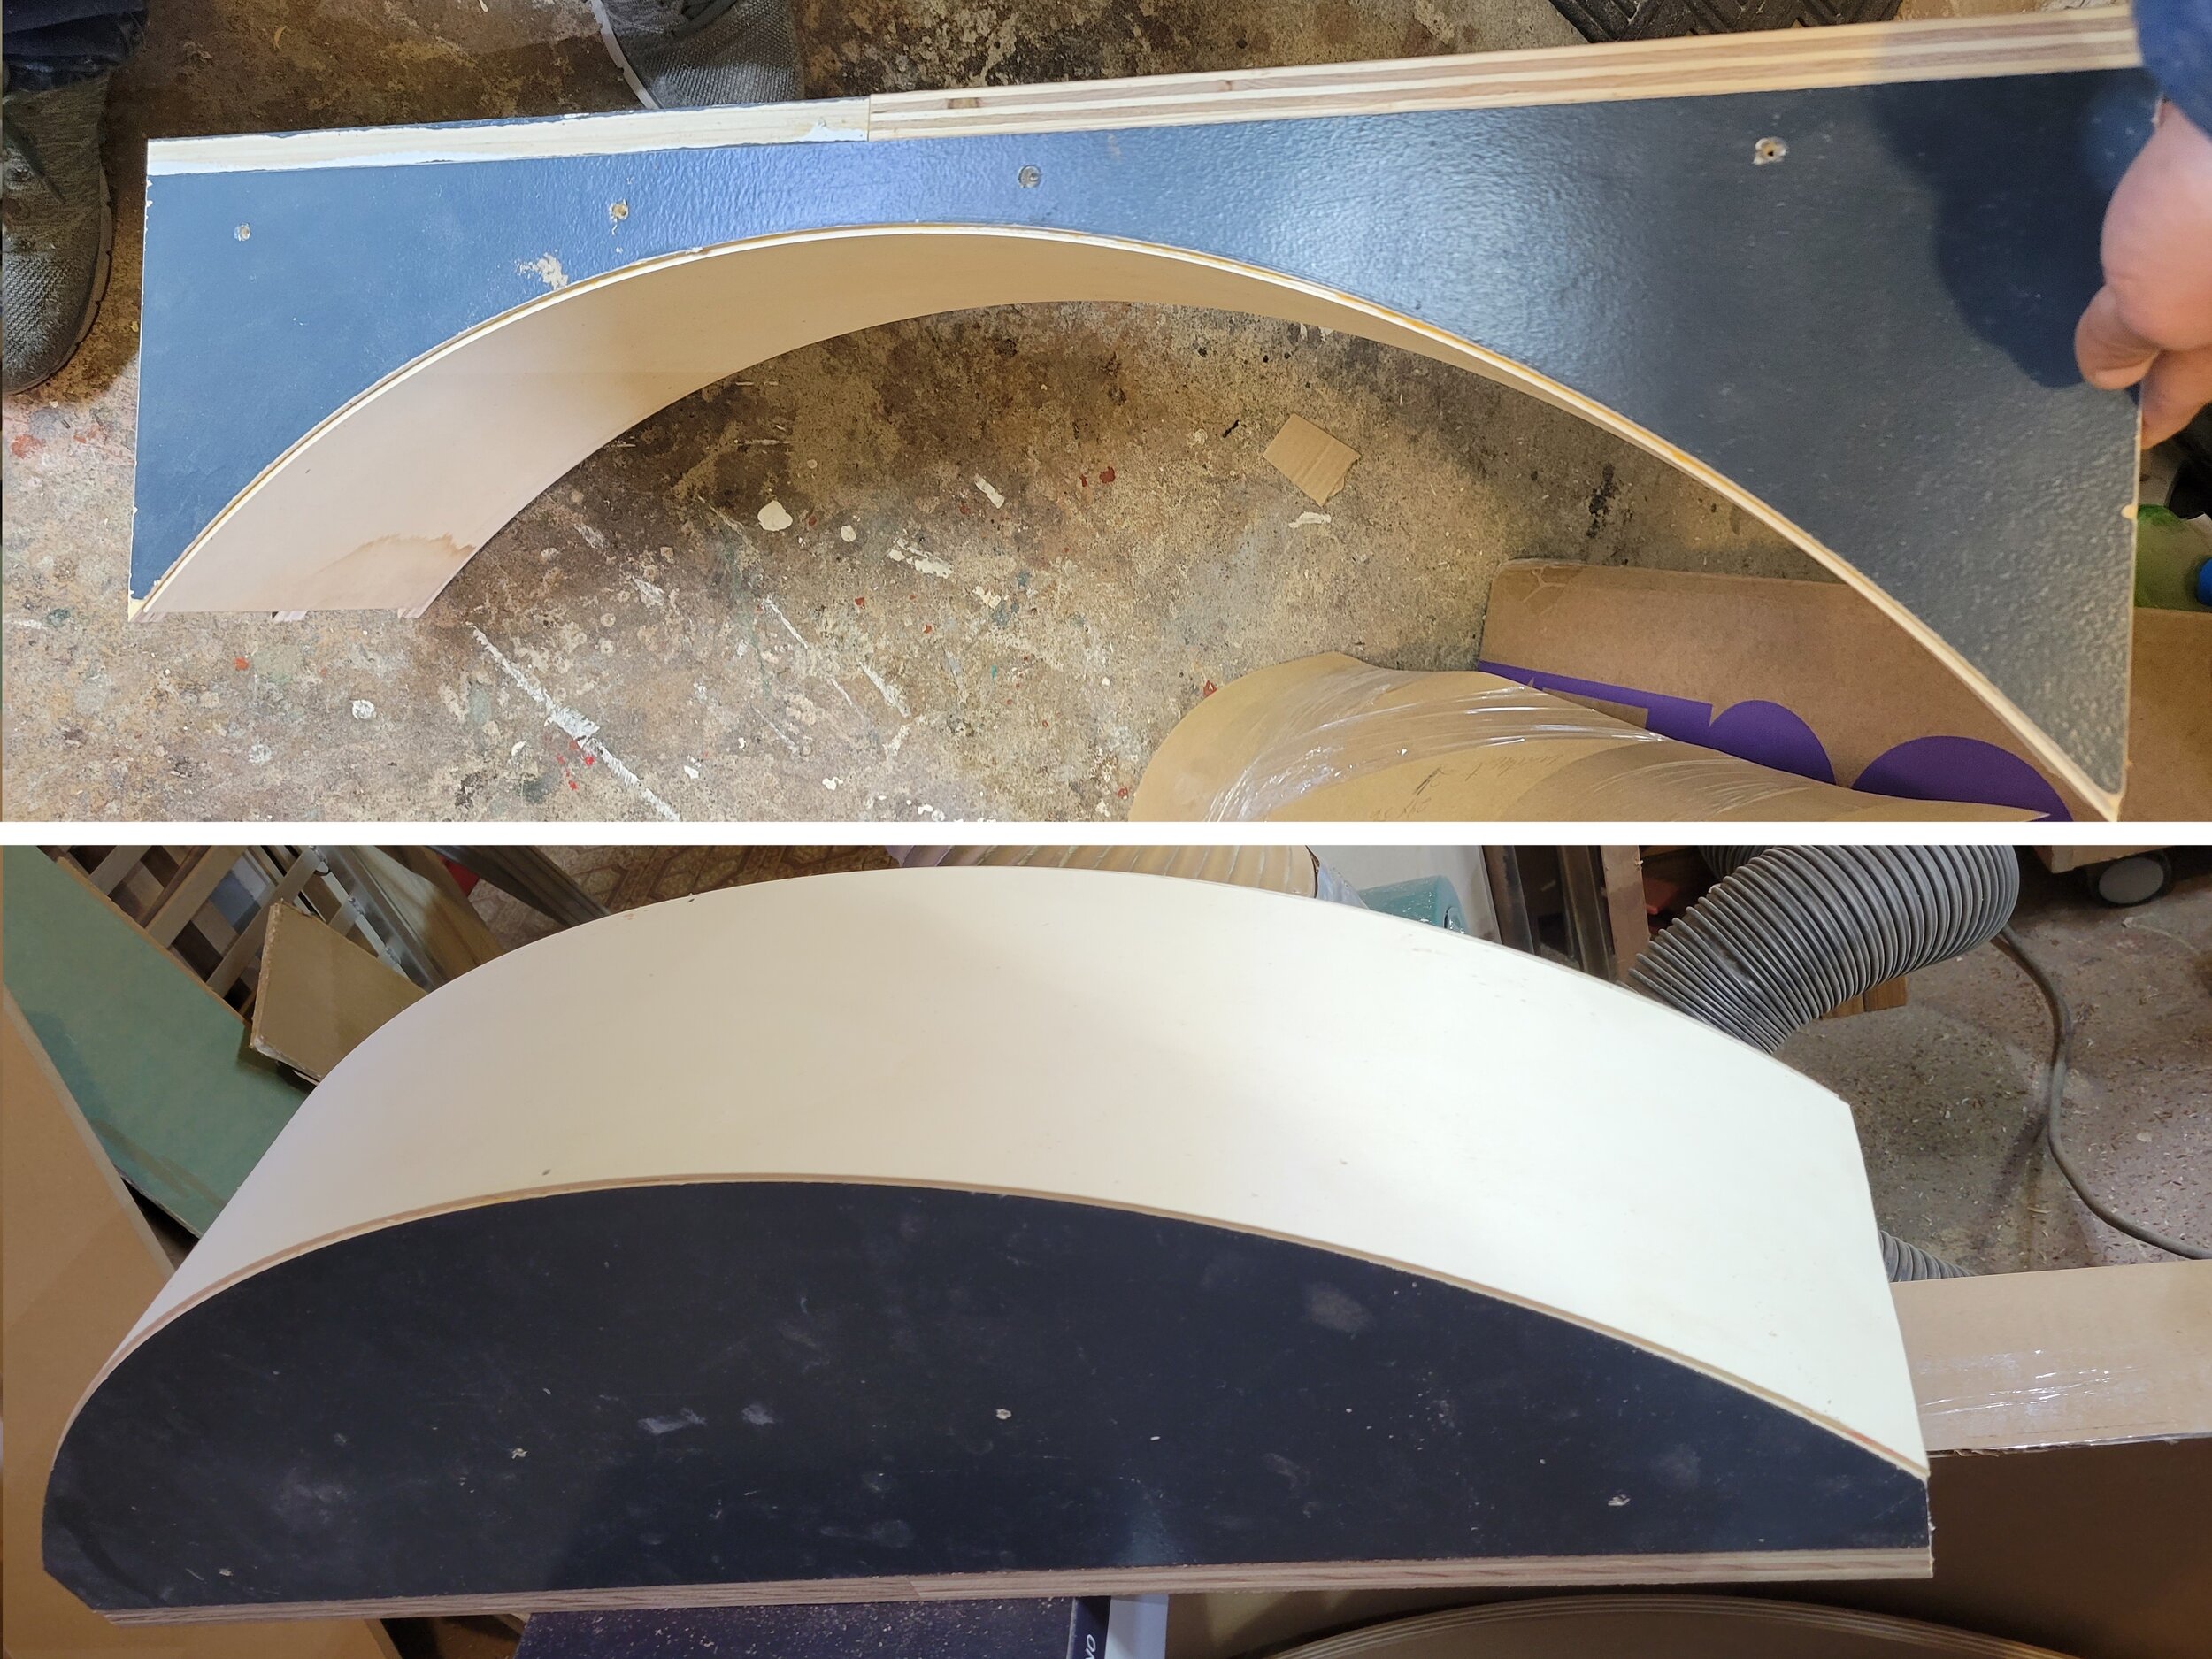
Creating the Substrate
As to how to create or source the curved form for veneering, if it’s a simple and standard shape like a 5/8” or 3/4” thick quarter or half cylinder, you may be able to purchase it off-the-shelf from a specialty supplier such as TapeEase in Wisconsin. However, you need to design for the diameters of plywood cylinders available - or be prepared to apply layers of “wiggle wood” - a bendable plywood where all the layers are oriented in the same direction instead of in orthogonal directions - to raise the radius of a pre-bent radius. Wiggle wood with a vacuum press can also be a good substrate for more complex forms, but - like the veneering process described above - you’ll need to have forms prebuilt so that the pressure from the vacuum bag or press does not deform your final shape.
Band Clamps
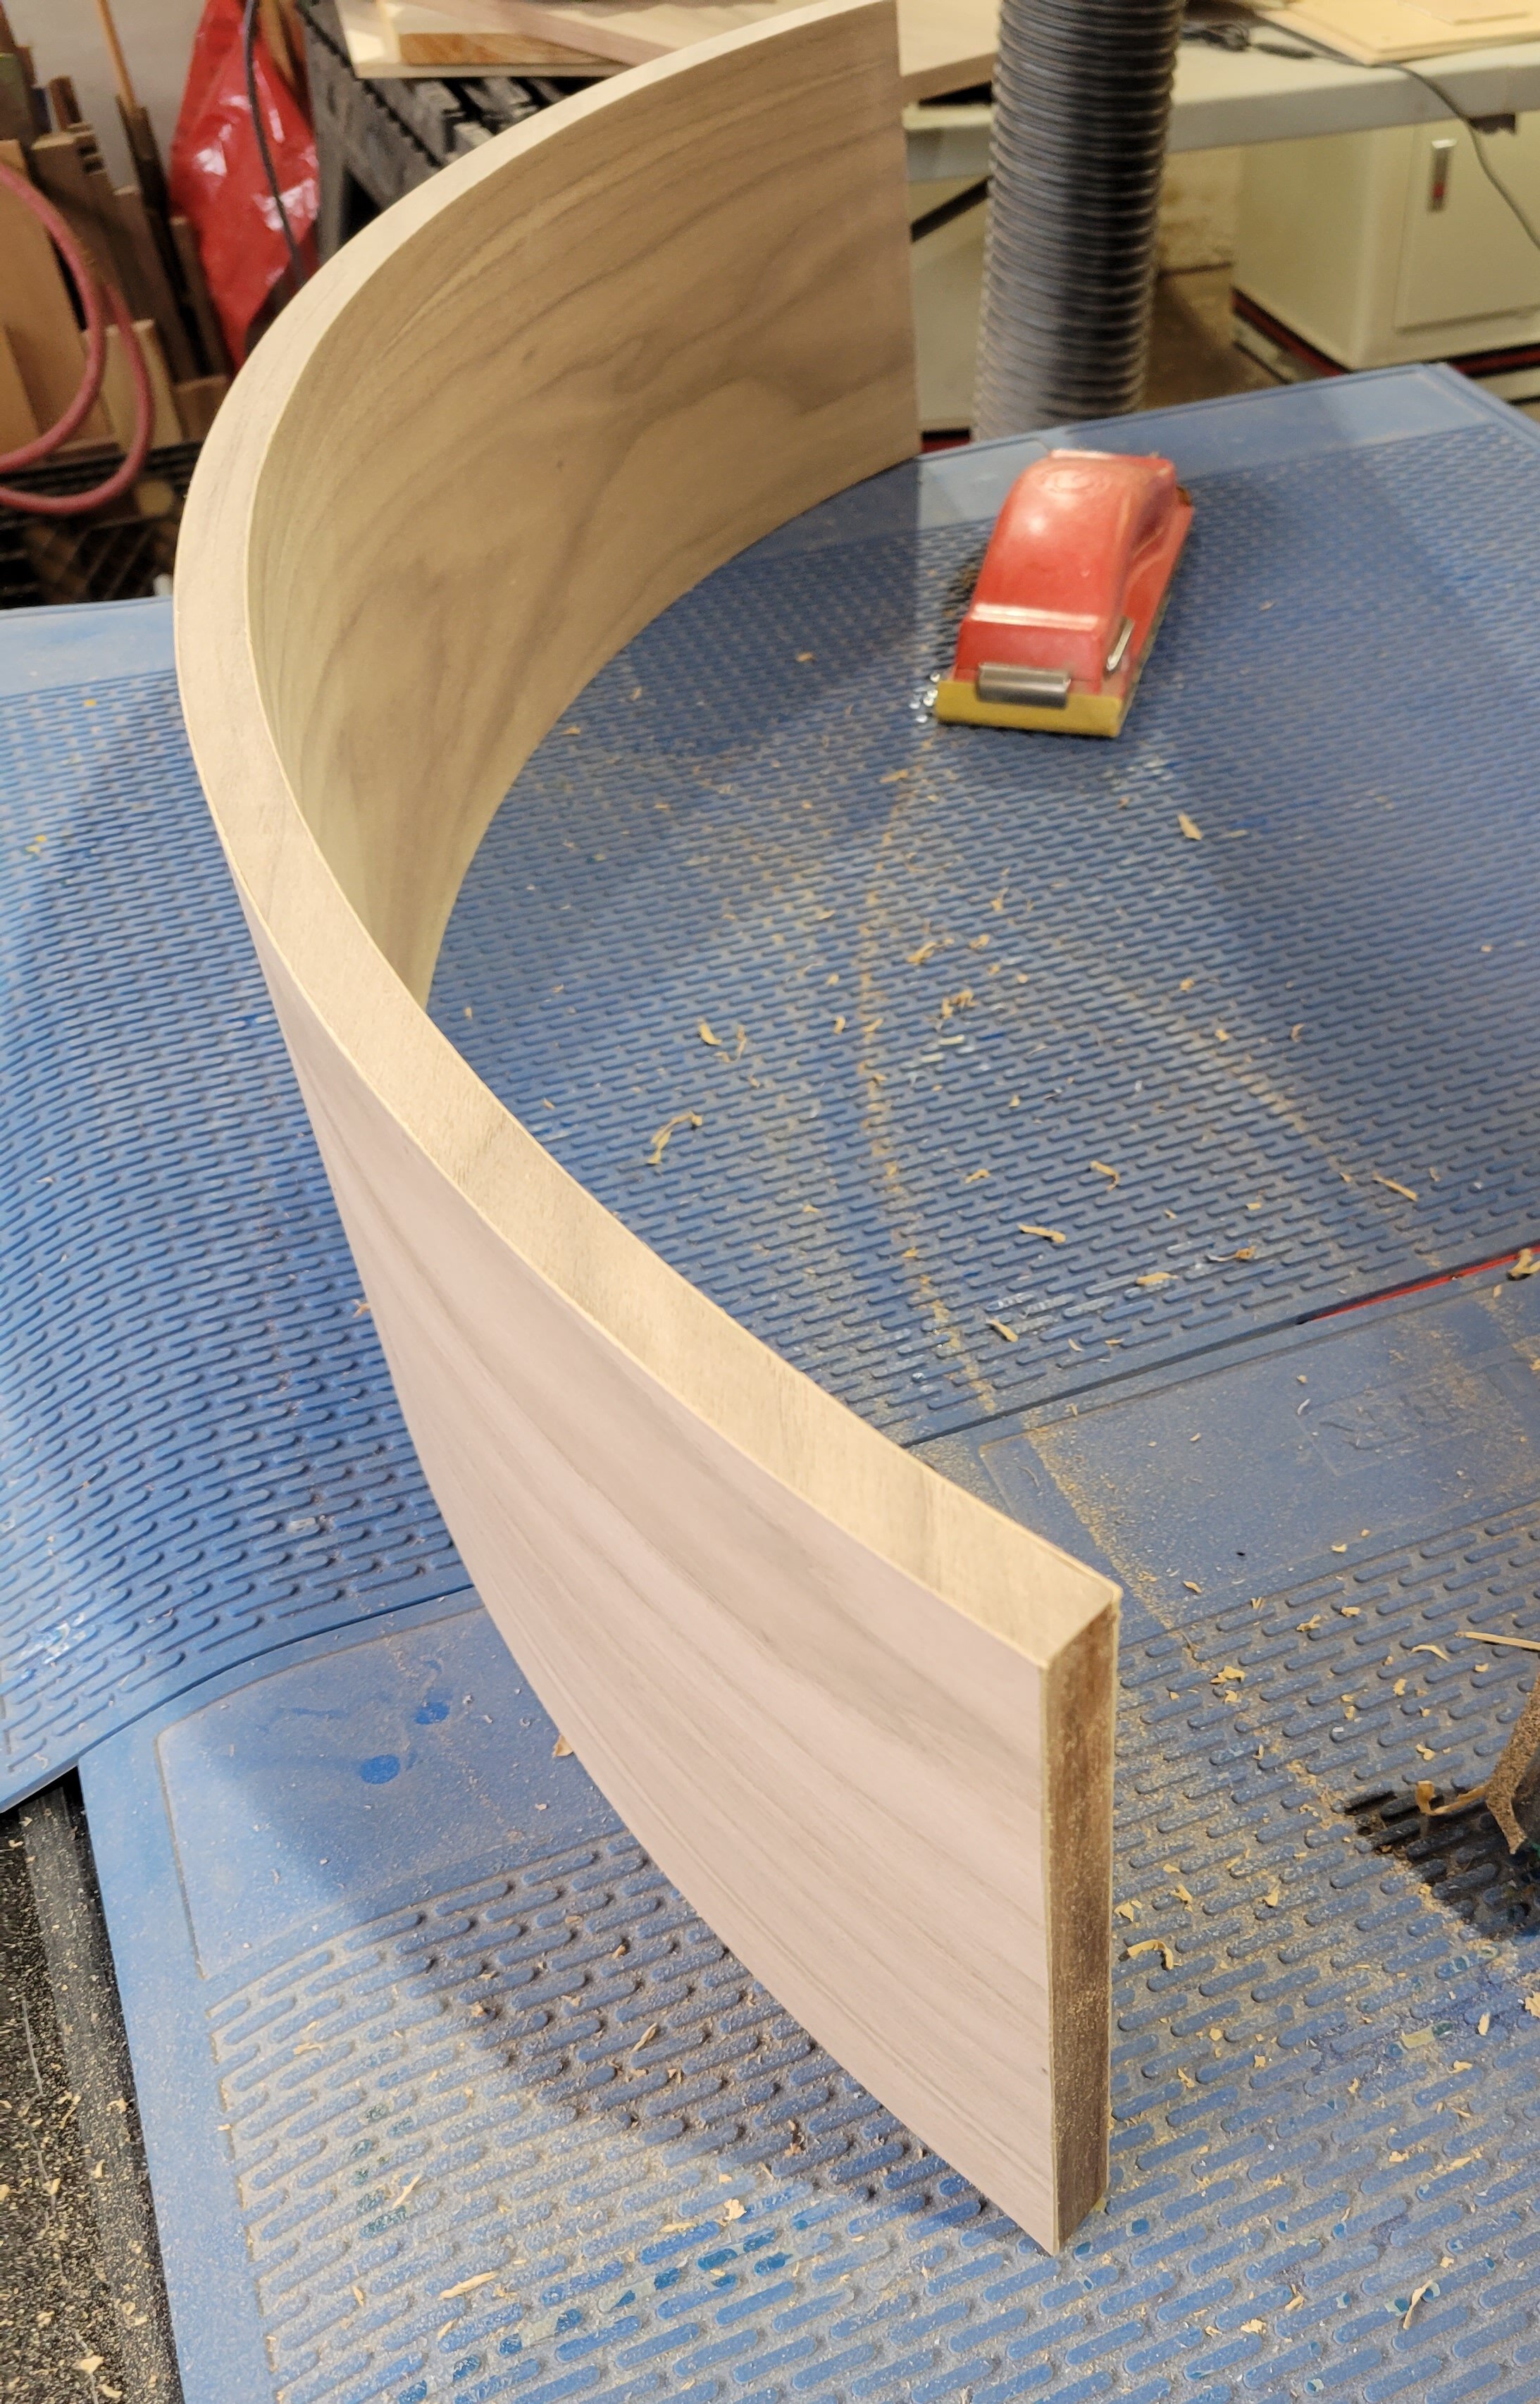
In applying a walnut veneer to this short MDF cylinder, I had to take a different approach, since any form would both be a pain to construct, and more importantly, would not provide easy access to adjust the veneer after it is first put in place.
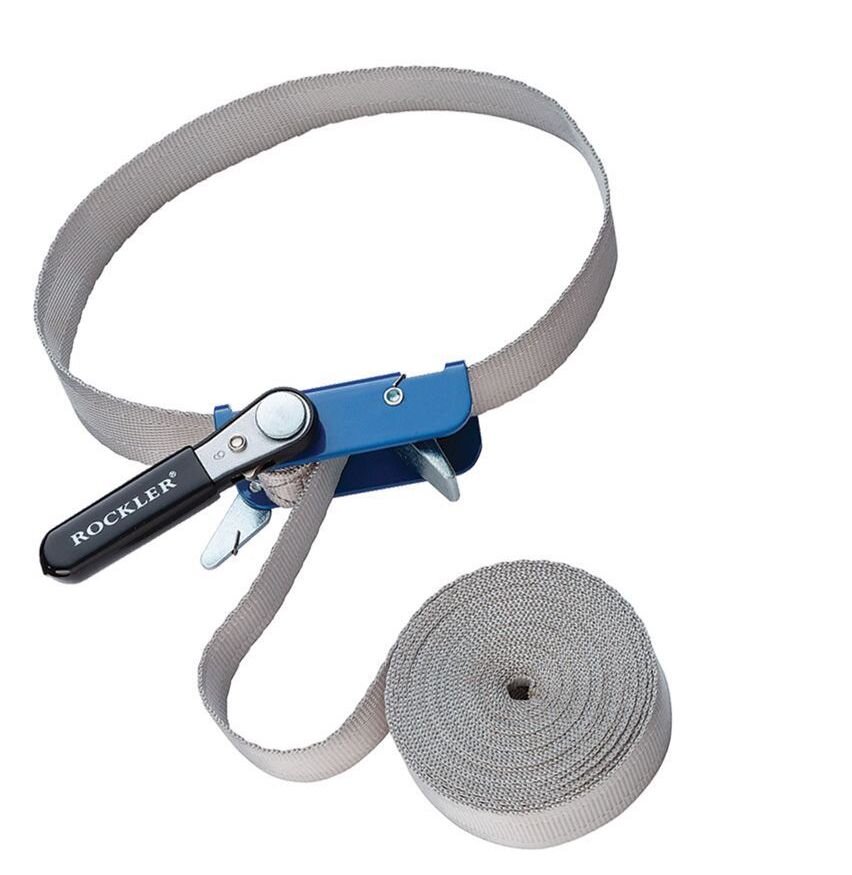
For a shape like this, band clamps (also called strap clamps) worked perfectly. Since the cylinder was so short, I was able to place three straps closely together to get even pressure, but a taller cylinder might have benefitted from one or two strips of wiggle wood wrapped around as well to even out the pressure from the straps.
Wrapping It Up
The overall goal is quite simple: to apply sufficient pressure, evenly along the entire surface of the veneer, without deforming the desired curve or shape, and ideally while still providing some degree of visibility to the veneer positioning and ability to make minute adjustments as the pressure builds.
Though the techniques outlined here have worked for me as I’ve veneered a few curves, there are many ways to tackle this, dependent on the size and shape you need to veneer, as well as the tools and materials you have available in your workshop. Do you have a technique that’s worked for you? Or a particularly challenging veneer project that you’d wish to share? If so, I’d love to hear from you!